Manage Accounts
What this does
This guide explains how to manage accounts in Franmantra CRM.
Use the Account module to create a business name, connect multiple contacts under it, and manage that account later.
Steps
- Make sure you can open the Account module from the header.
- Prepare the Business Name and Email before you create an account.
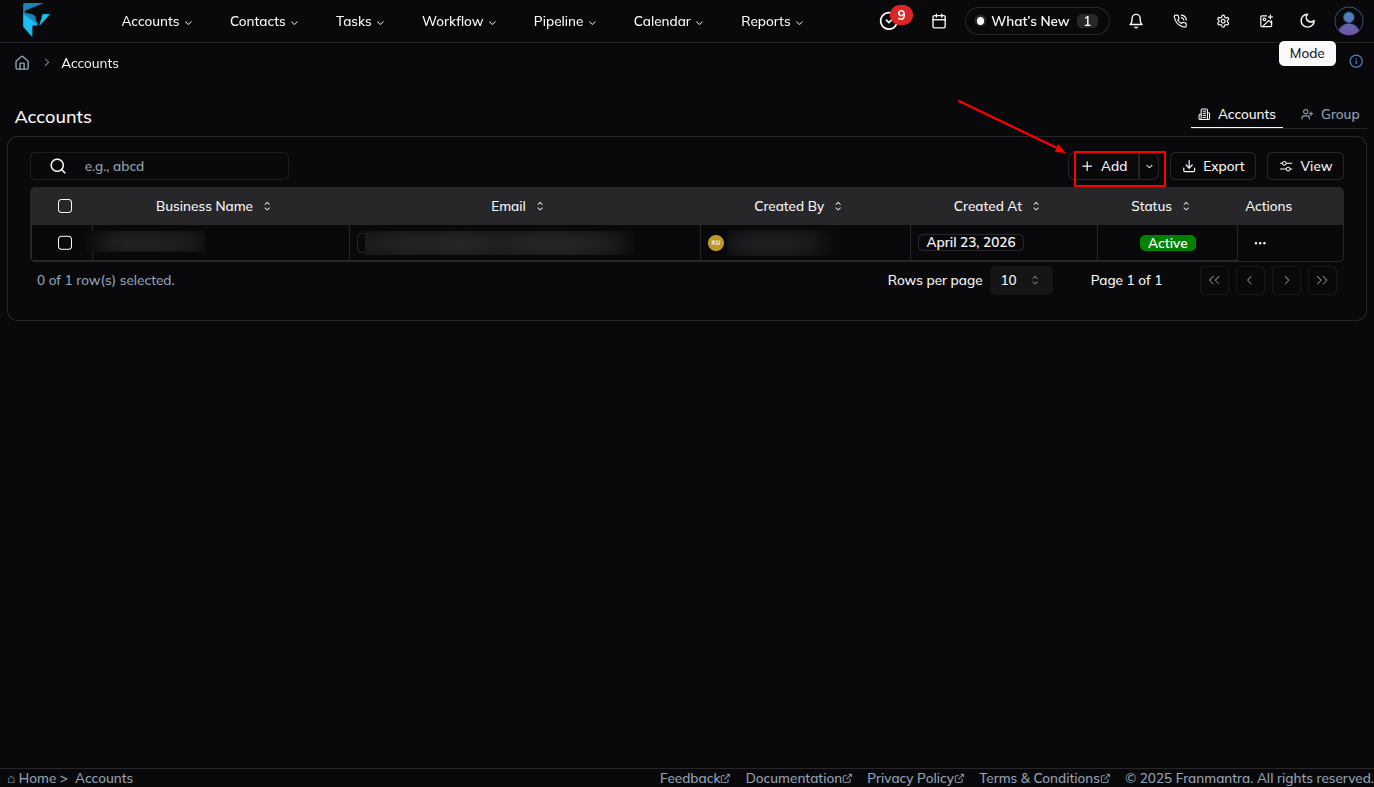
Open the Accounts Page
- Hover over Account in the header.
- Click List of Accounts.

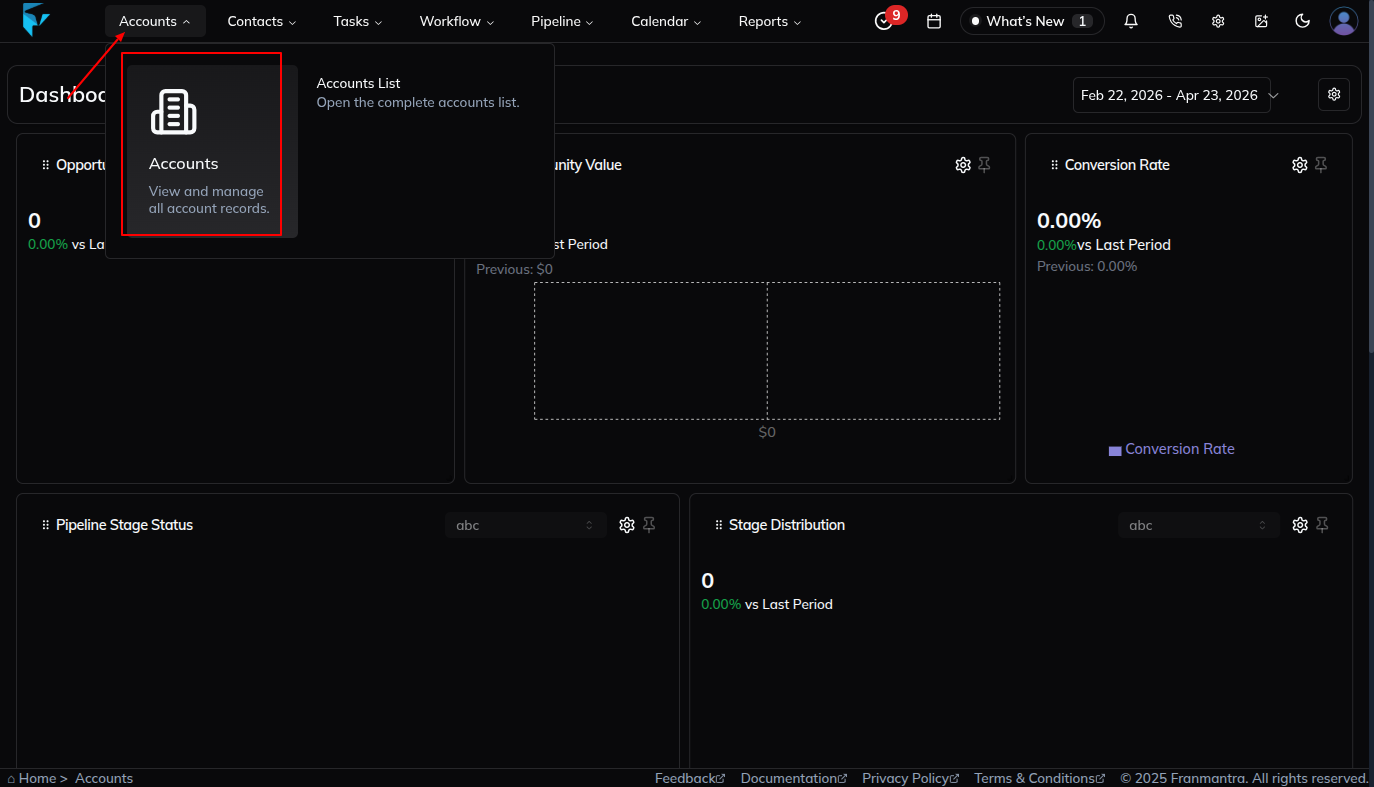
- Wait for the accounts table page to open.
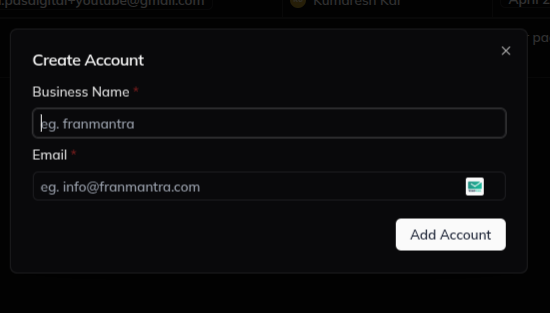
Create an Account
- Click Add to create a new business name.
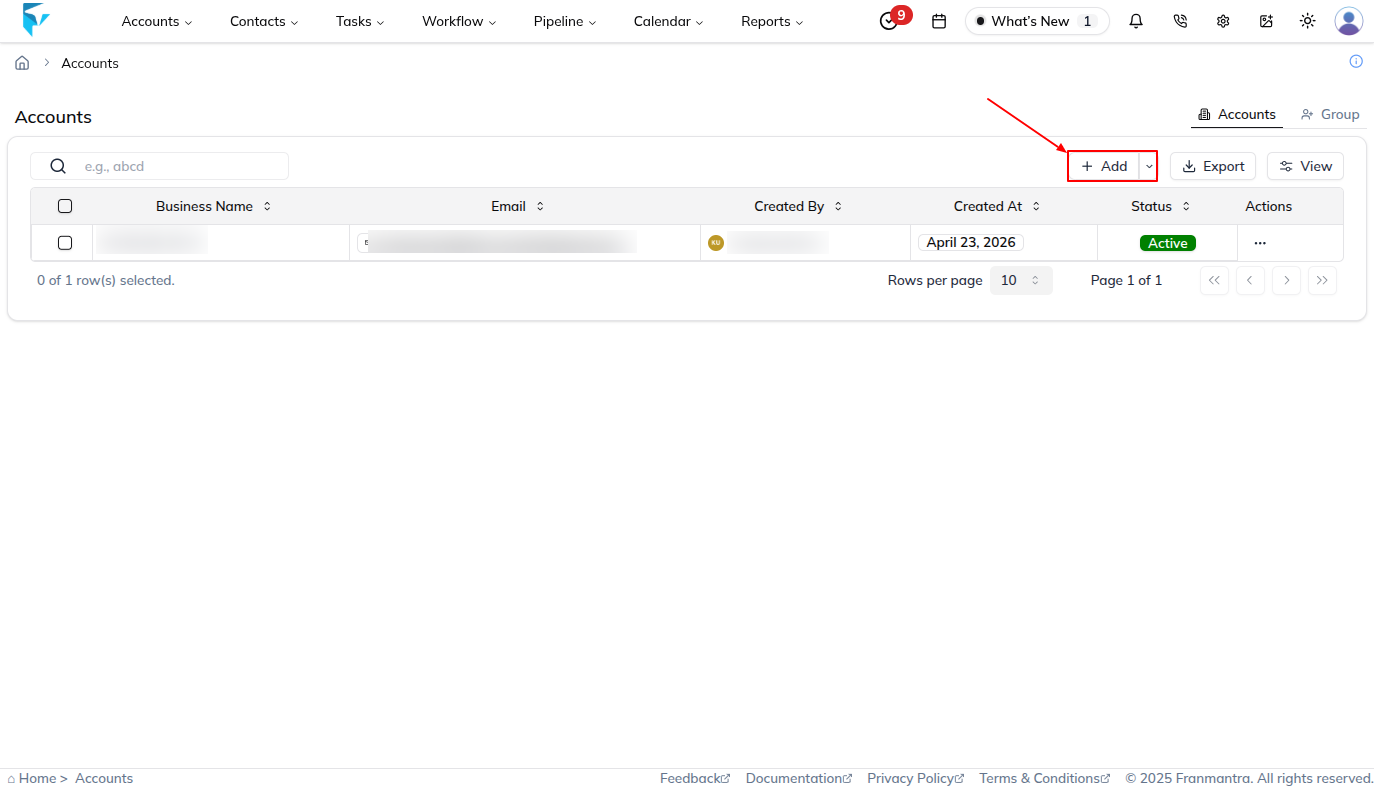
- In the form, enter Business Name and Email.
- Click Add Account.

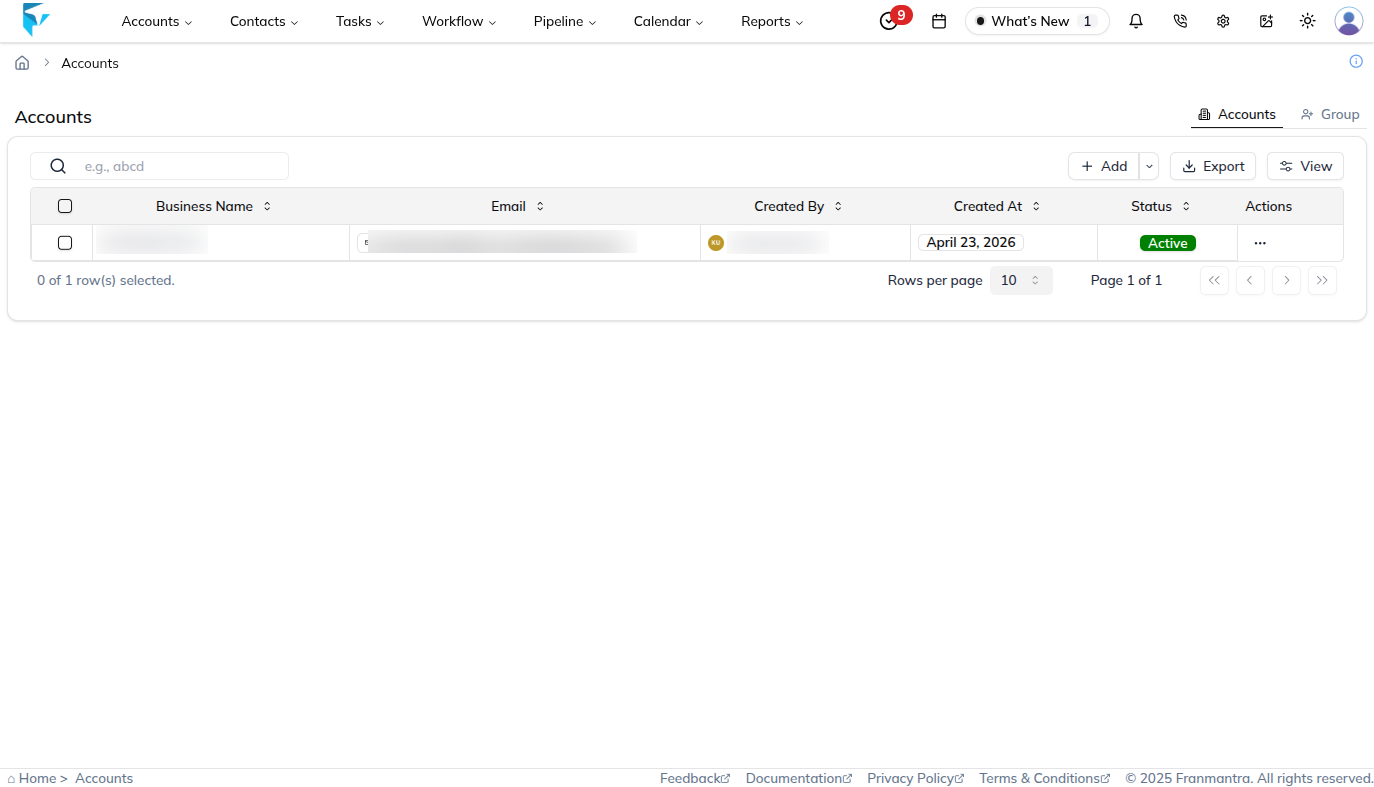
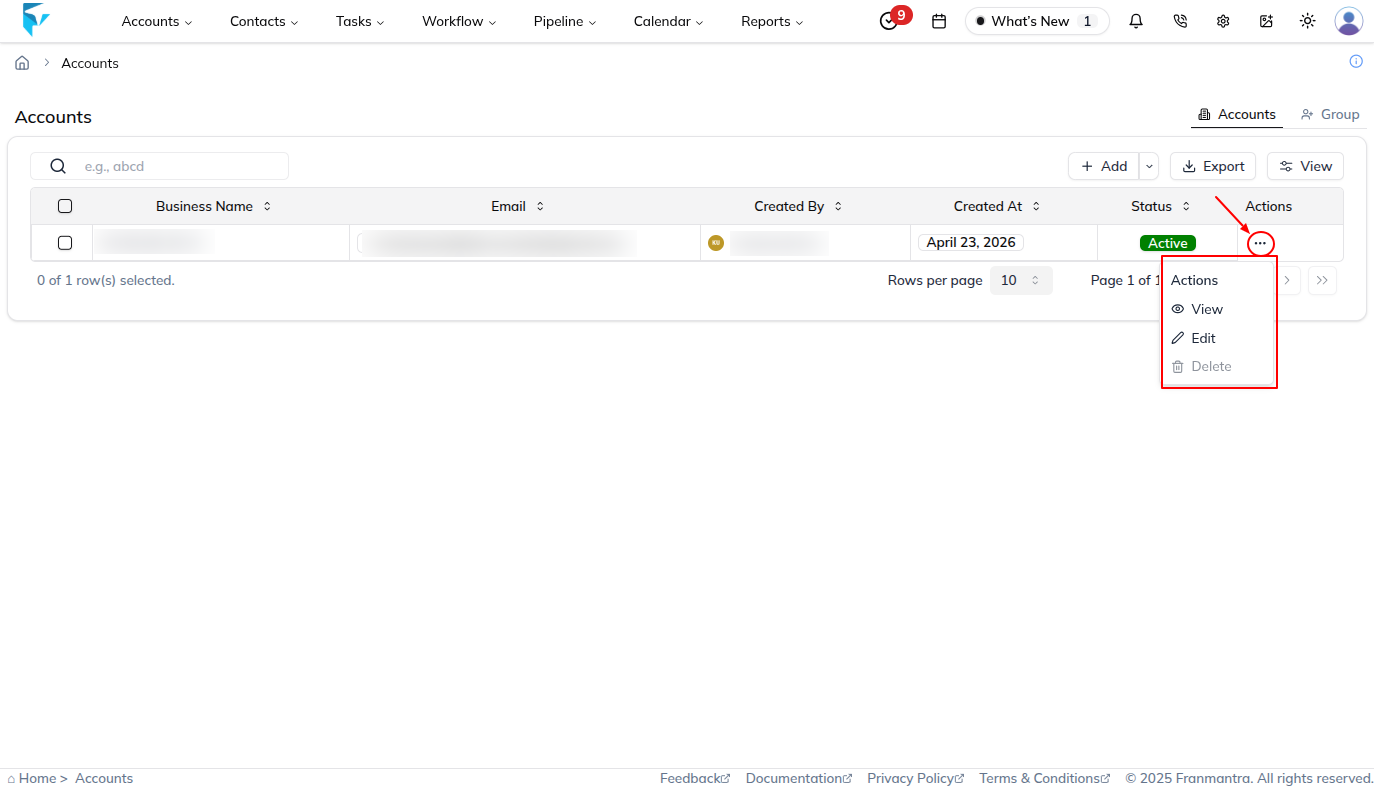
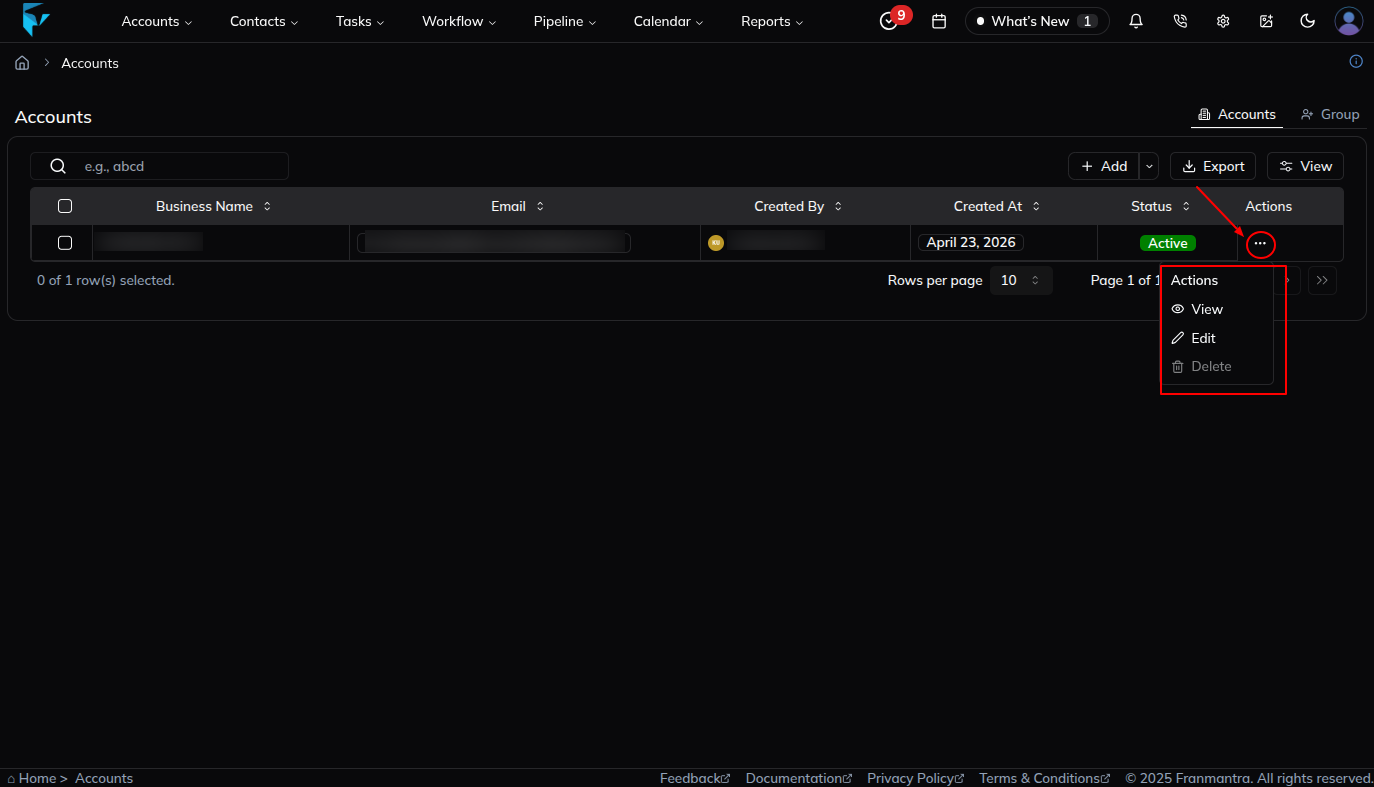
Open the Action Menu
- Return to the accounts table when you want to manage an existing account.
- Open the three-dots action menu in the account row.
- Review the available actions: View, Edit, and Delete.
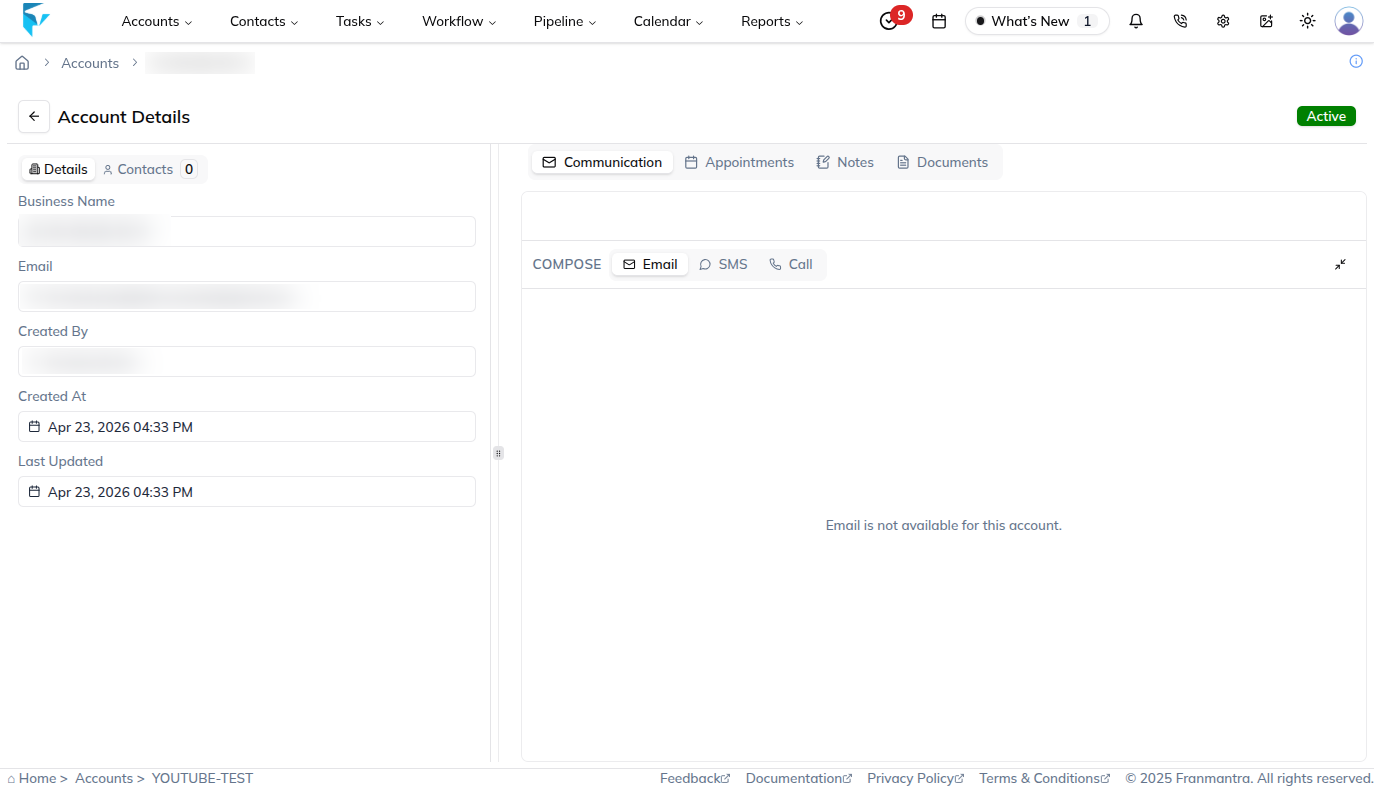
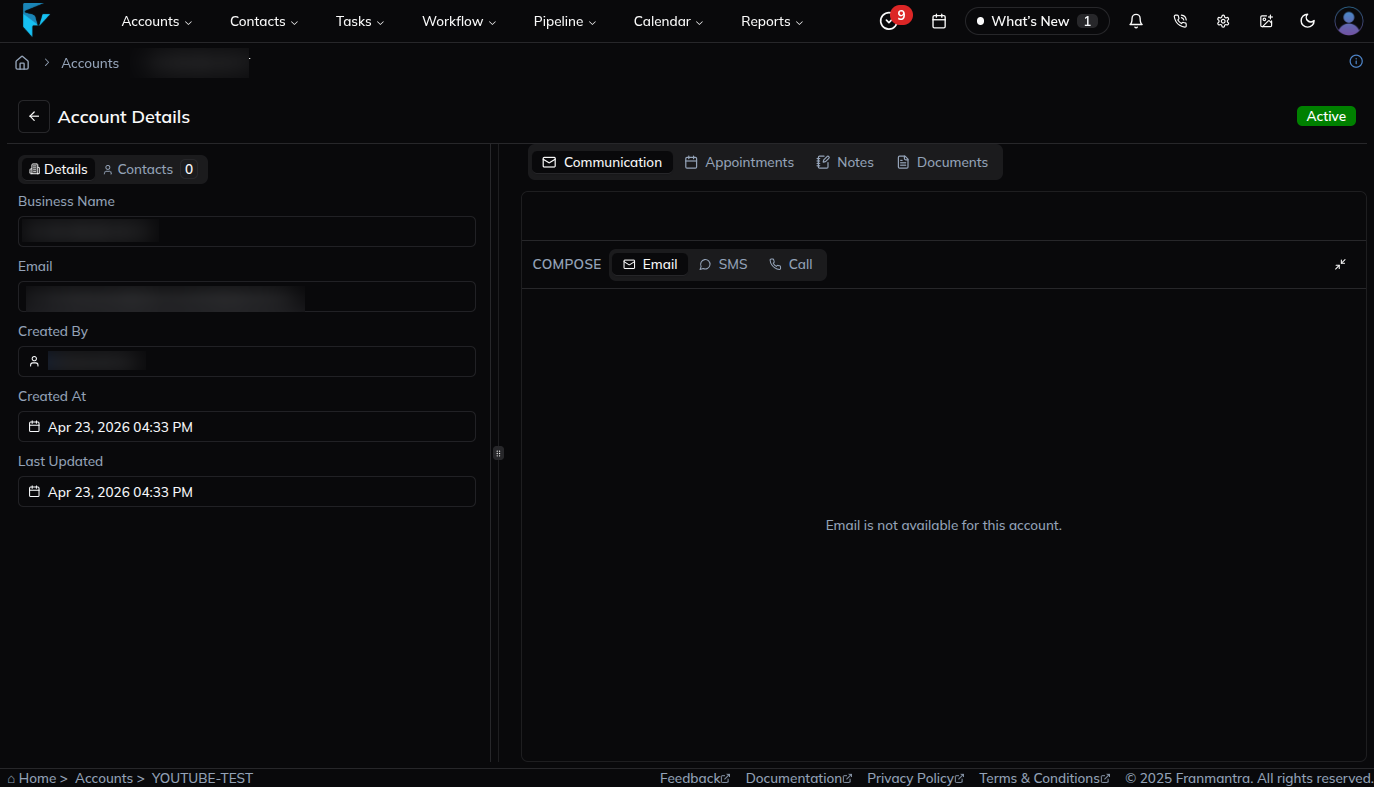
View an Account
- Click View in the action menu.
- Review the account details, contacts, and communication tools on the account details page.
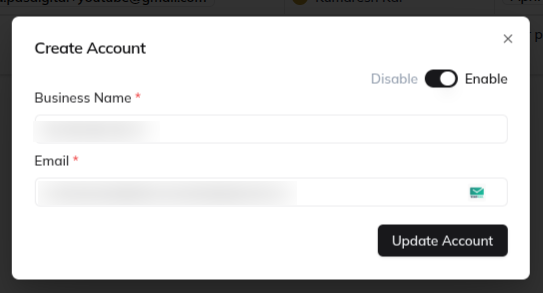
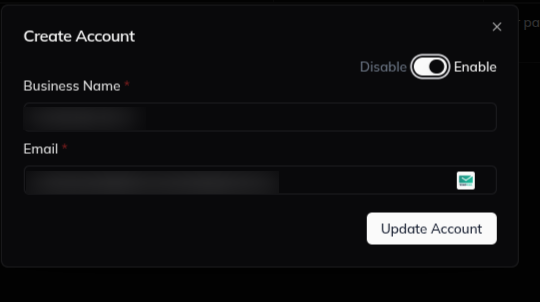
Edit an Account
- Click Edit in the action menu.
- Use the edit form to change the account details.
- Toggle the status to active or inactive when needed.
Delete an Account
- Click Delete in the action menu.
- Review the confirmation form.
- Confirm the deletion.
What happens next
The new account appears in the accounts list after creation. Later, you can open the same page again to view it, edit it, change its status, or delete it.
Notes
- In this CRM, one Business Name can group multiple contacts under one account.
- Use View when you want to check account details, contacts, and communication tools without editing first.
- Check the account carefully before you delete it.
Result
The change is saved in Franmantra CRM and is available to users with the right permissions.
Troubleshooting
- If you cannot see the option, check your role permissions or ask an admin to update your access.
- If the update does not appear immediately, refresh the page and confirm you are in the correct Sub-account.