Create a Contact
What this does
This guide explains how to create a contact in Franmantra CRM.
Create one contact manually or import many contacts from a CSV file.
Before you start
- Make sure you can open the Contact page.
- Prepare the contact details or the CSV file before you start.
Steps
- Open Contact from the main menu.
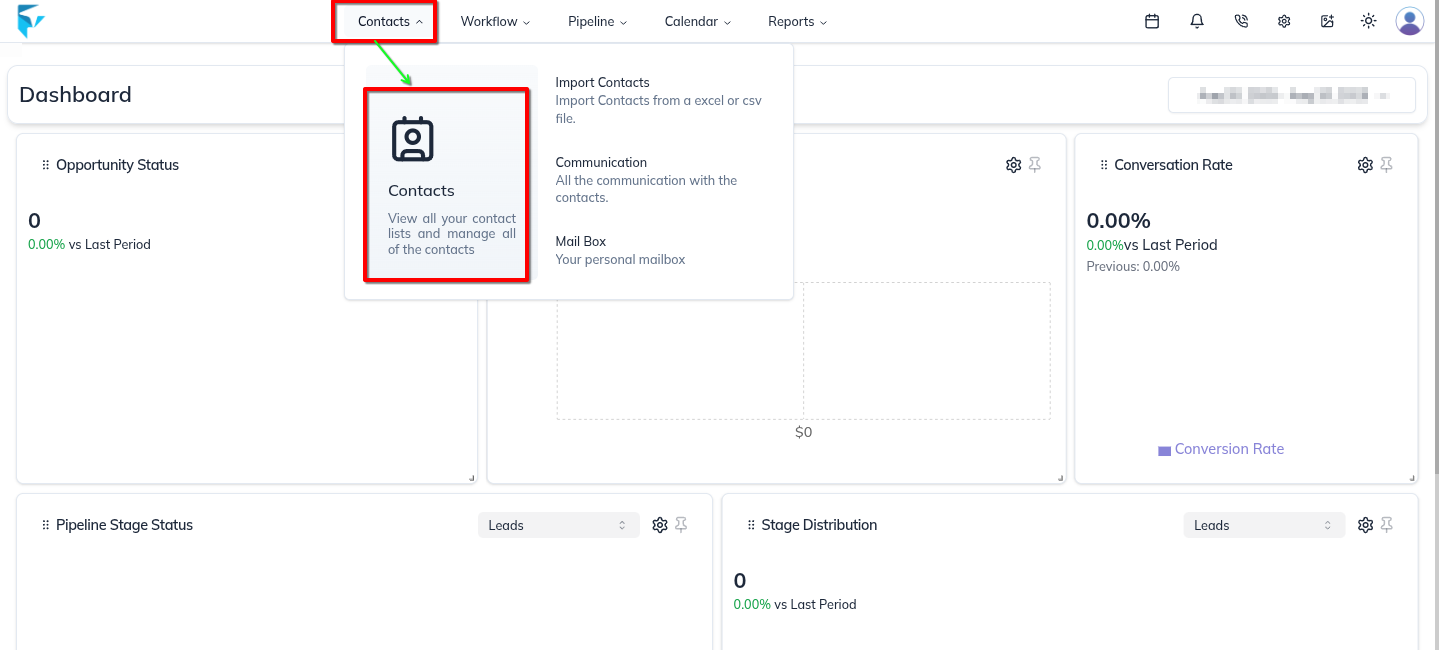
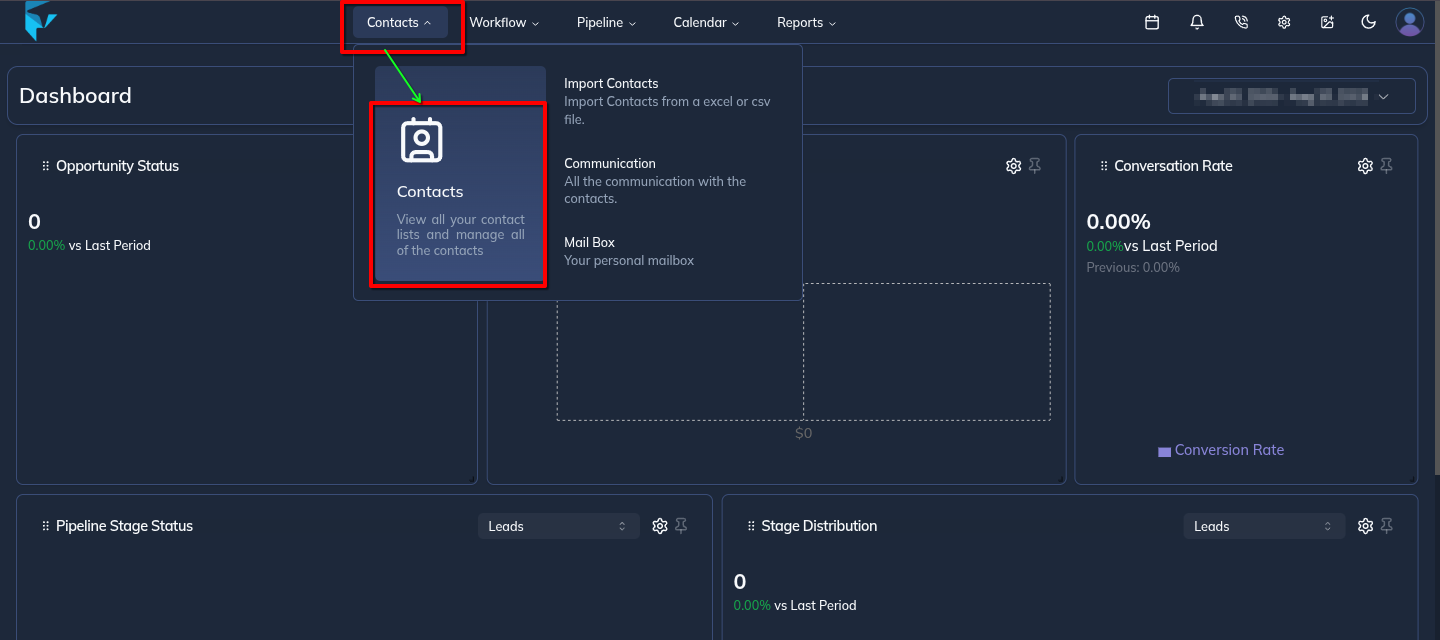
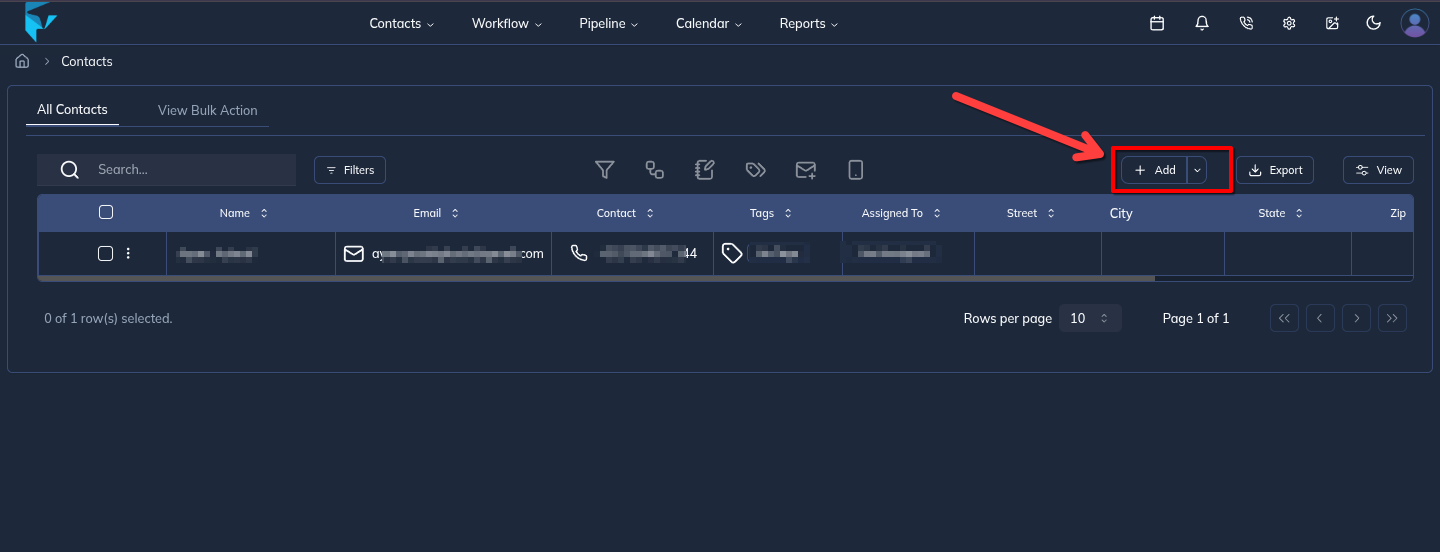
- Review the contact list page.
- Click Add Contact to open the contact form.

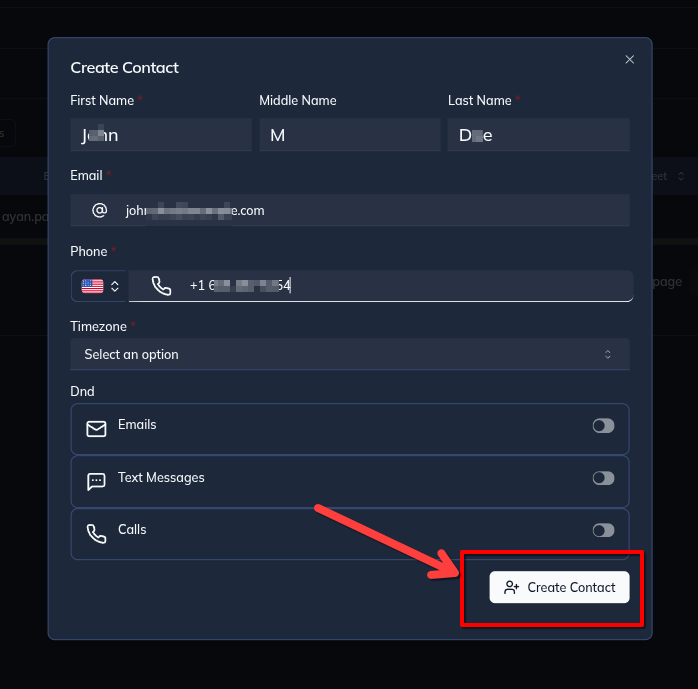
Manual Contact Creation
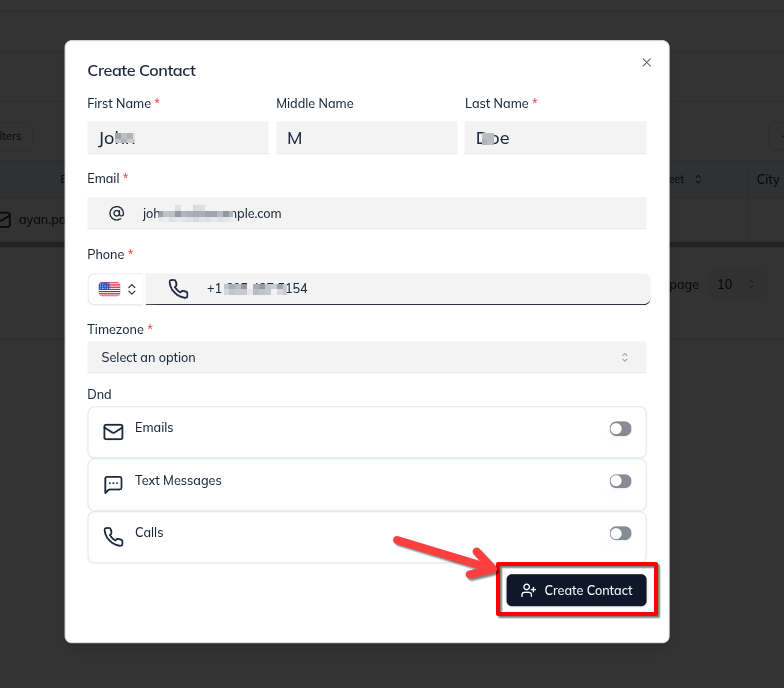
- Enter the contact details, such as name, email, phone number, and other needed information.
- Click Create Contact.
Import Bulk Contact
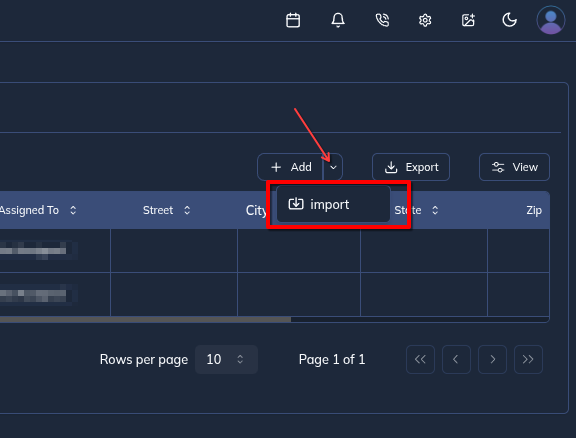
- To import many contacts, open the menu beside Add Contact or use the Contact menu.
- Click Import Contact.


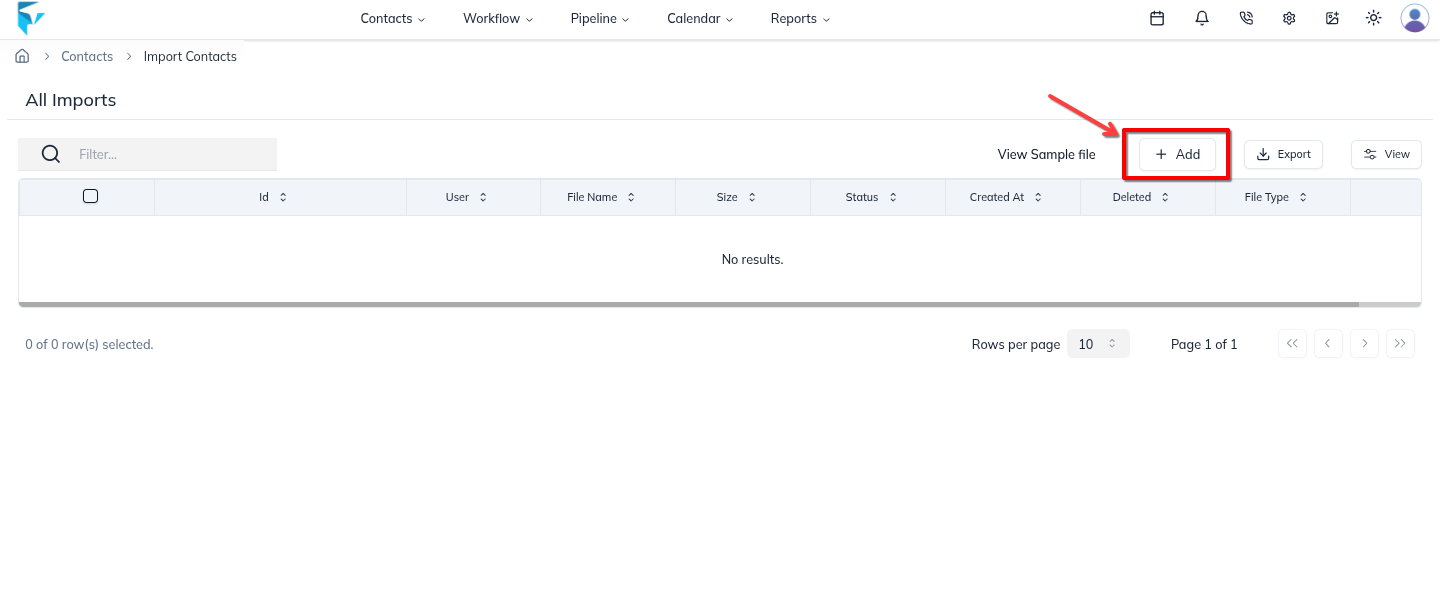
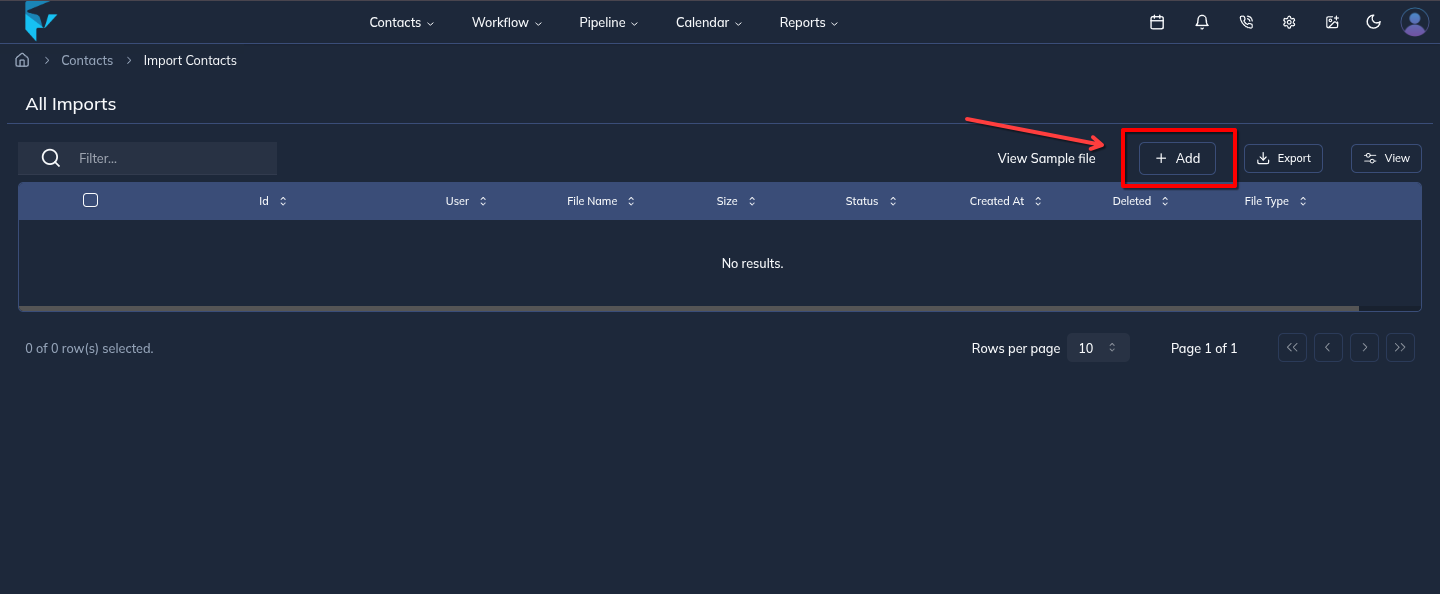
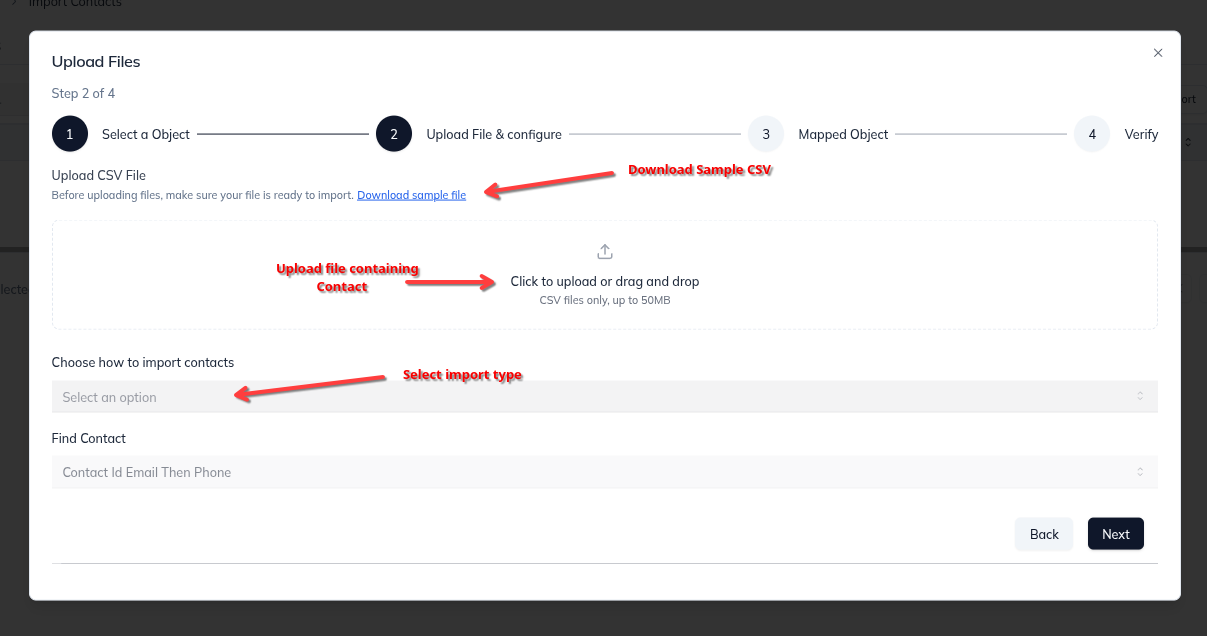
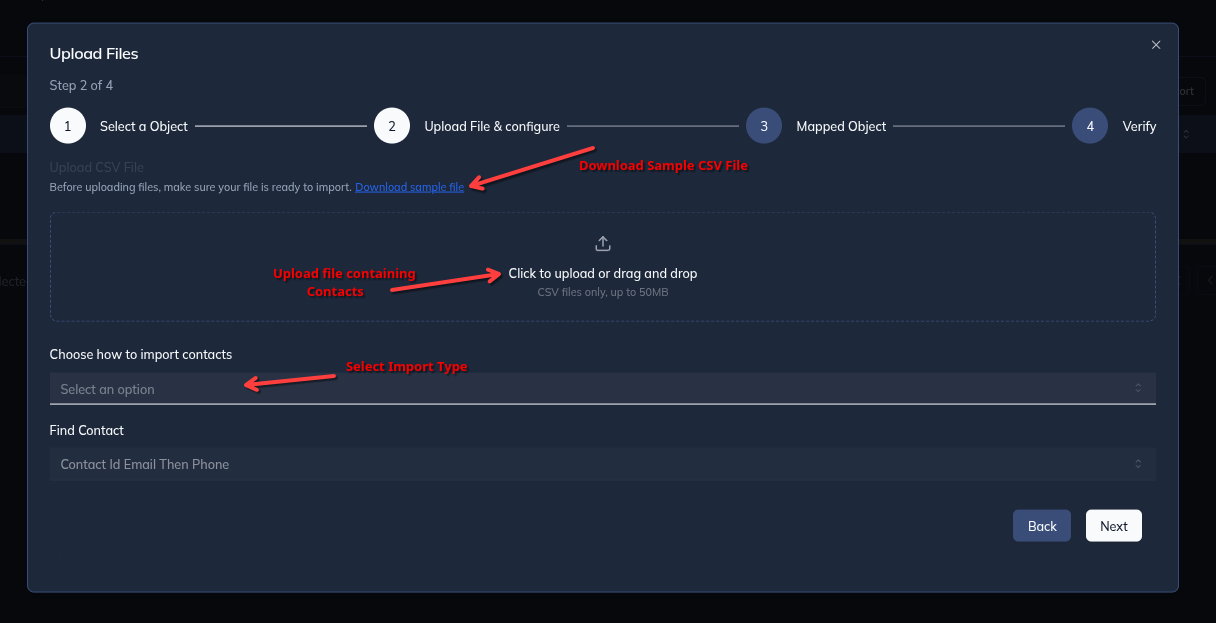
- Open the import page and upload the CSV file.
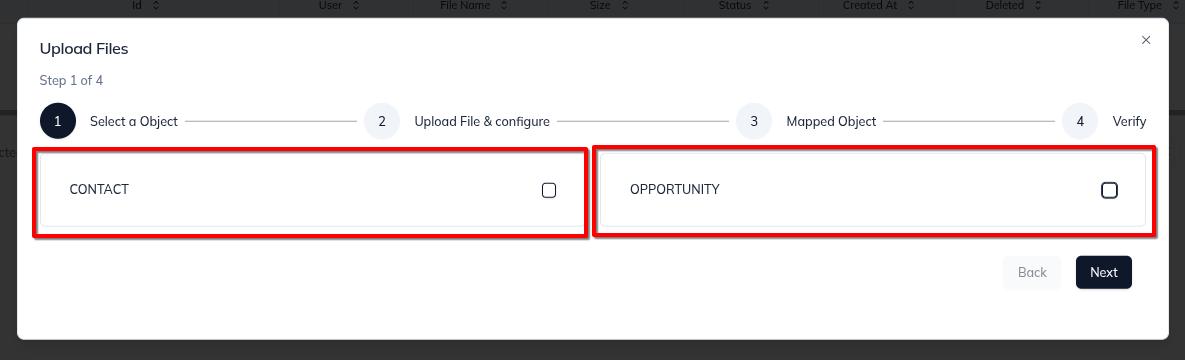
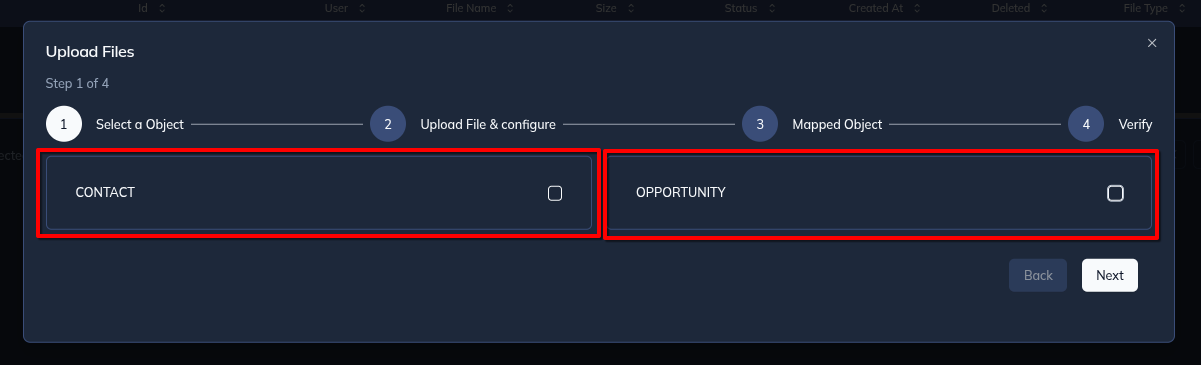
Select an Object
- Choose whether you want to upload contacts, opportunities, or both.
- Click Next.
Upload File and Configure
- Upload the file and set the import options you need.
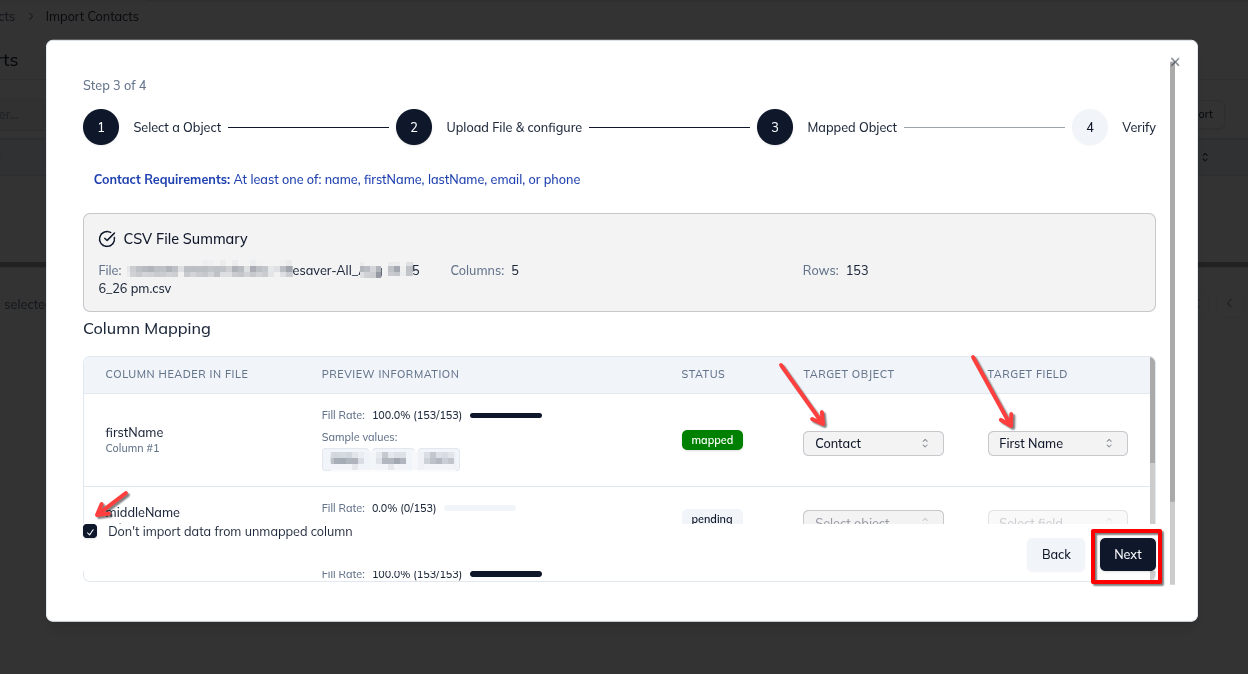
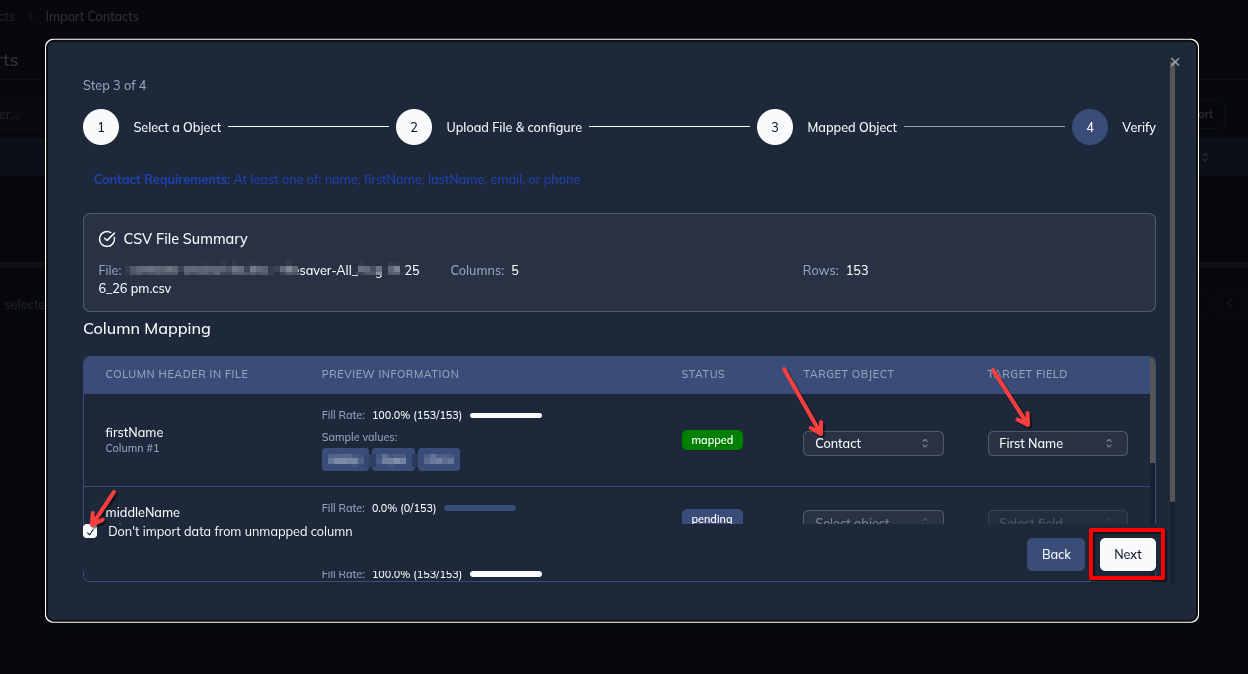
Map the Object
- Match each file column to the correct CRM field.
- If needed, skip extra columns by using don't import data from unmapped columns.
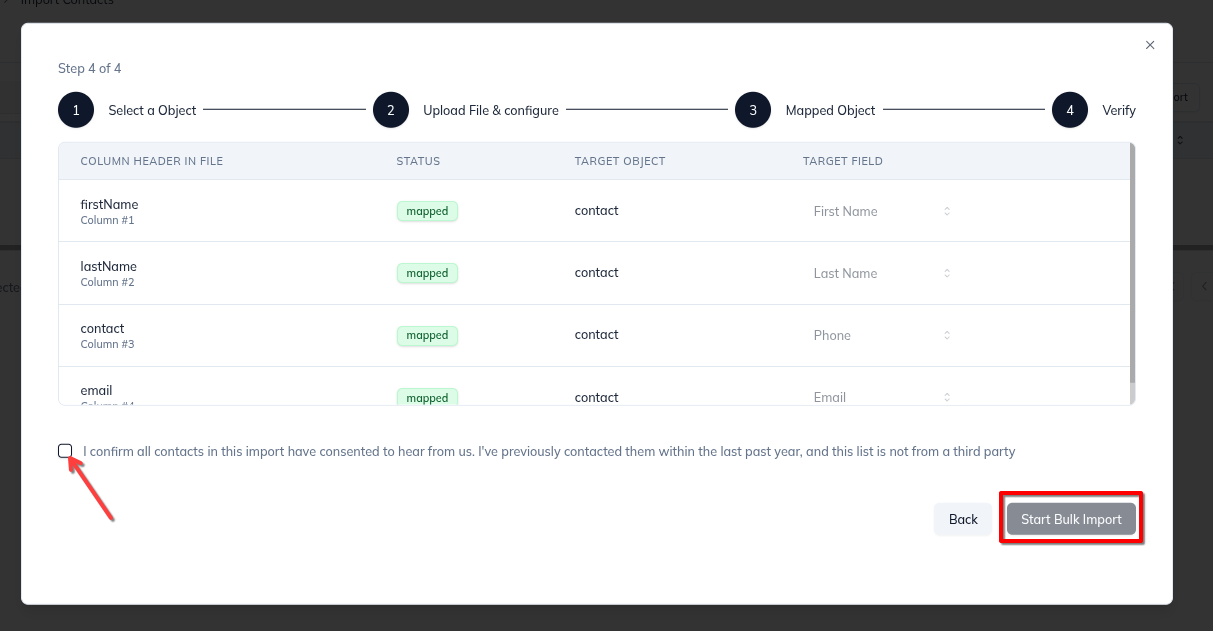
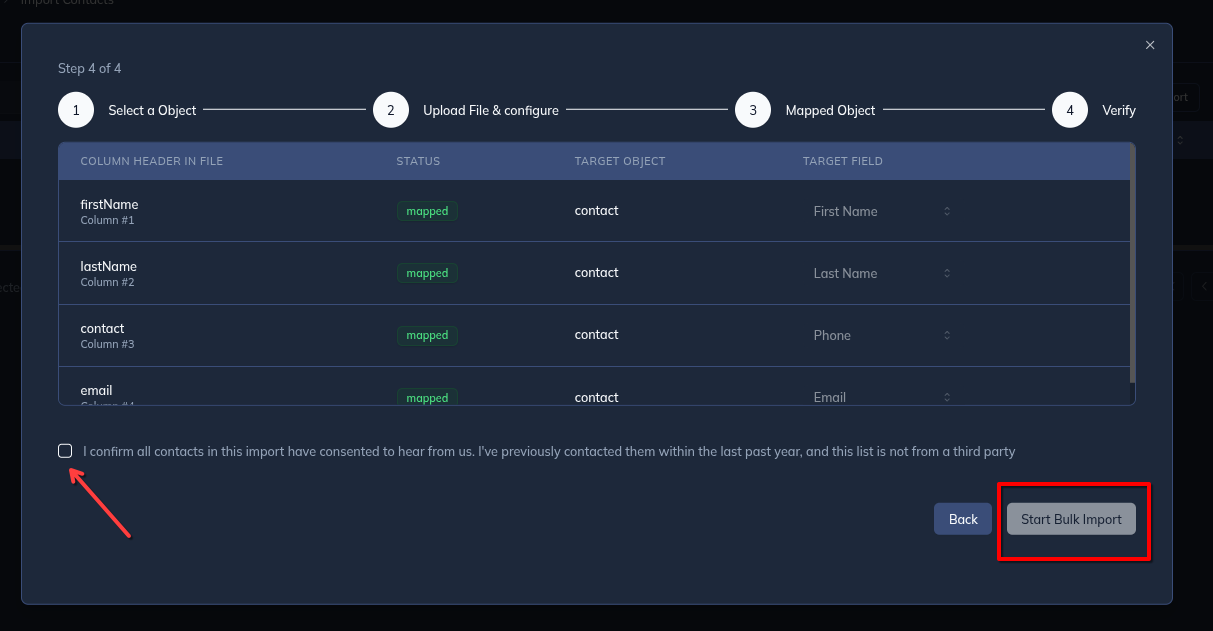
Verify and Import
- Review the import details.
- Accept the terms and conditions if asked.
- Click Start Import.
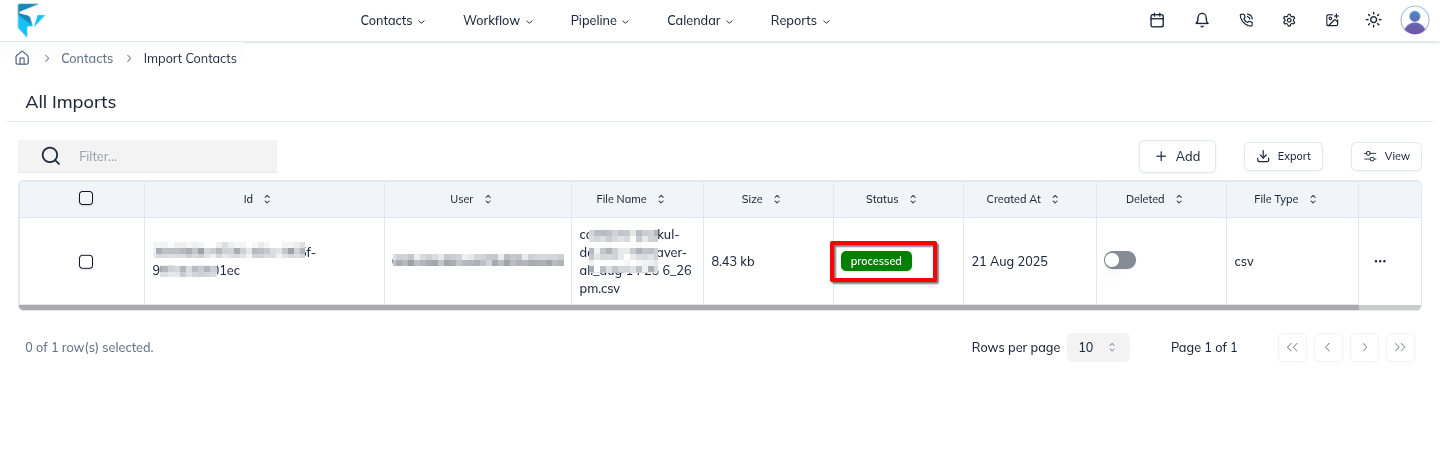
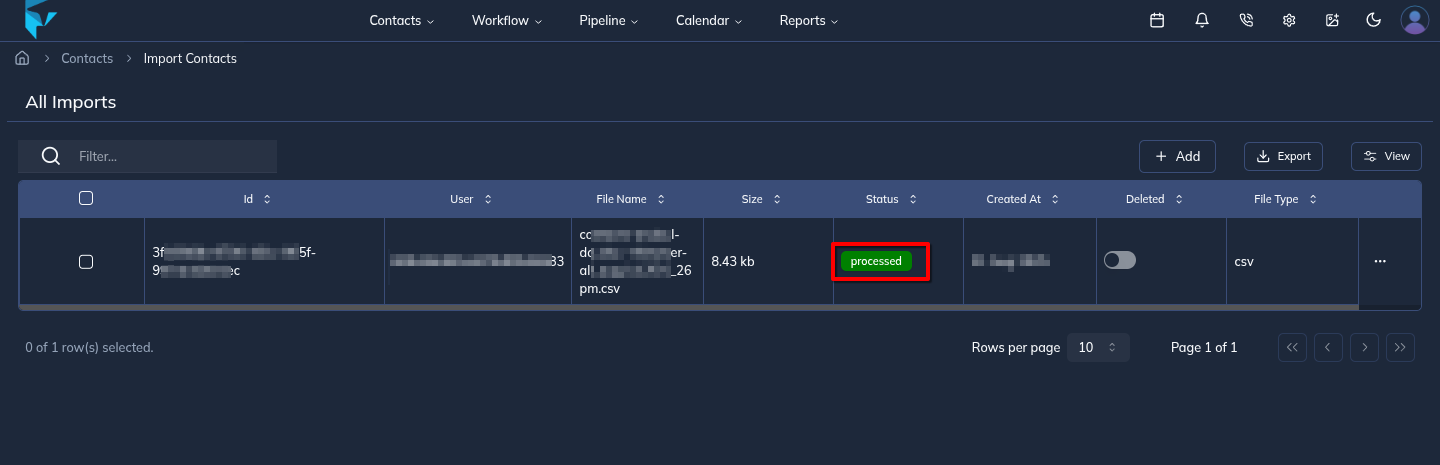
Import Status
- Check the import status list to see whether each file is pending or processed.
What happens next
Your new contact or imported contacts appear in the CRM after the save or import finishes.
Notes
- Use the correct CSV format before you upload.
- Check the mapping carefully so data goes into the right fields.
Result
The change is saved in Franmantra CRM and is available to users with the right permissions.
Troubleshooting
- If you cannot see the option, check your role permissions or ask an admin to update your access.
- If the update does not appear immediately, refresh the page and confirm you are in the correct Sub-account.