Roles
Overview
The Roles feature helps you manage user permissions in the system. A role controls what a user can view and what actions they can perform.
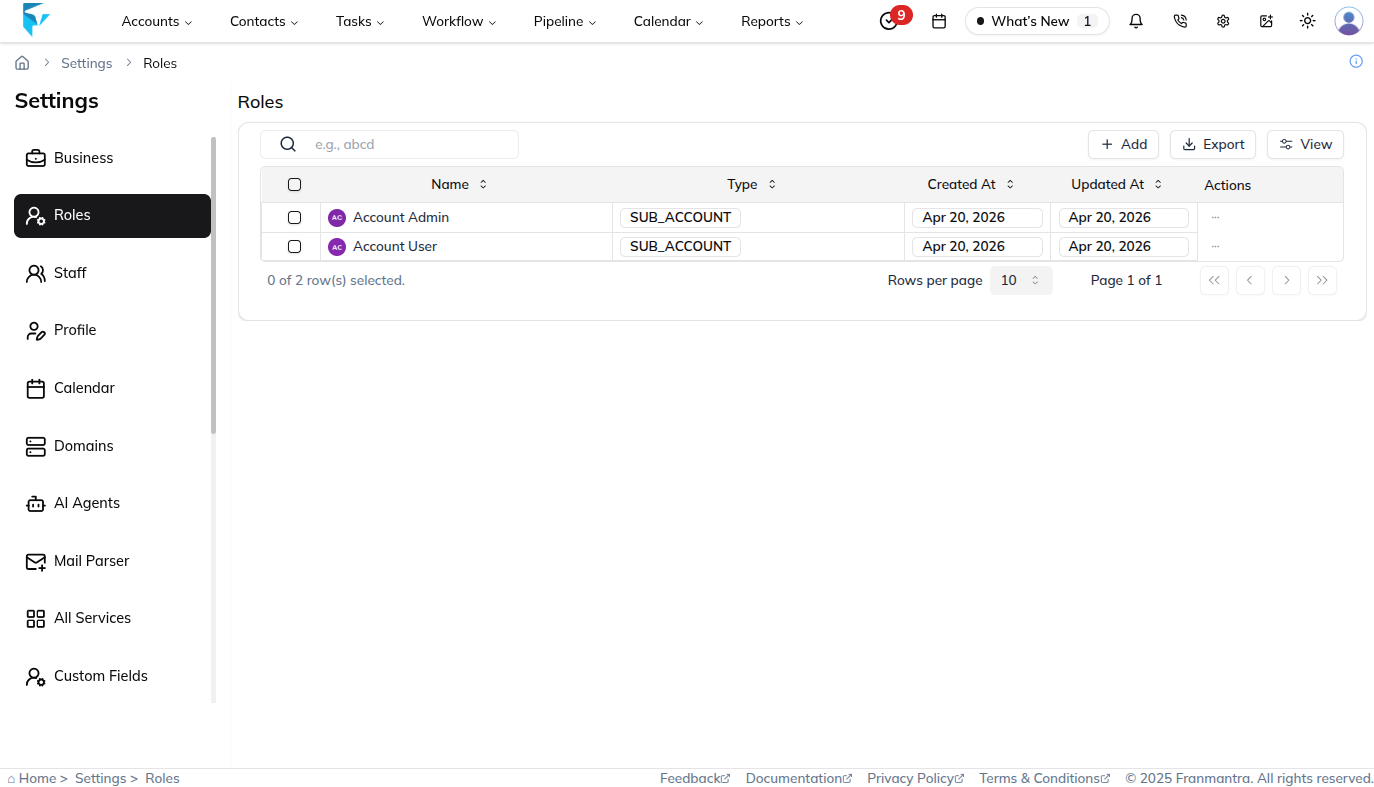
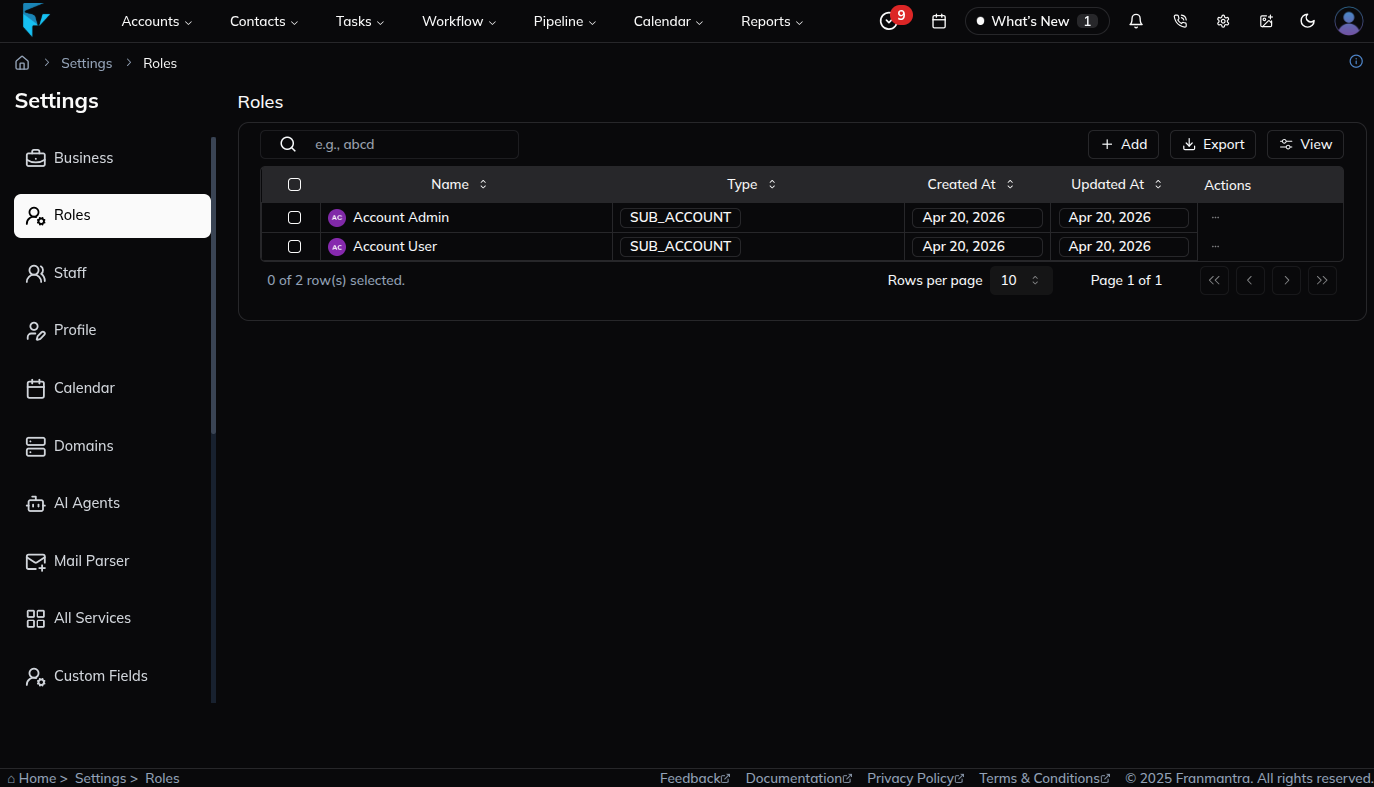
What You See
When you open the Roles section, you will see a table listing all created roles. The table shows the role name, type, creation date, and available actions.
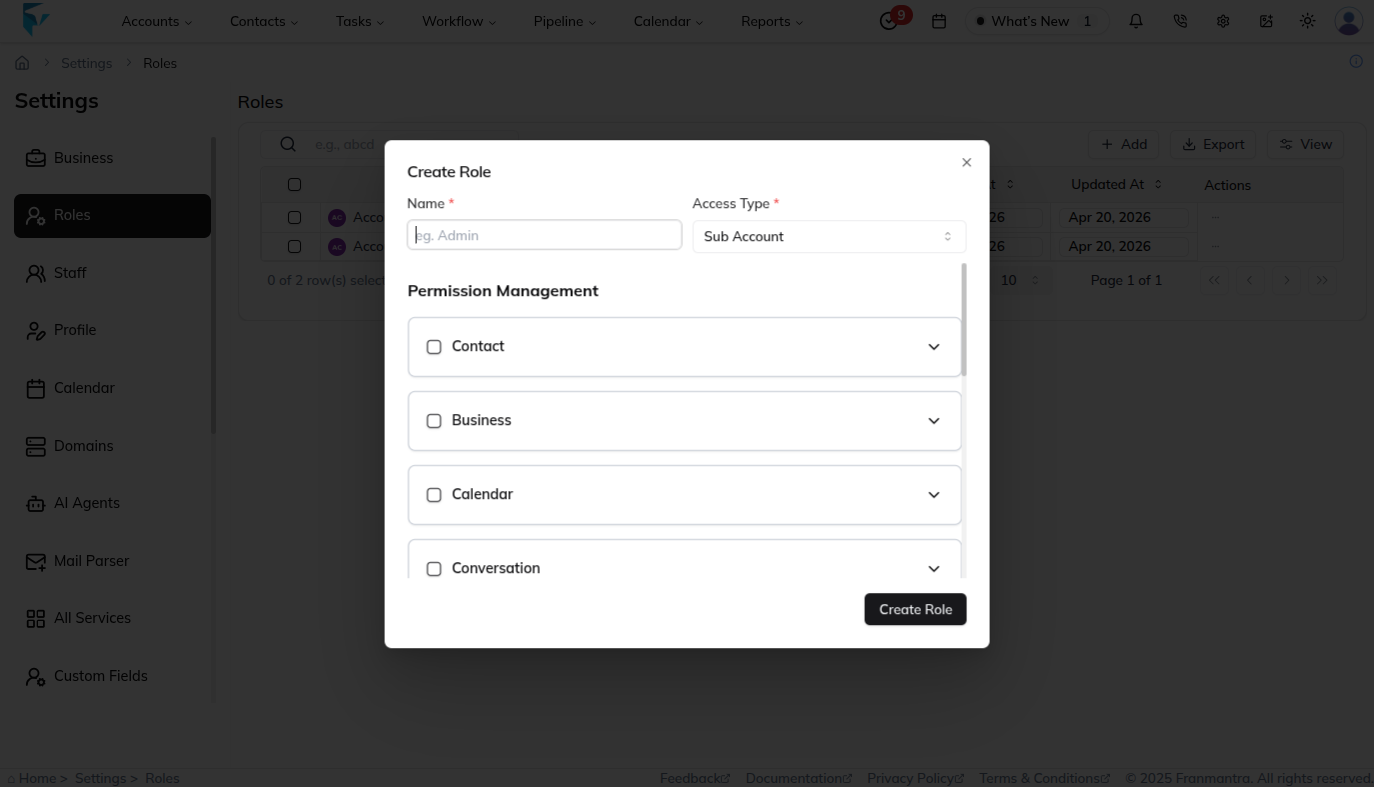
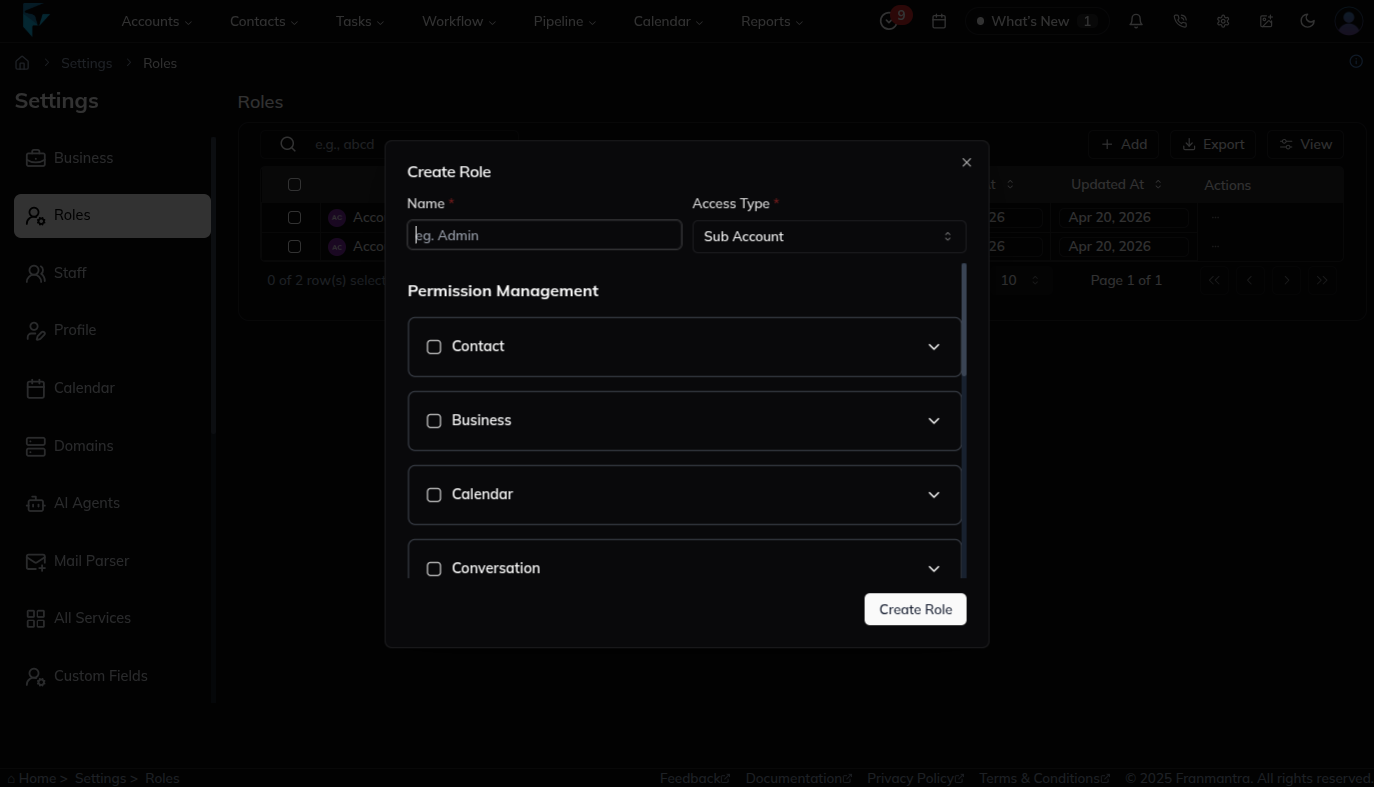
Key Actions
To add a new role, click Add. A form will open where you can enter the role details and choose its permissions. This allows you to create access levels that match each user’s responsibilities.
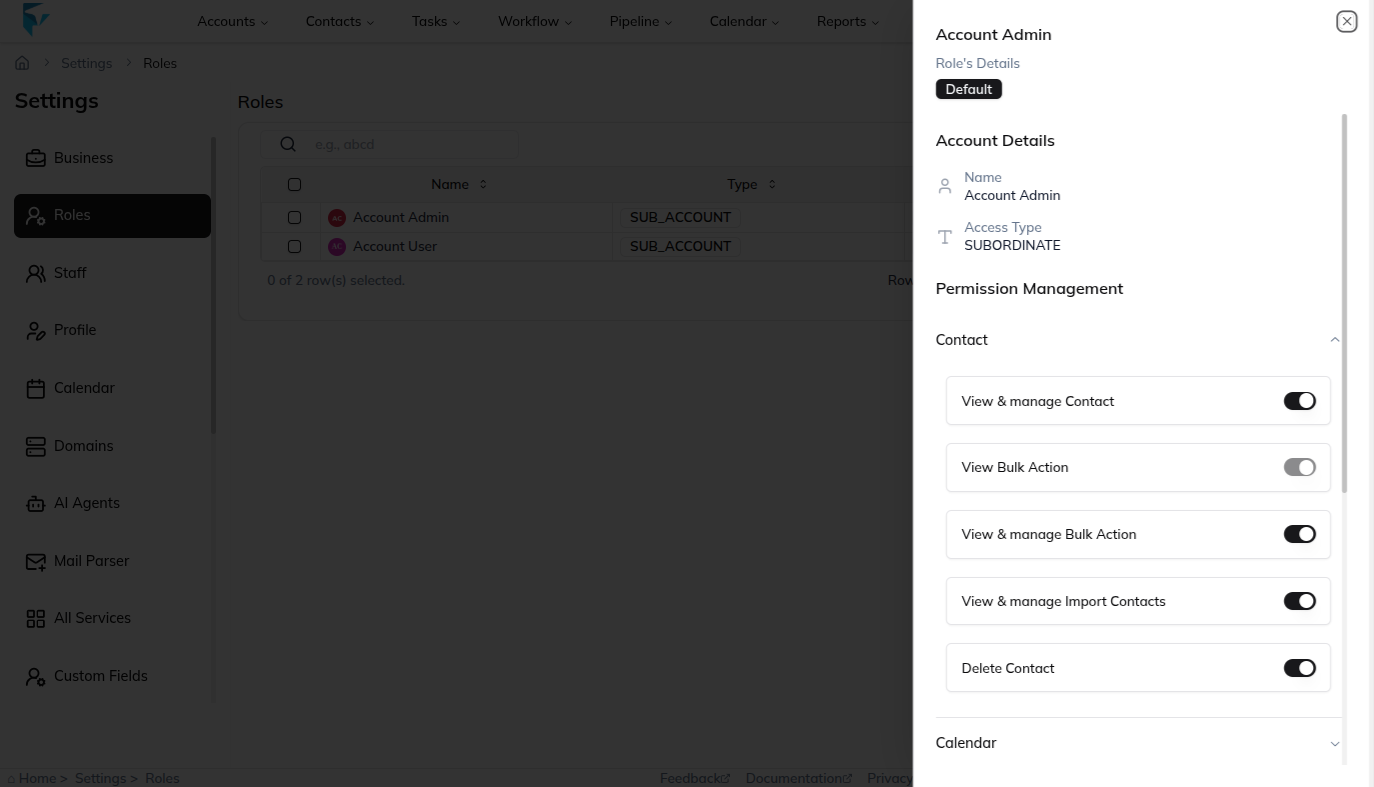
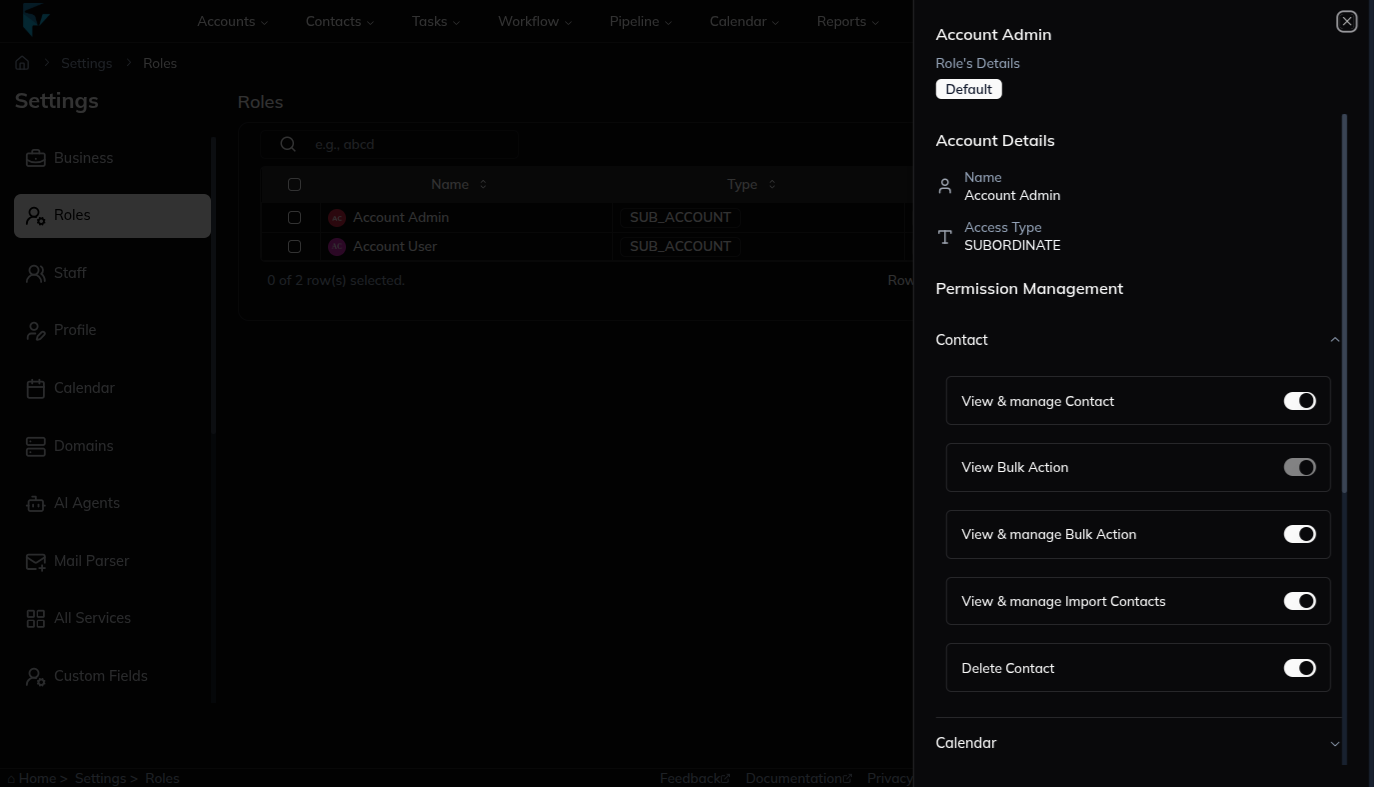
Click a role name in the table to open its details sheet. There you can review the role information and use the Edit button to update the role or change its permissions.
Example
If managers should see reports but staff should only work with customer records, you can create separate roles with different permissions. Later, if staff members need access to appointments, you can update that role and add the required permission.