Tags Module
What This Is
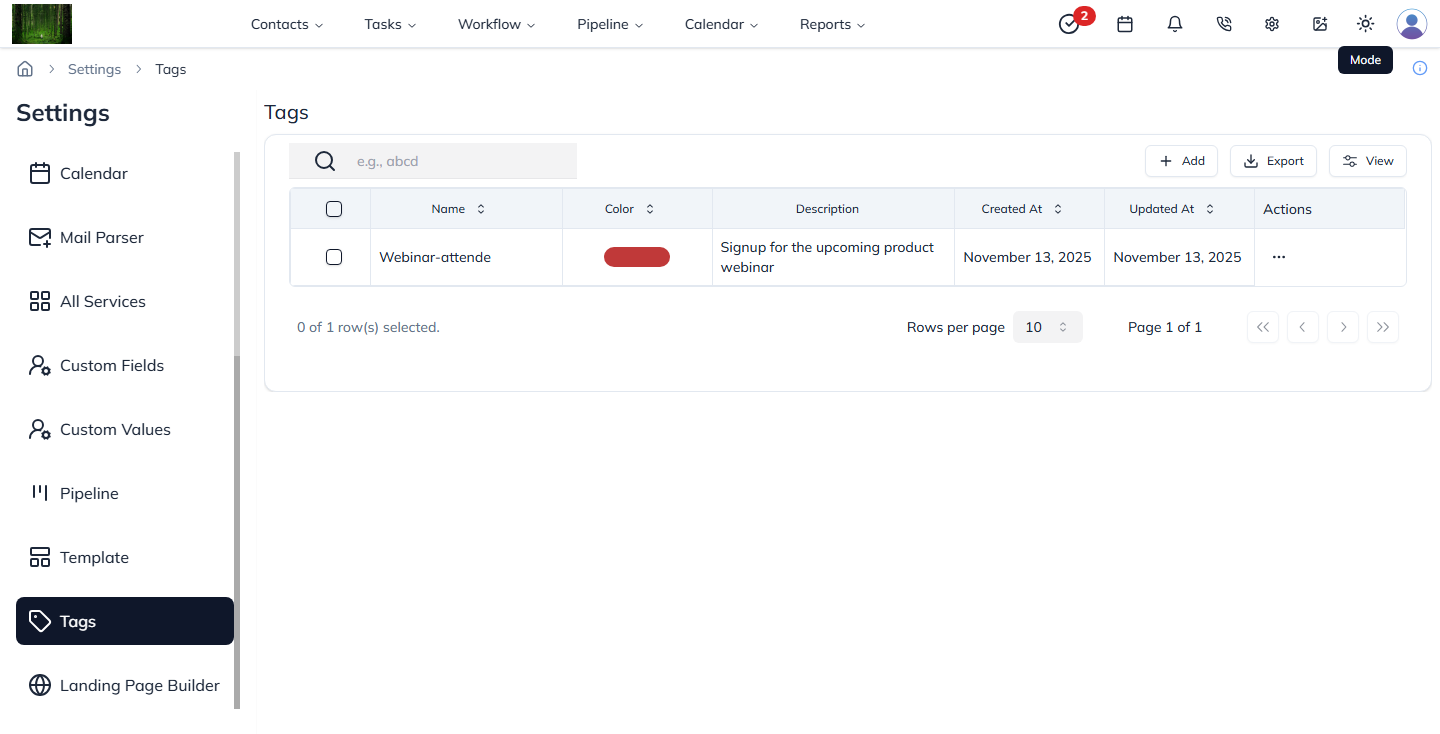
The Tags module helps you label and group records in the CRM. A tag is a short label, such as New Lead, VIP, Follow Up, or Customer.
When To Use It
Use Tags when you want to:
- Organize contacts, tasks, or other records.
- Filter records by category.
- Mark important records.
- Share tags with sub-accounts when needed.
- Keep related records easy to find.
What You Can Do
In the Tags module, you can:
- Create a new tag.
- Choose a tag color.
- View and edit tag details.
- Delete tags.
- Share tags with sub-accounts.
- Use table or card view.
Basic Workflow
- Open Settings > Tags.
- Click Add.
- Enter the tag name.
- Choose a color and add a description if needed.
- Save the tag.
- Apply the tag to records where it is useful.
Example
You can create a Hot Lead tag and apply it to contacts who are very interested. Your sales team can then filter by that tag and follow up faster.
Notes
- Use simple tag names that everyone understands.
- Do not create too many similar tags.
- Use colors to make important tags easy to notice.