Workflow Module Documentation
This guide walks you through accessing and using the Workflow module in Franmantra CRM.
Prerequisites
- Valid Franmantra CRM credentials.
- Appropriate role permissions to view and manage Workflows.
1. Log in to Franmantra CRM
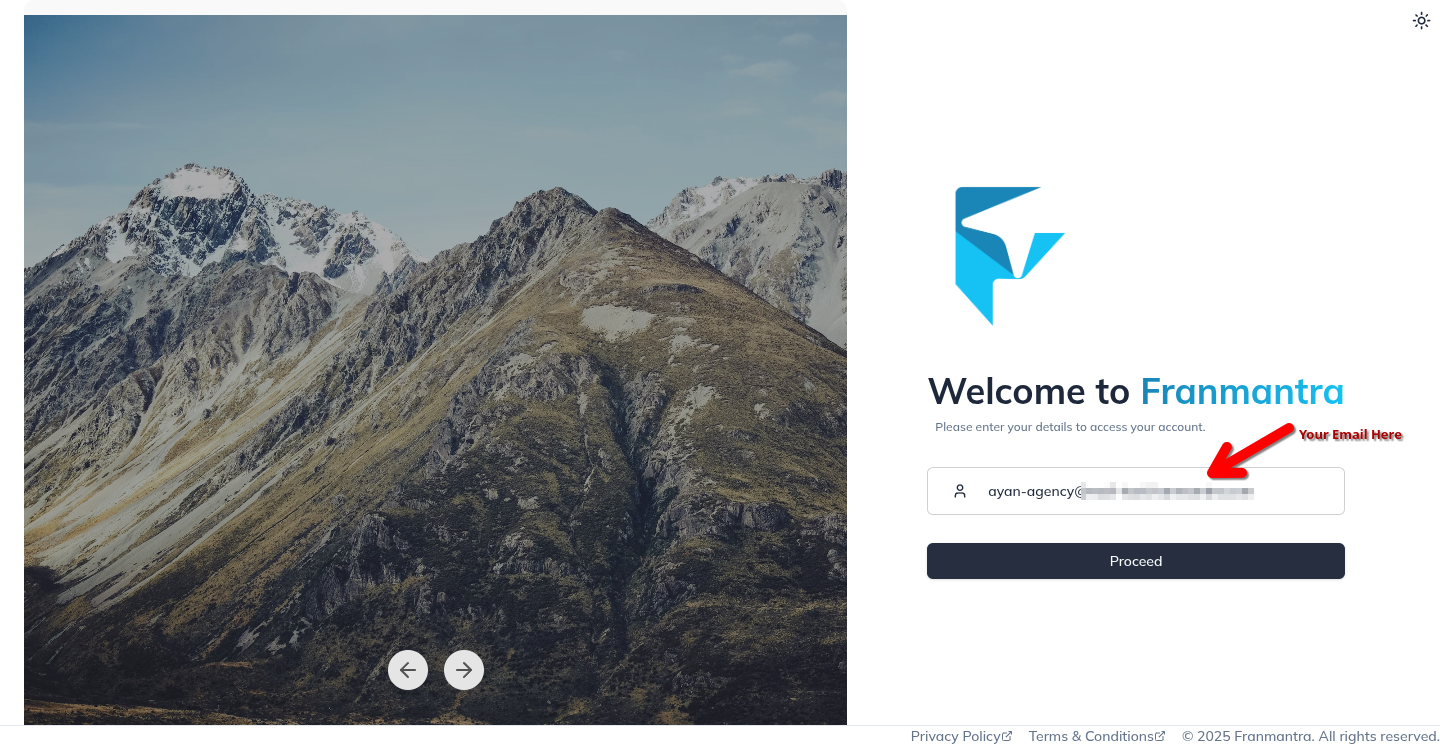
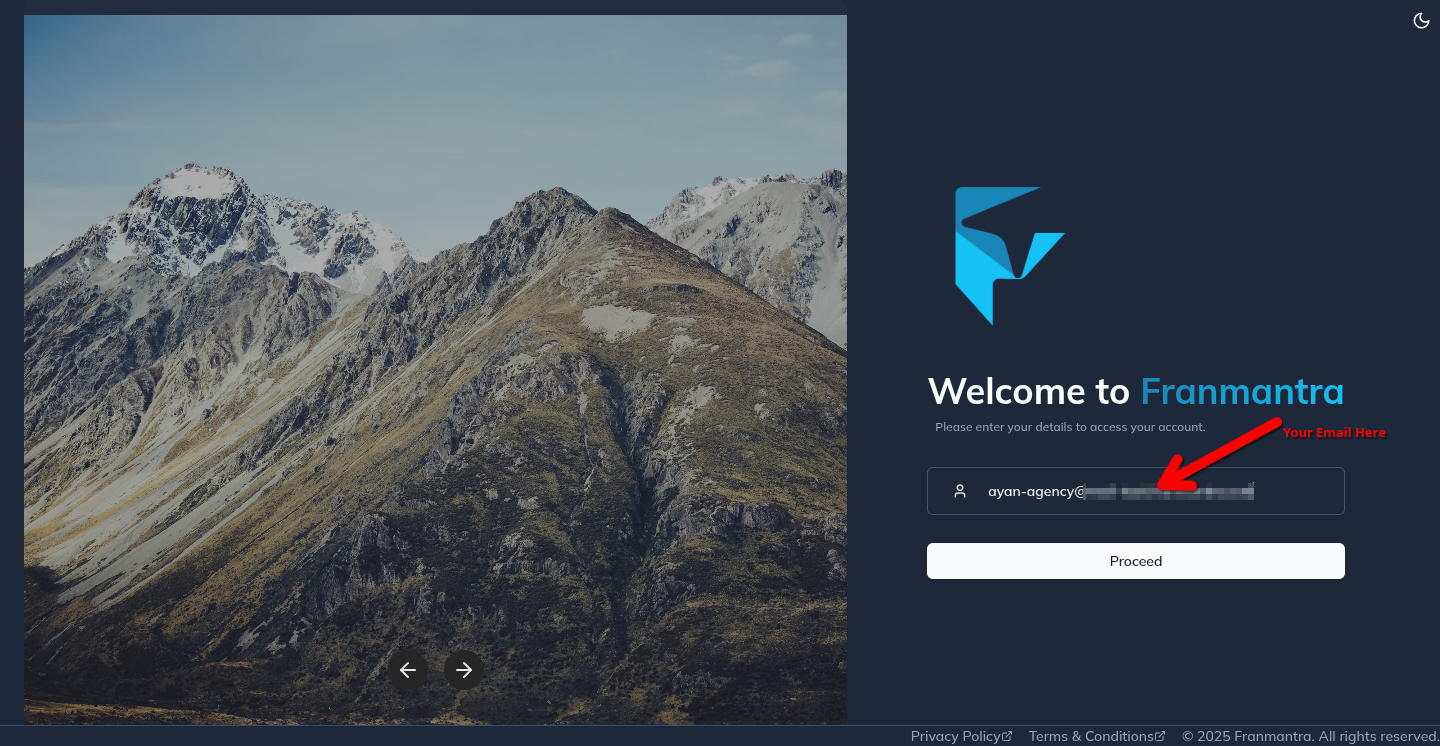
Navigate to https://uat.franmantra.com and sign in with your credentials.
Steps:
- Enter your Email:
kk@mail-test.franmantra.com. - Click Proceed.
- Enter your Password:
asdfasdf. - Click Sign in to open the Dashboard.
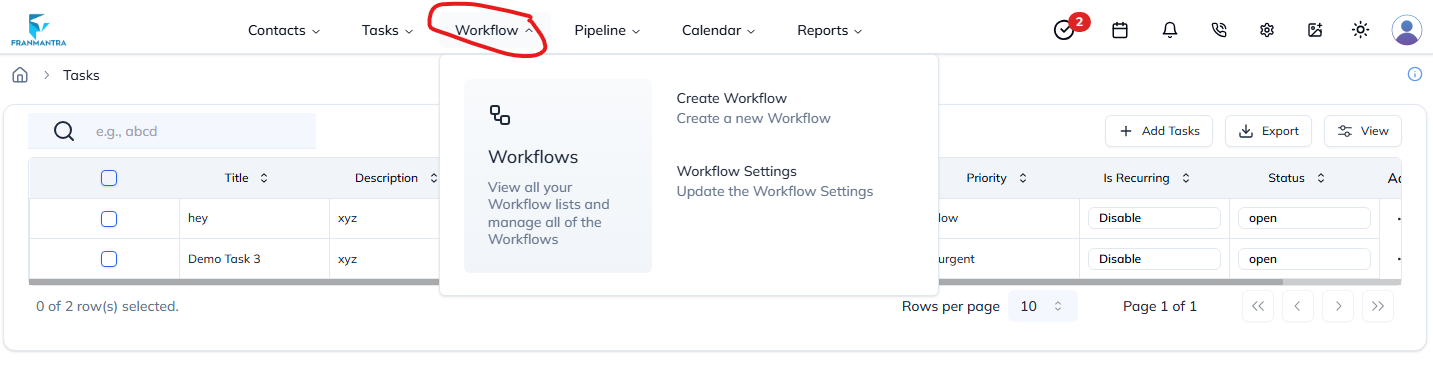
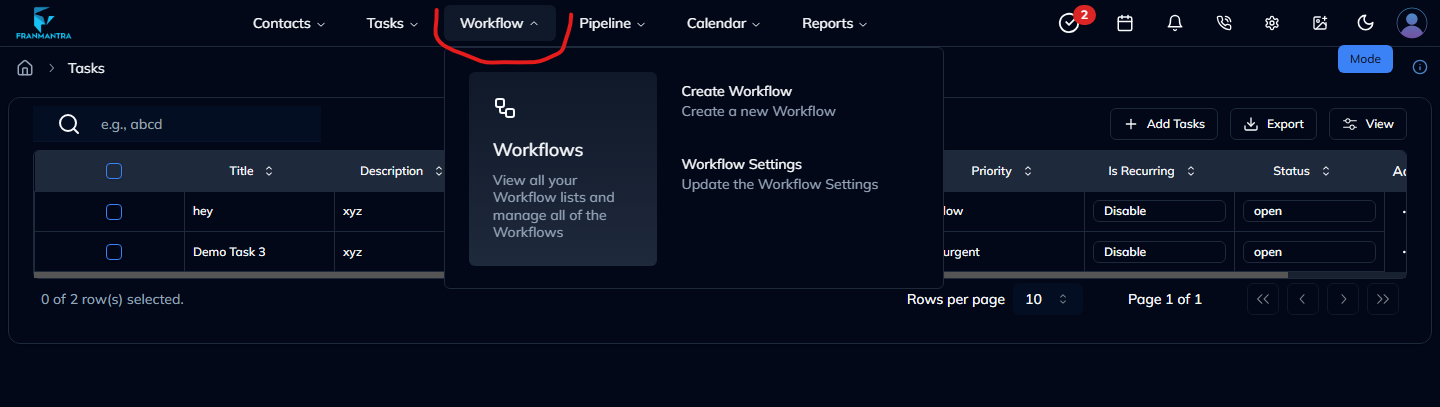
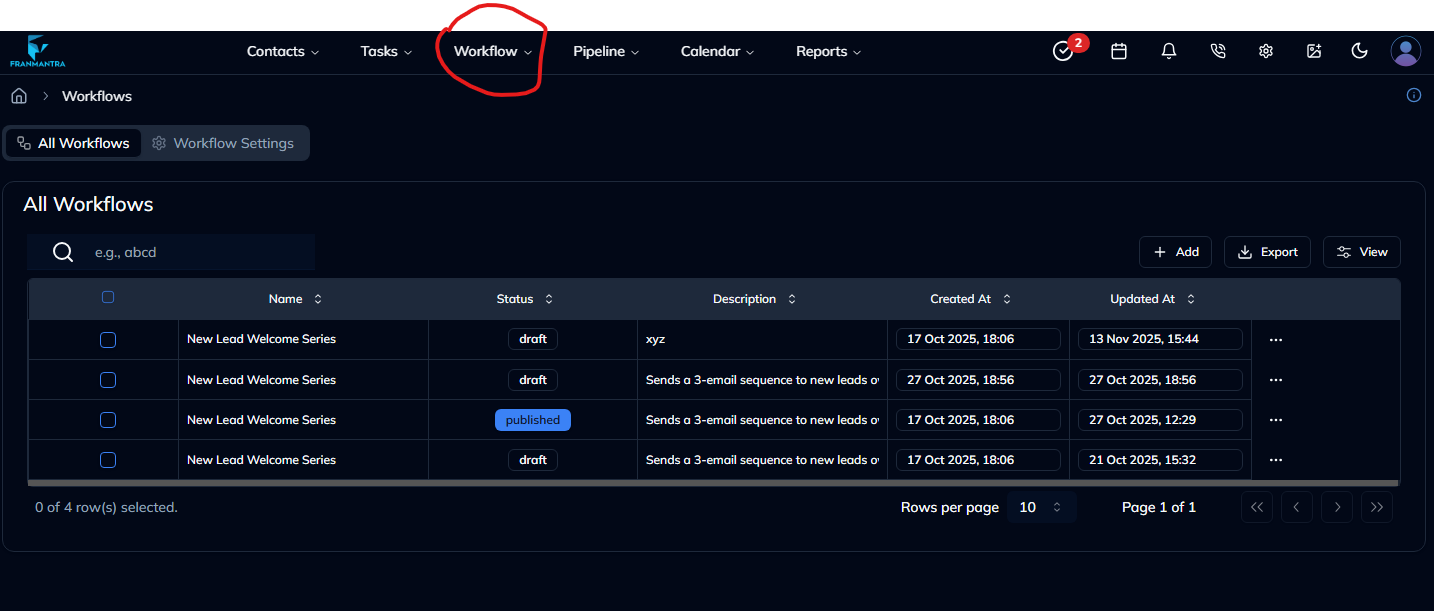
2. Open the Workflow Module
From the top navigation bar, open Workflow → Workflows.
3. All Workflows Page Overview
The All Workflows page lists every workflow configured in the system.
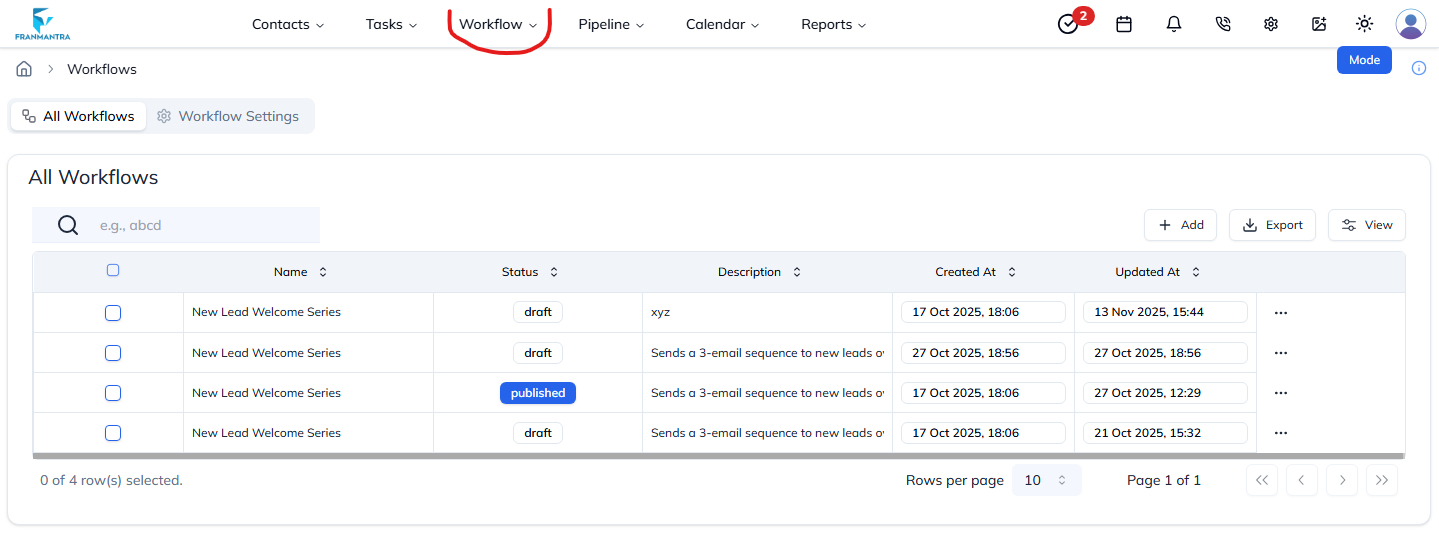
Page Elements
| # | Element | Description |
|---|---|---|
| 1 | Search Bar | Quickly filter workflows by name. |
| 2 | Add button | Create a new workflow. |
| 3 | Export dropdown | Export selected workflows (CSV, Excel, etc.). |
| 4 | View dropdown | Adjust visible columns in the table. |
| 5 | Table Header | Sortable columns: Name, Status, Description, Created At, Updated At. |
| 6 | Row Checkboxes | Select individual workflows for bulk actions. |
| 7 | Pagination & Rows-per-page | Navigate through pages and adjust results per page. |
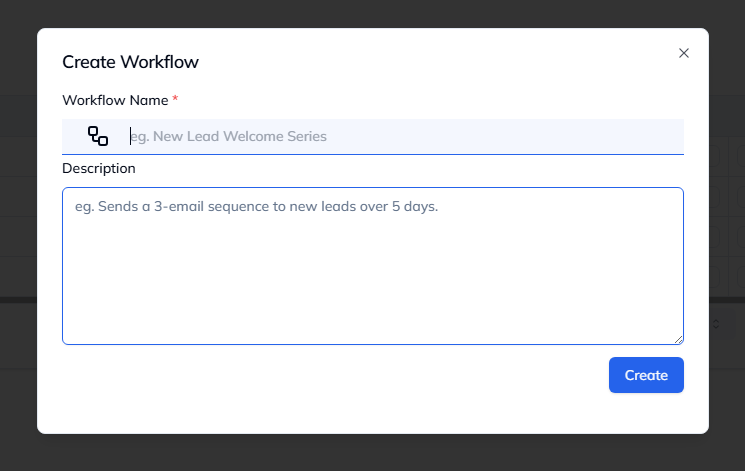
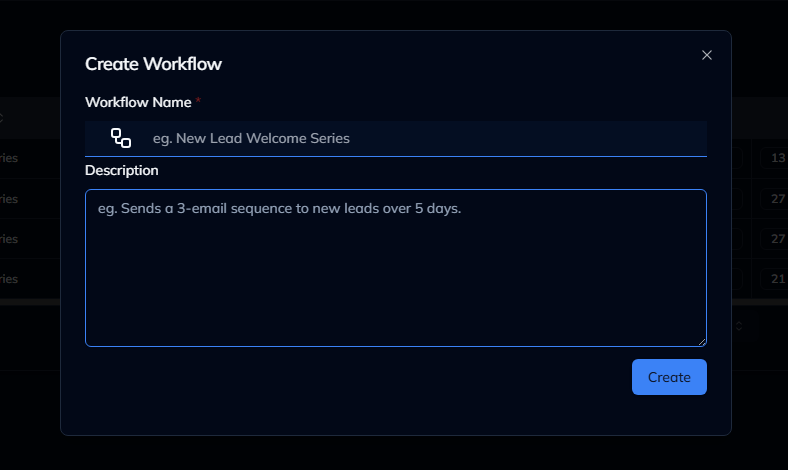
4. Creating a New Workflow
- Click Add.
- Fill in the required fields (Name, Description, etc.).
- Configure workflow steps and conditions.
- Click Create.
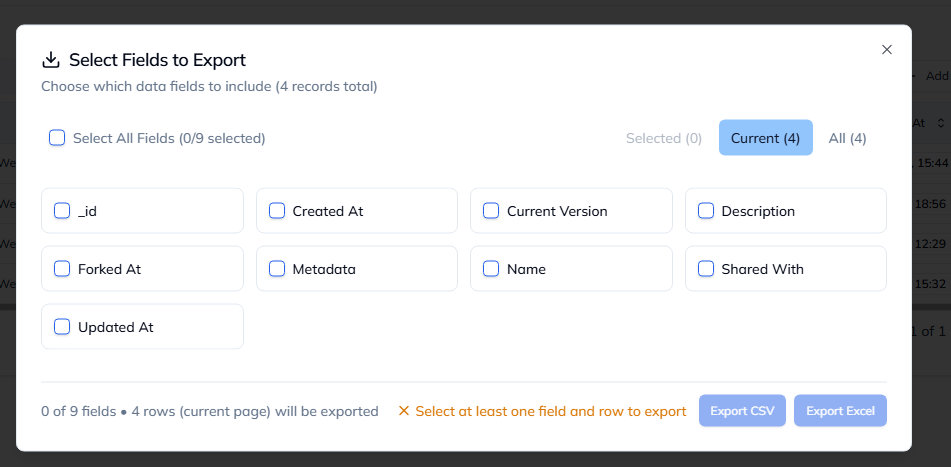
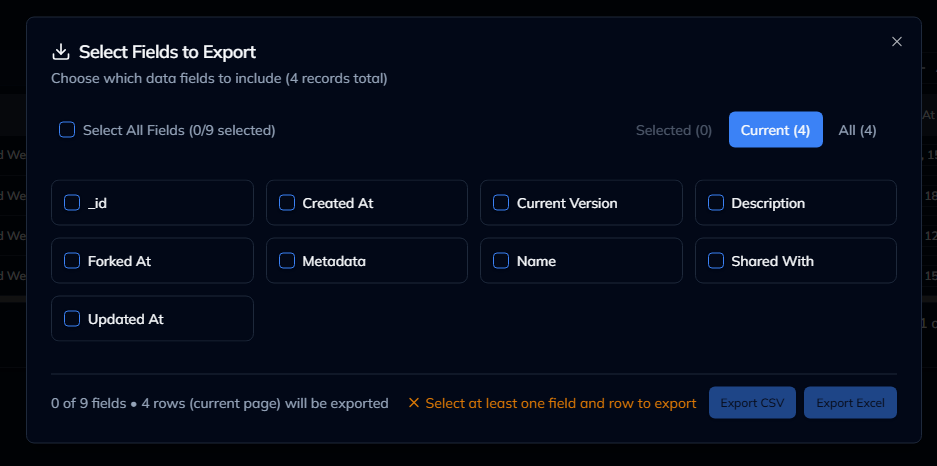
5. Exporting Workflows
- Select one or more workflows via checkboxes.
- Click Export and choose your desired format.
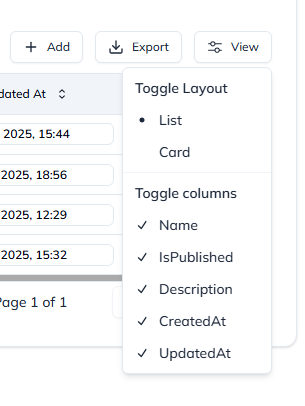
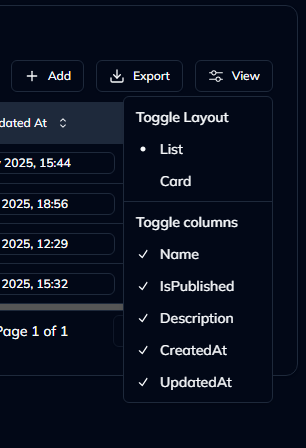
6. Customising Table View
- Click View.
- Toggle columns you wish to show or hide.
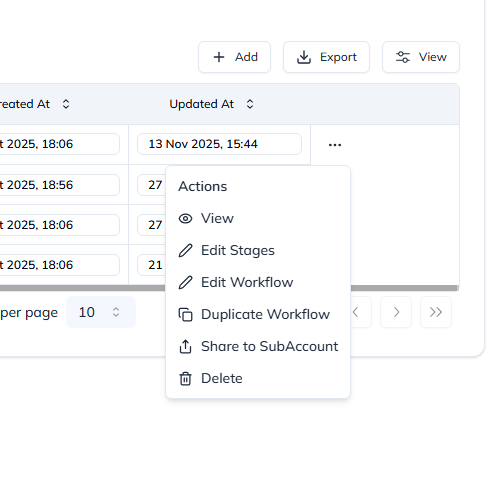
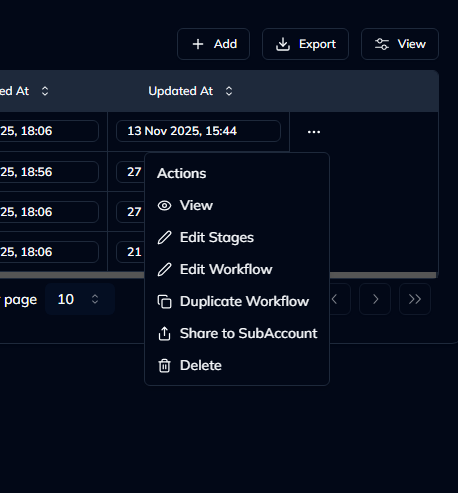
7. Editing or Deleting a Workflow
- Click the ellipsis (⋯) at the end of a workflow row.
- Select Edit or Delete as required.
8. Tips & Best Practices
- Keep workflow names descriptive and consistent.
- Regularly review inactive or outdated workflows.
- Utilise Export for backups before making bulk changes.
Conclusion
You now know how to access, create, manage, and export workflows in Franmantra CRM. For additional help, refer to the in-app Documentation link.