Tags
Overview
The Tags feature helps you label and organize data so it is easier to group, filter, and find later. You can use tags such as VIP Customer, Follow-up Needed, or New Lead to keep records organized.
What You See
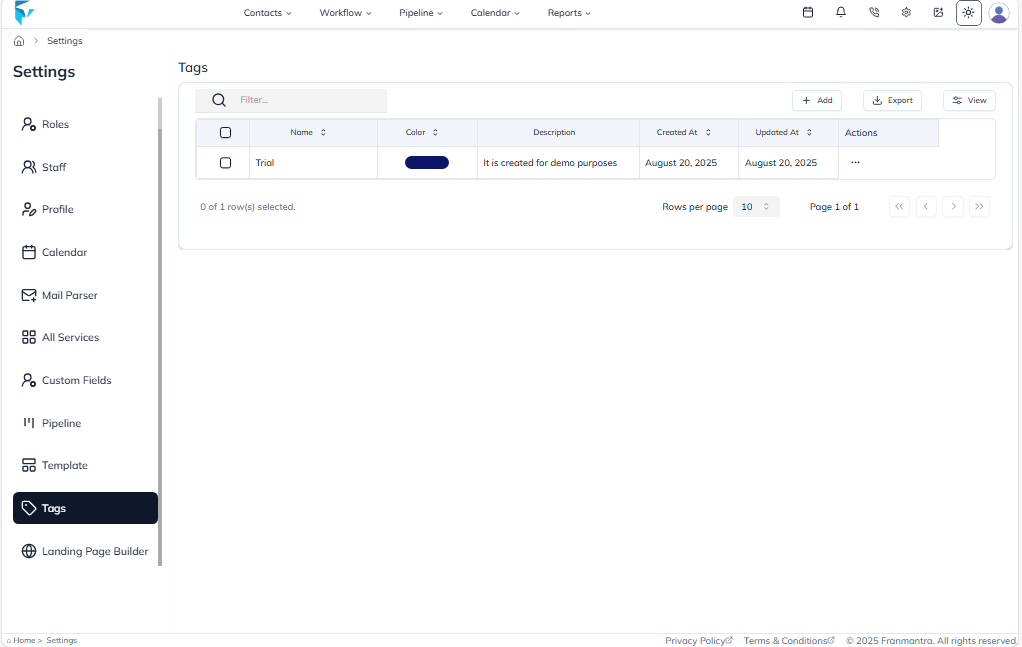
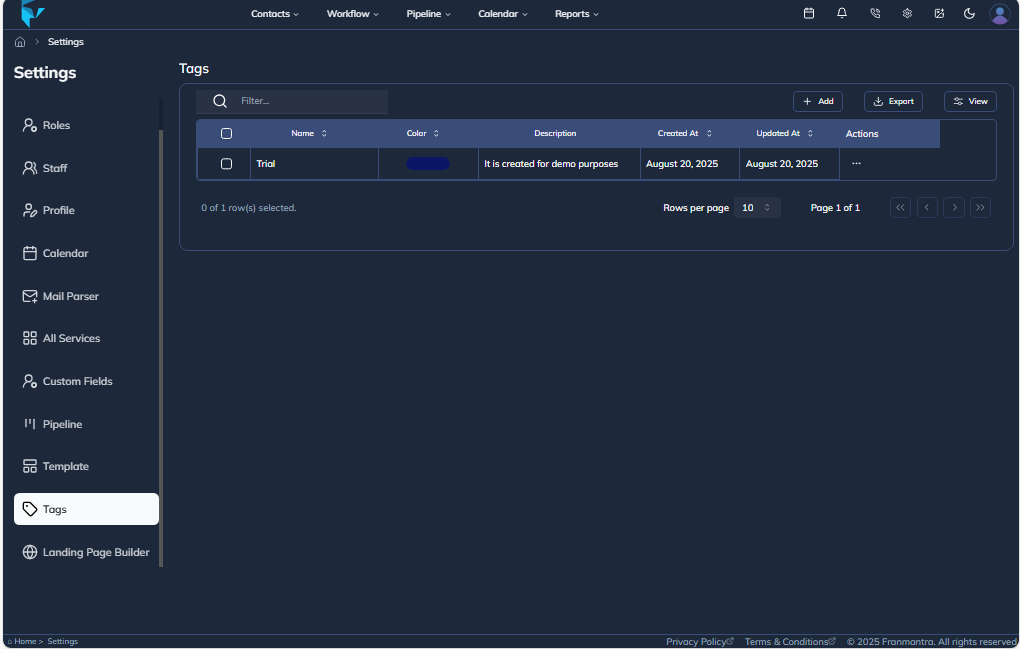
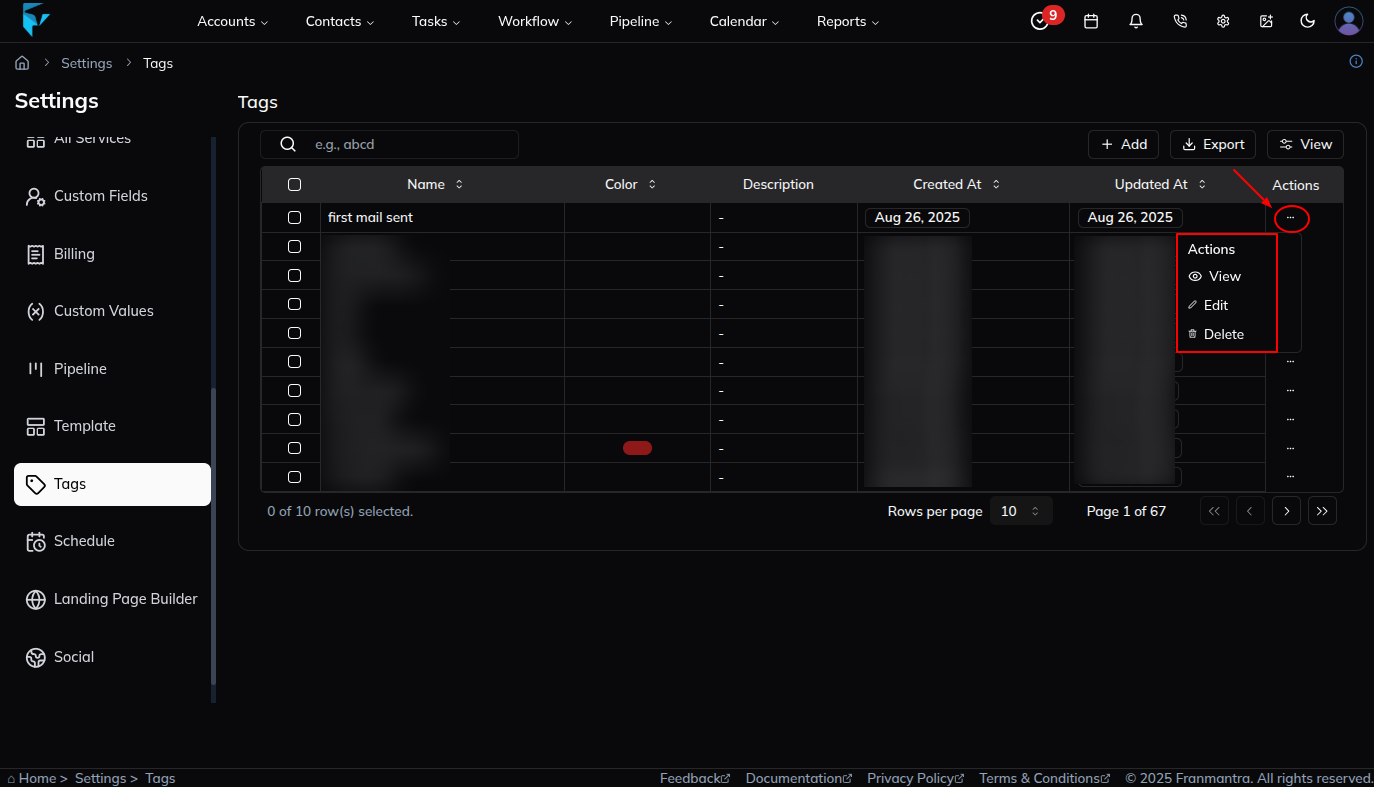
When you open the Tags section, you will see a table listing all existing tags. The table shows the tag name, creation date, and quick actions.
Key Actions
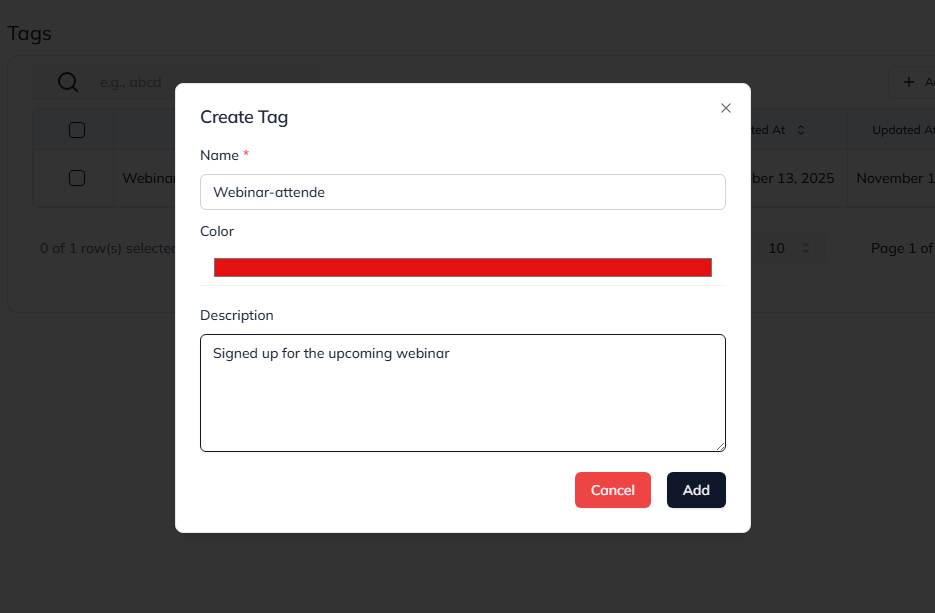
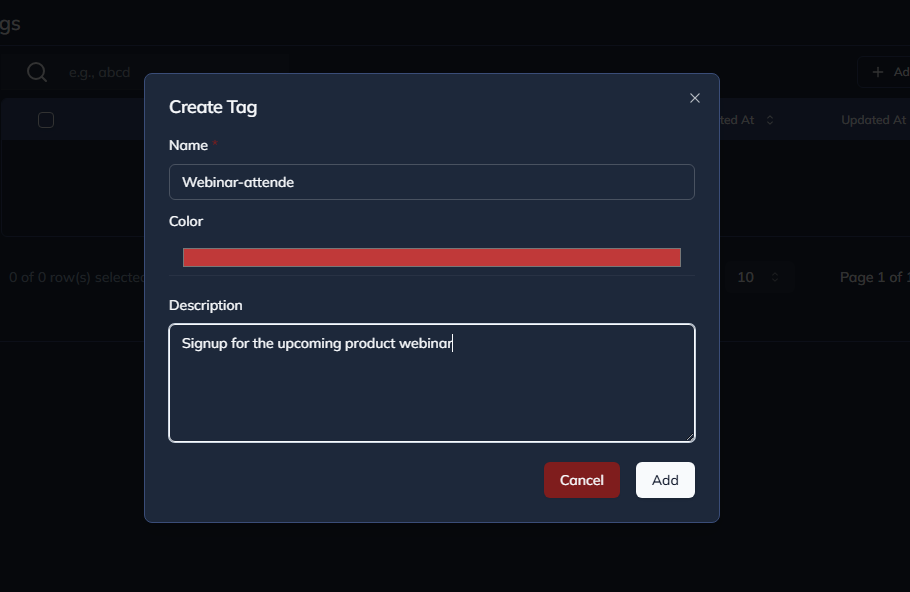
To add a new tag, click Add. A simple form will open where you can enter the tag details. After saving, the new tag will appear in the table.
If you want to export your tags, you can use the “Export” button. This lets you download all or selected tags into a CSV or Excel file, which is useful for sharing or keeping a backup.
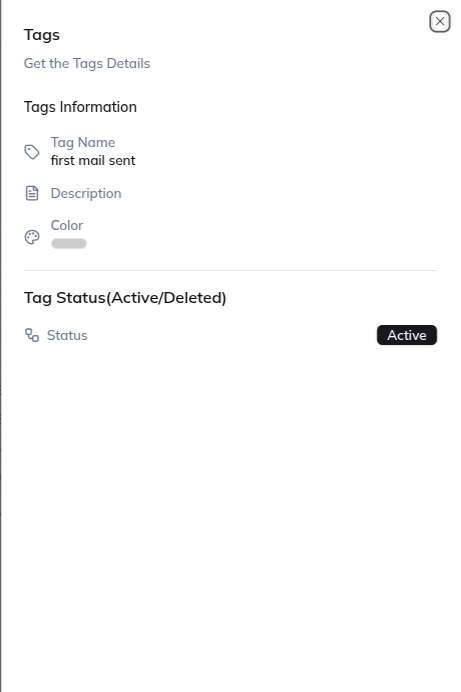
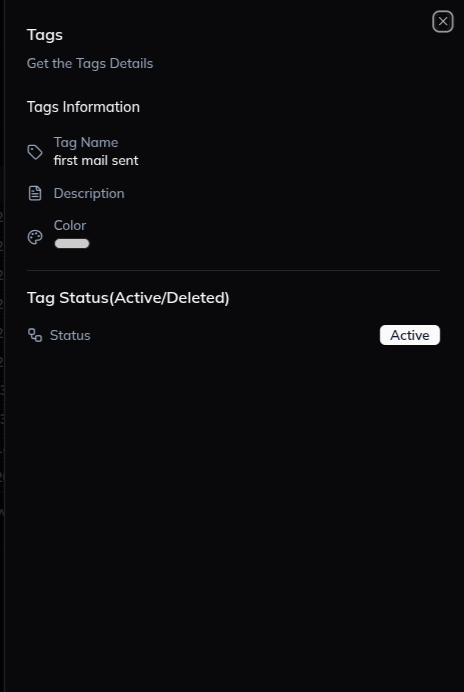
Click a tag name in the table to open its details sheet. There you can review the tag information and use the Edit button when you need to update it.
Each tag also has an actions menu shown as a three-dots icon. From there, you can:
- Edit – Update the tag details.
- View – Open and check the tag information.
- Delete – Remove the tag if you no longer need it.

Example
If you want to separate customer records by priority or status, you can create tags such as Returning Customer or Urgent. Later, if a tag needs to be renamed, open its detail sheet and update it there.