Add Stages in a Pipeline
What this does
This guide explains how to add stages in a pipeline in Franmantra CRM.
Before you start
- Sign in to Franmantra with a role that has permission to use this area.
- Confirm you are working in the correct Sub-account before making changes.
Steps
Overview
Stages represent the steps inside a pipeline, such as New Lead, Contacted, or Closed. You can add more stages whenever your process needs extra steps.
A stage is one step inside a pipeline. Think of a pipeline like a race track and stages are the checkpoints (for example: New → Contacted → Demo → Won). Below are the simple steps to add new stages.
1. Get to the list of pipelines
There are two ways to open the pipelines list:
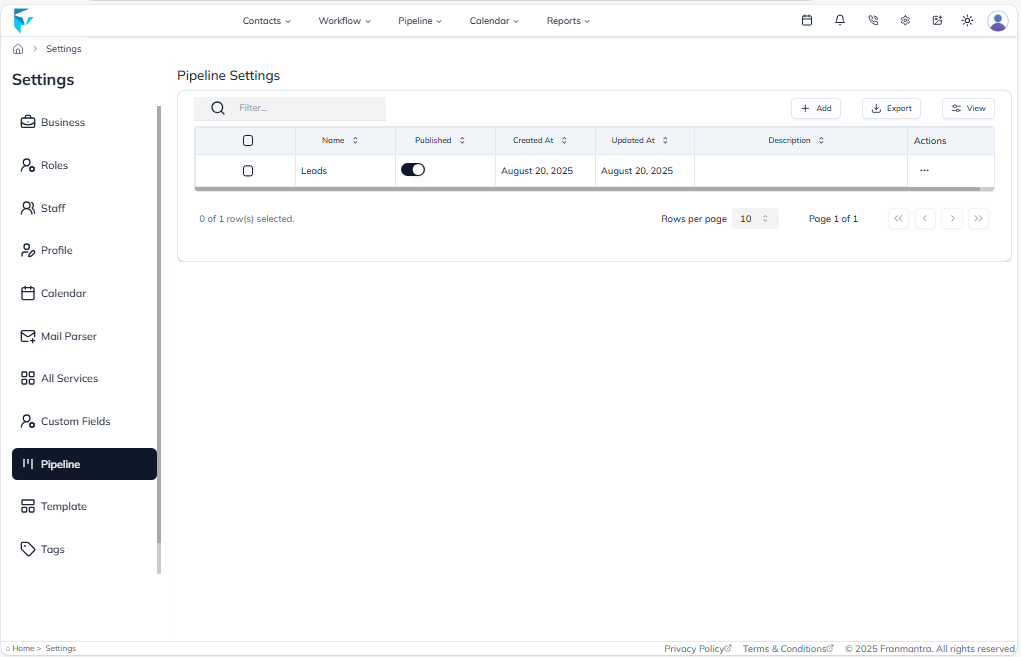
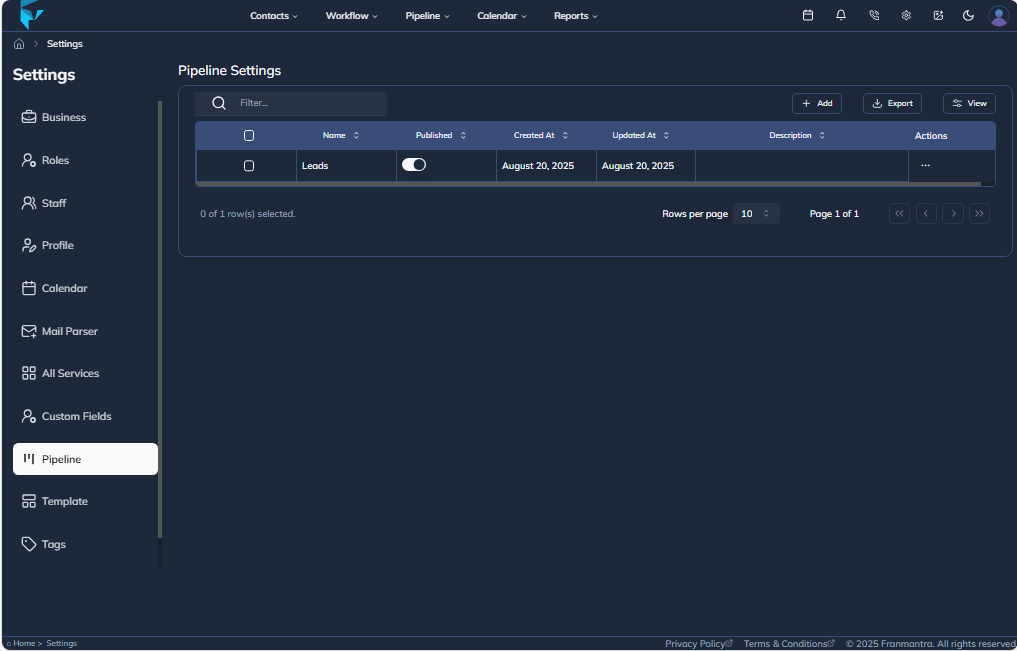
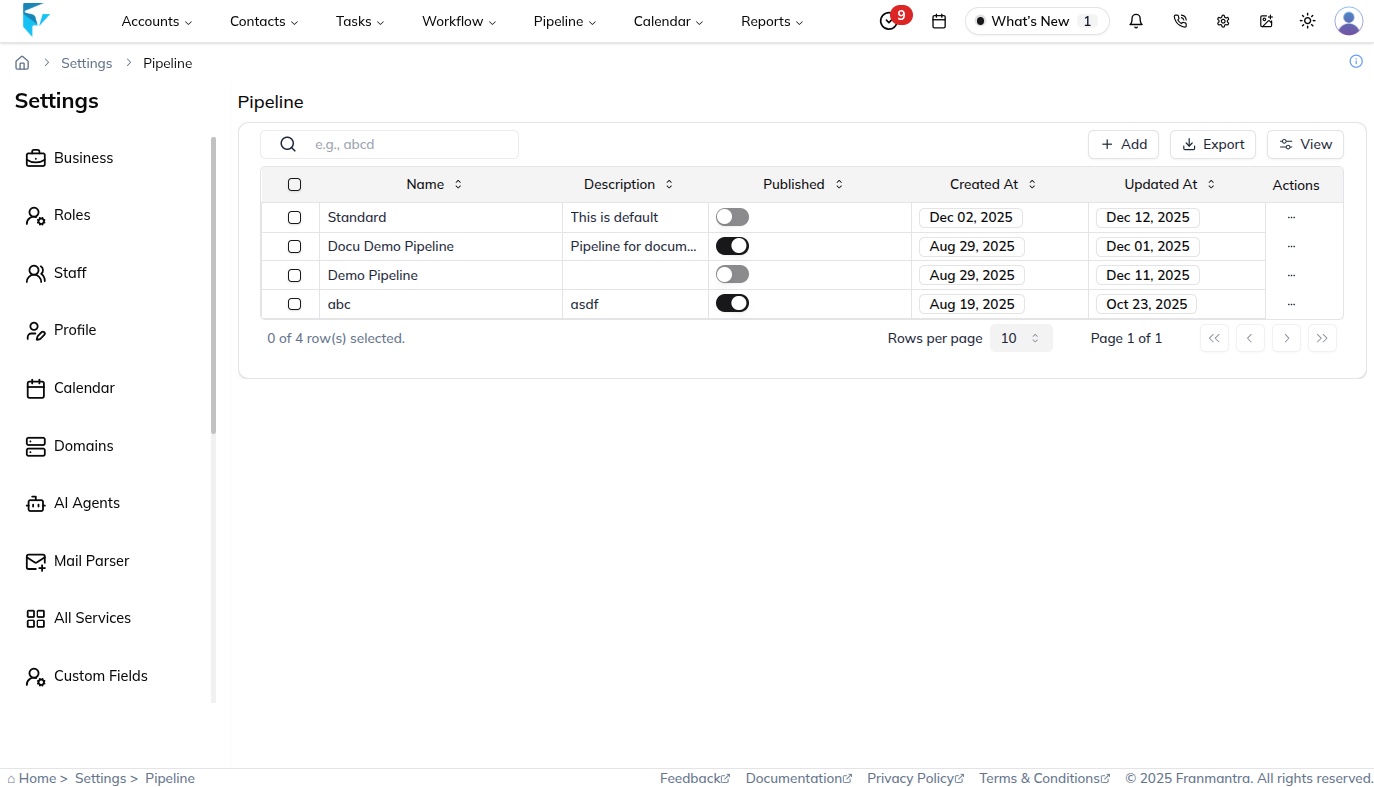
From Settings (top-right)
- Click the settings icon at the top-right of the page.
- The Settings page opens with many options on the left.
- Click Pipeline from the left menu.
- You will see a table that lists all pipelines.
From the main Navigation (hover menu)
- Move your mouse over the Pipeline option in the main navigation.
- A small menu appears. Choose Pipeline List (or the item that shows pipelines).
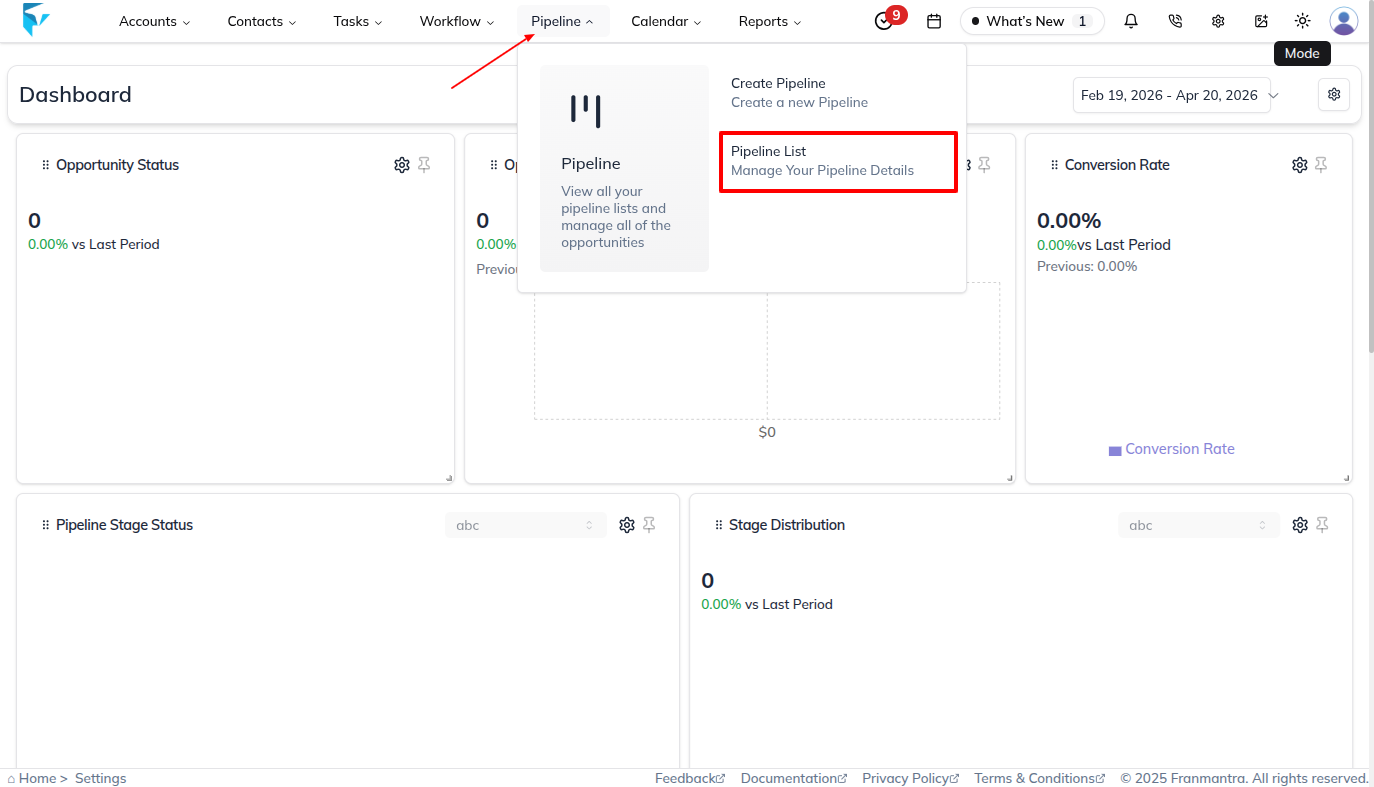
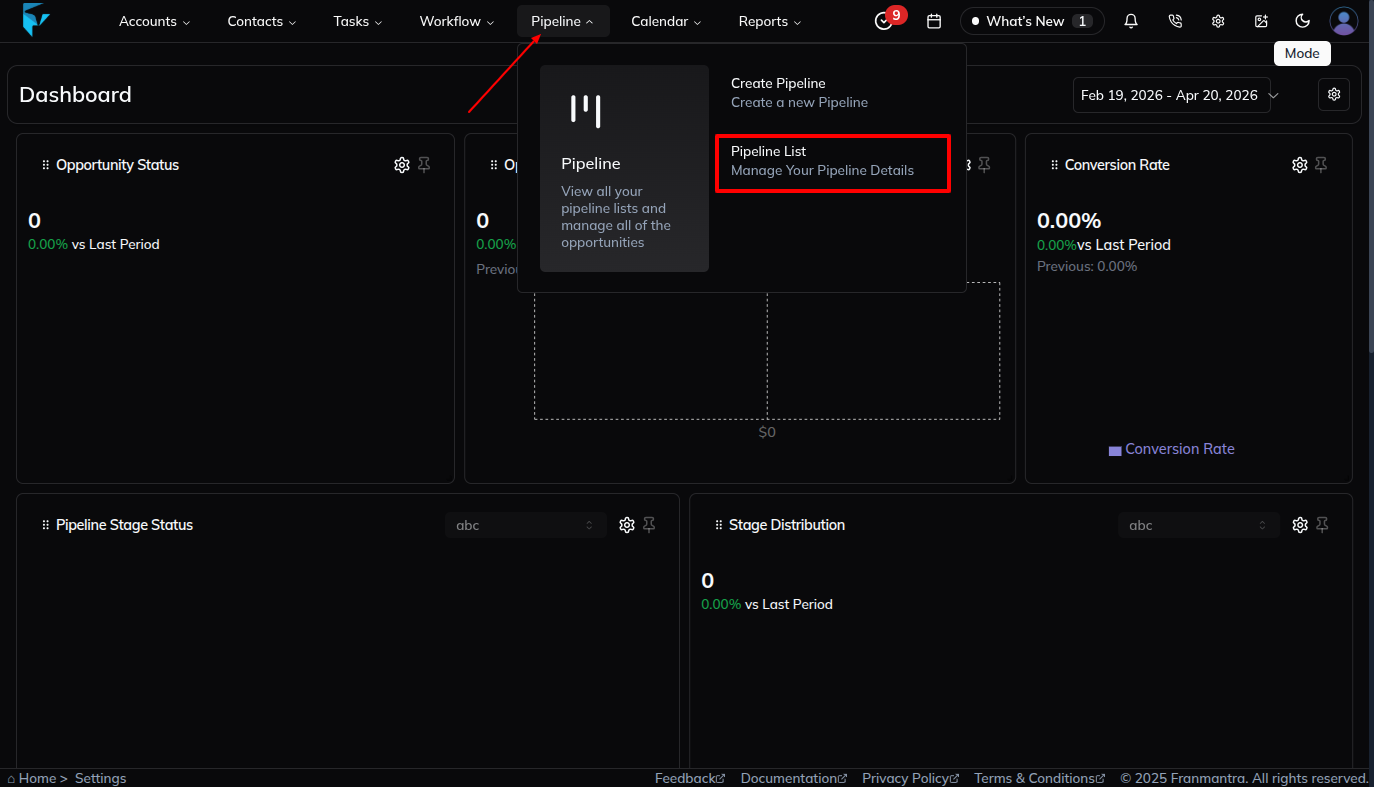
- The page opens with tabs like Opportunity and Pipeline — click the Pipeline tab.

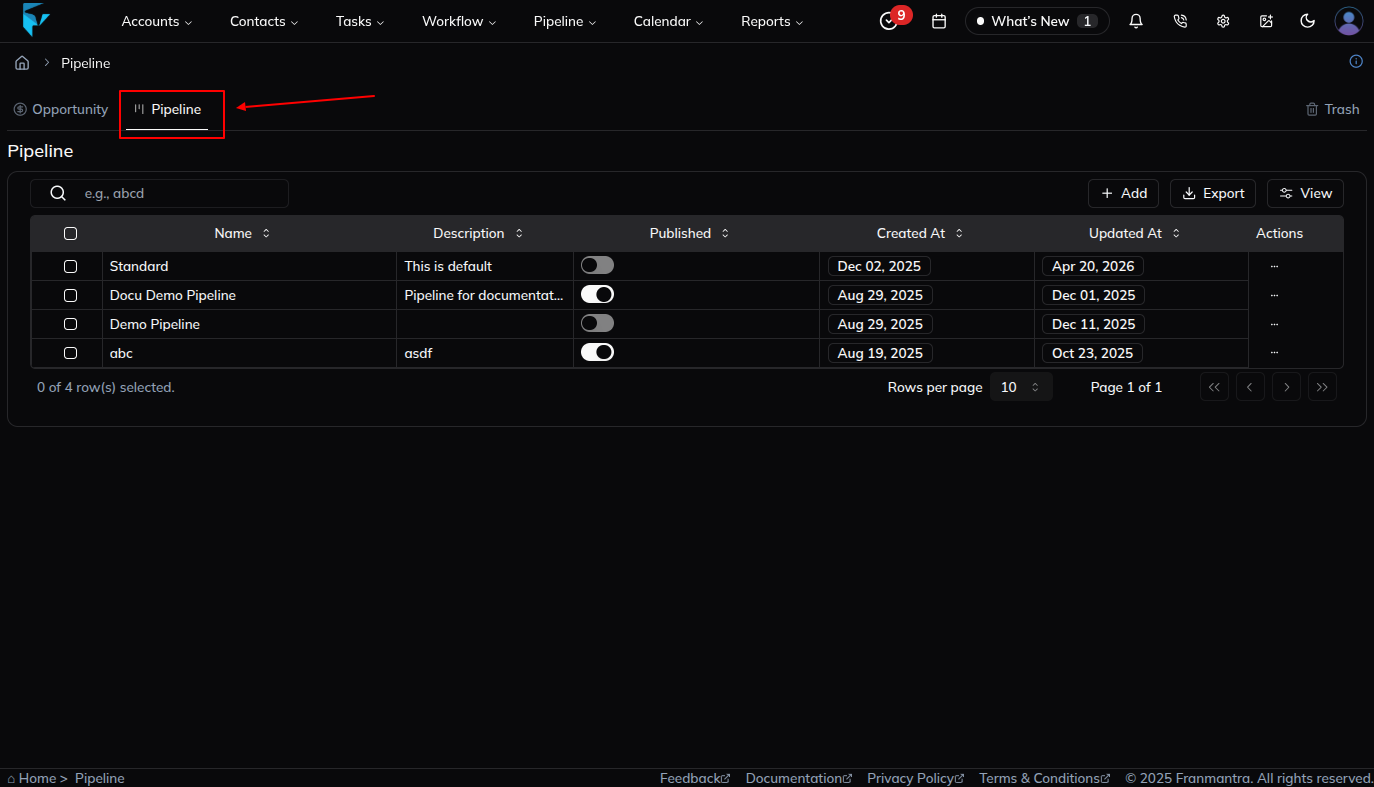
- You will see the table of pipelines.
2. Open the pipeline’s edit sheet
- In the pipeline table, find the pipeline you want to change.
- Each row has a “…” (three dots) action icon. Click that icon.
- From the menu that appears, click Edit.
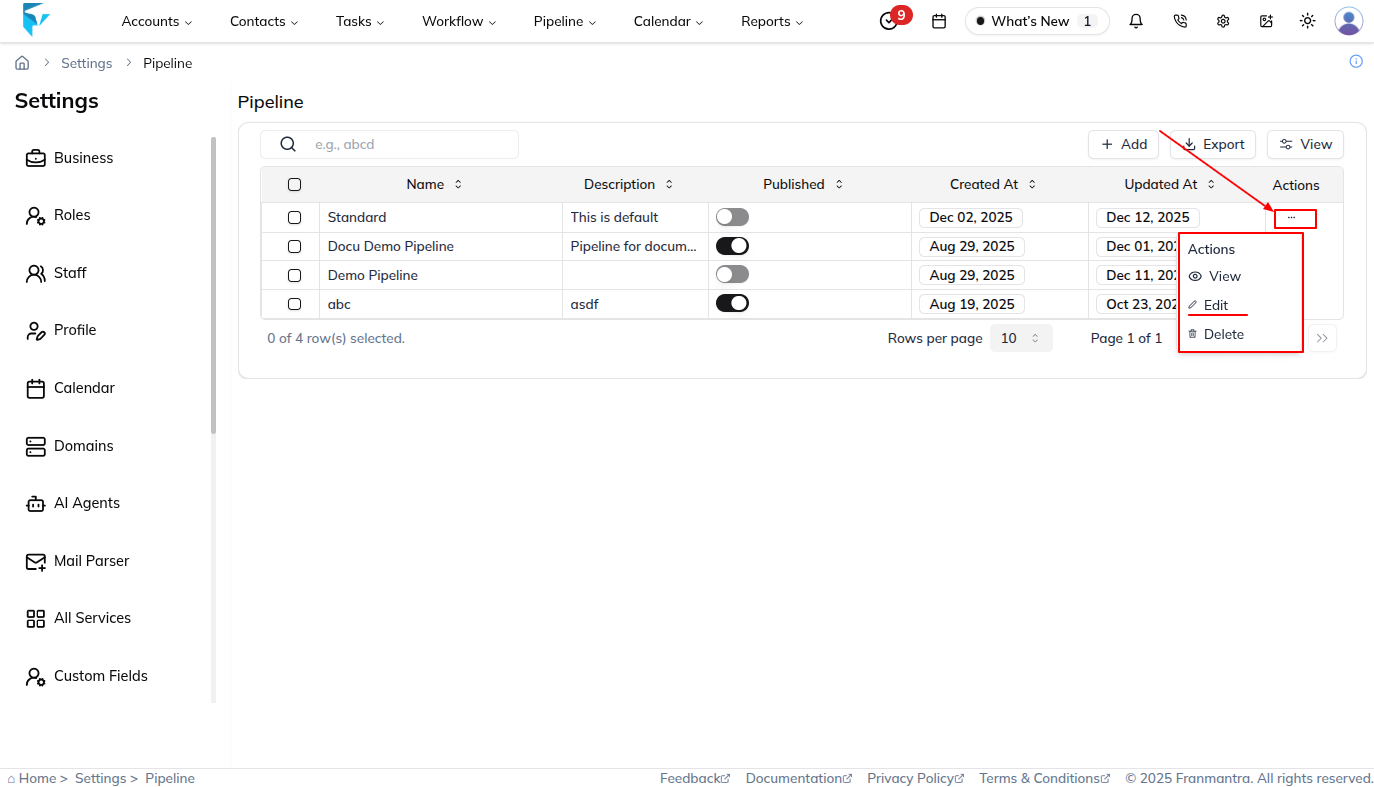
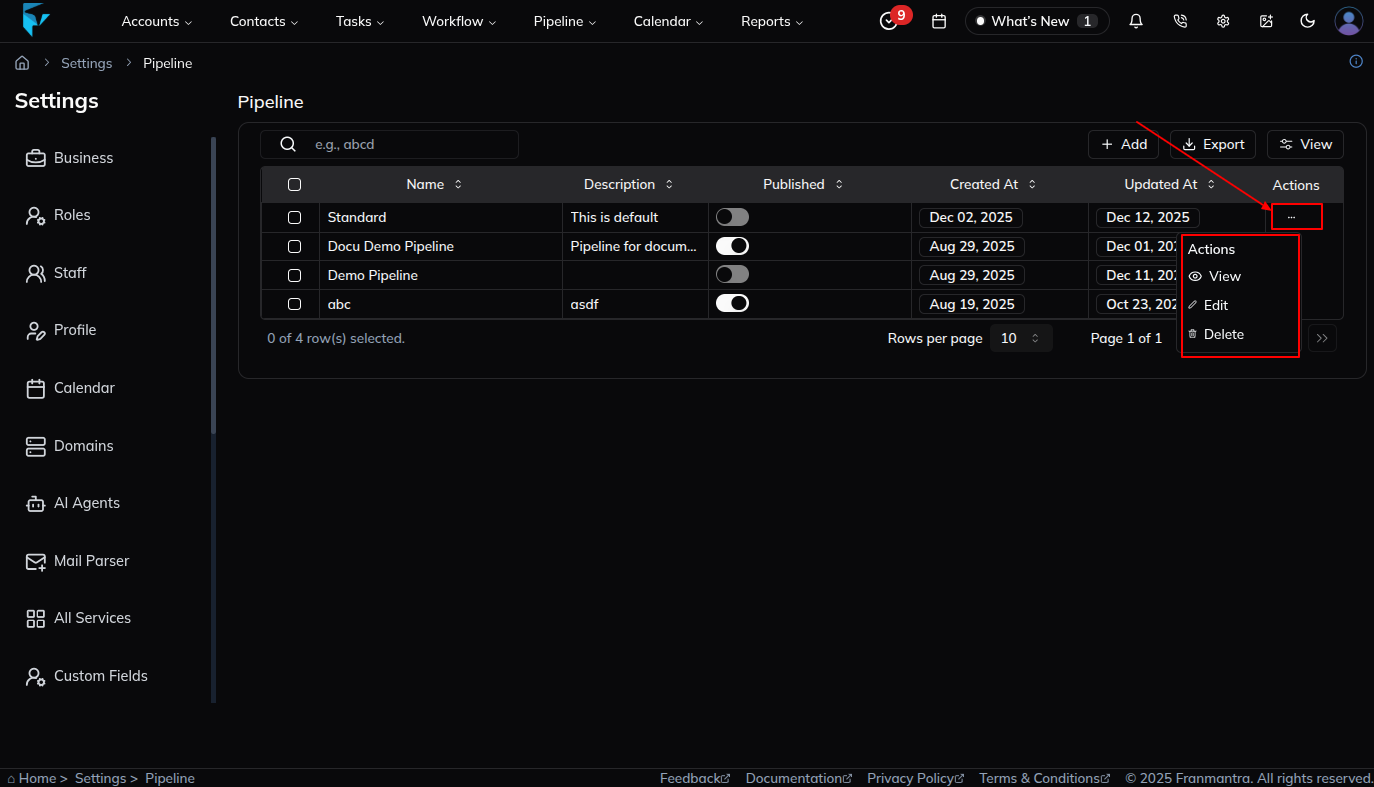
- A side sheet will open with the title “Edit Pipeline”.
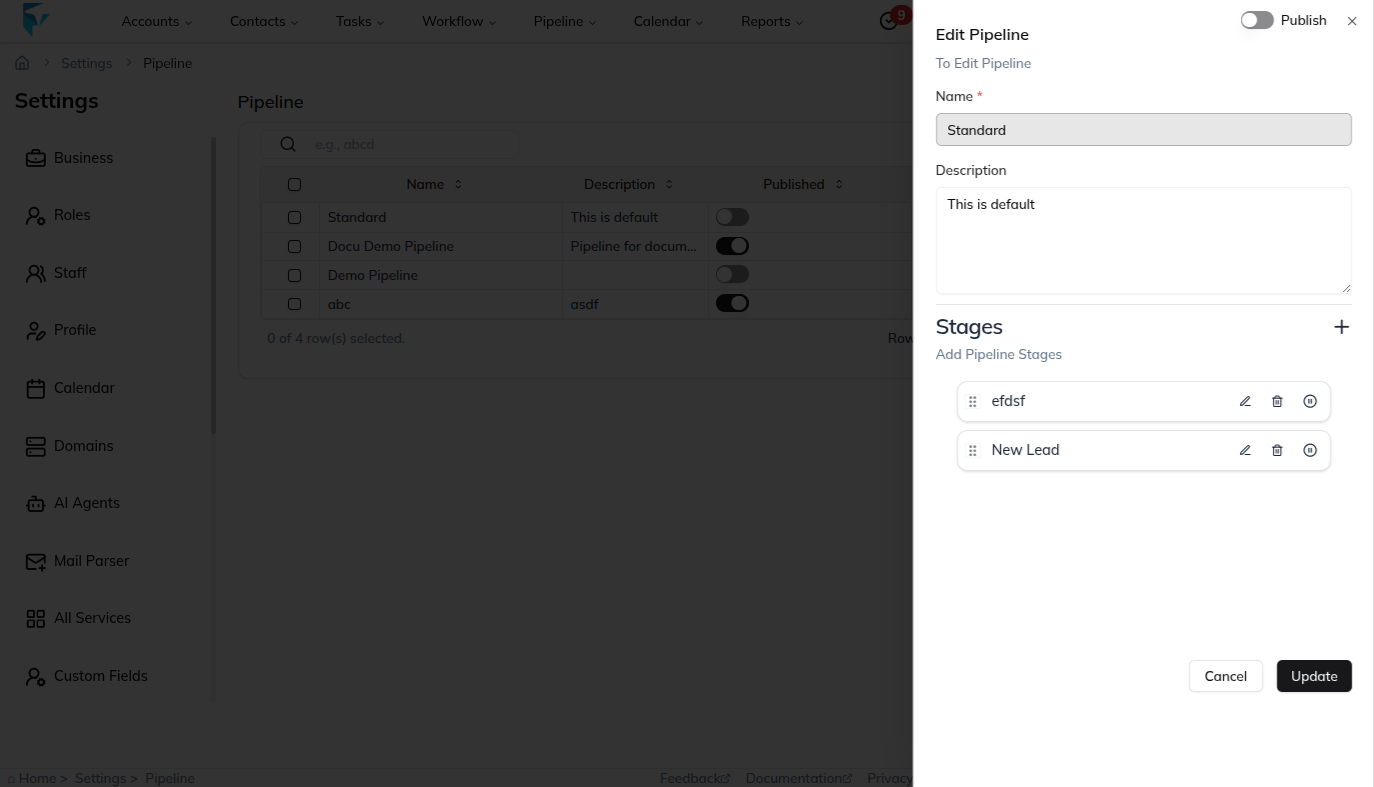
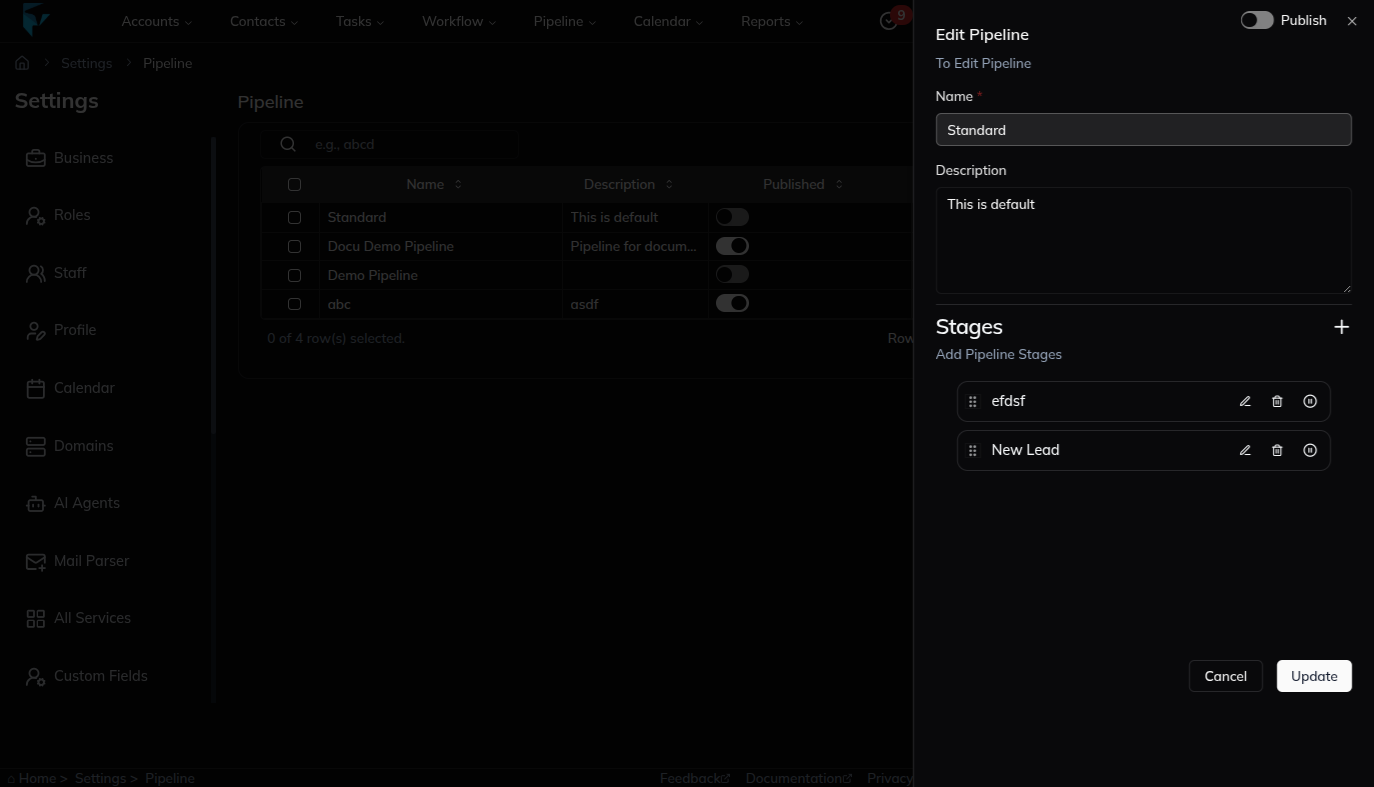
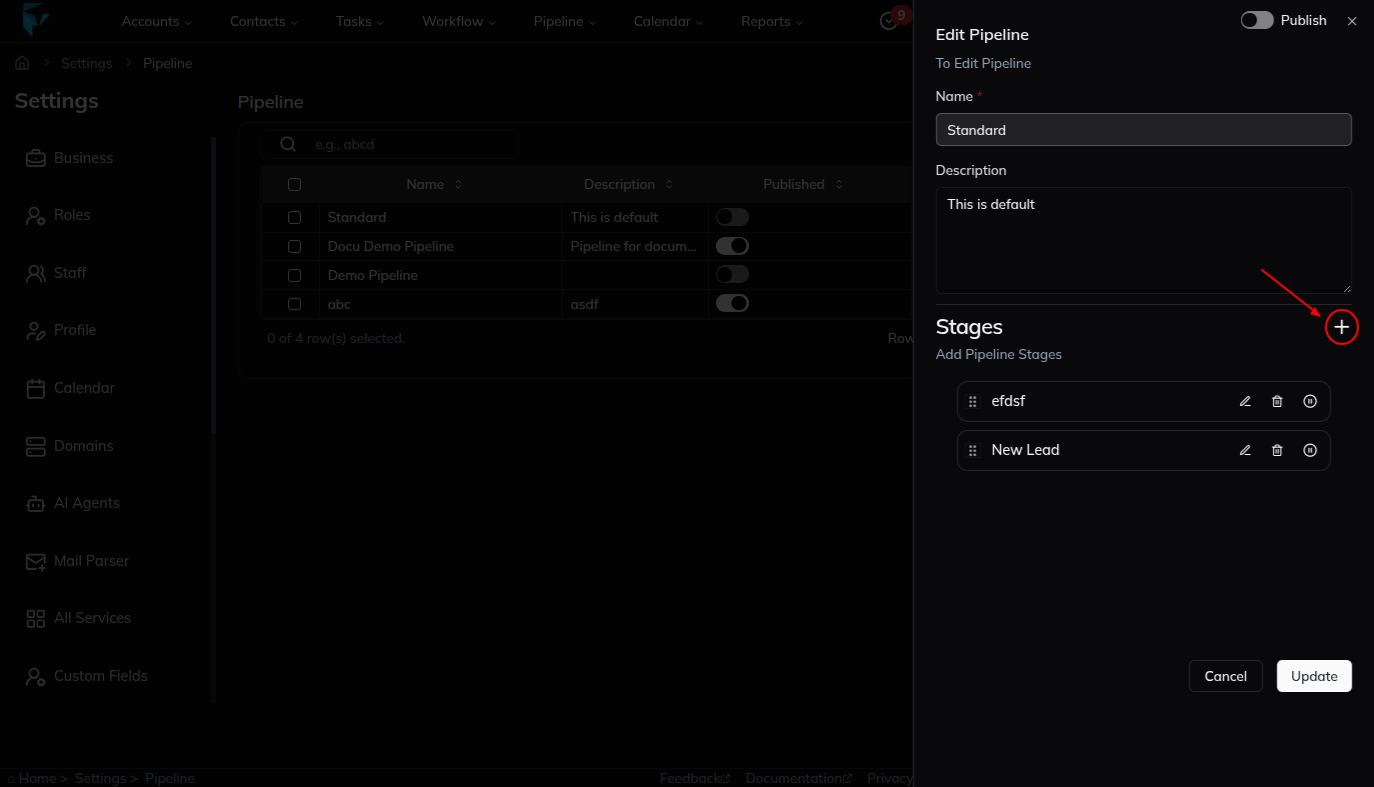
3. Add a new stage inside the Edit Pipeline sheet
- Inside the Edit Pipeline sheet you will see the list of existing stages.
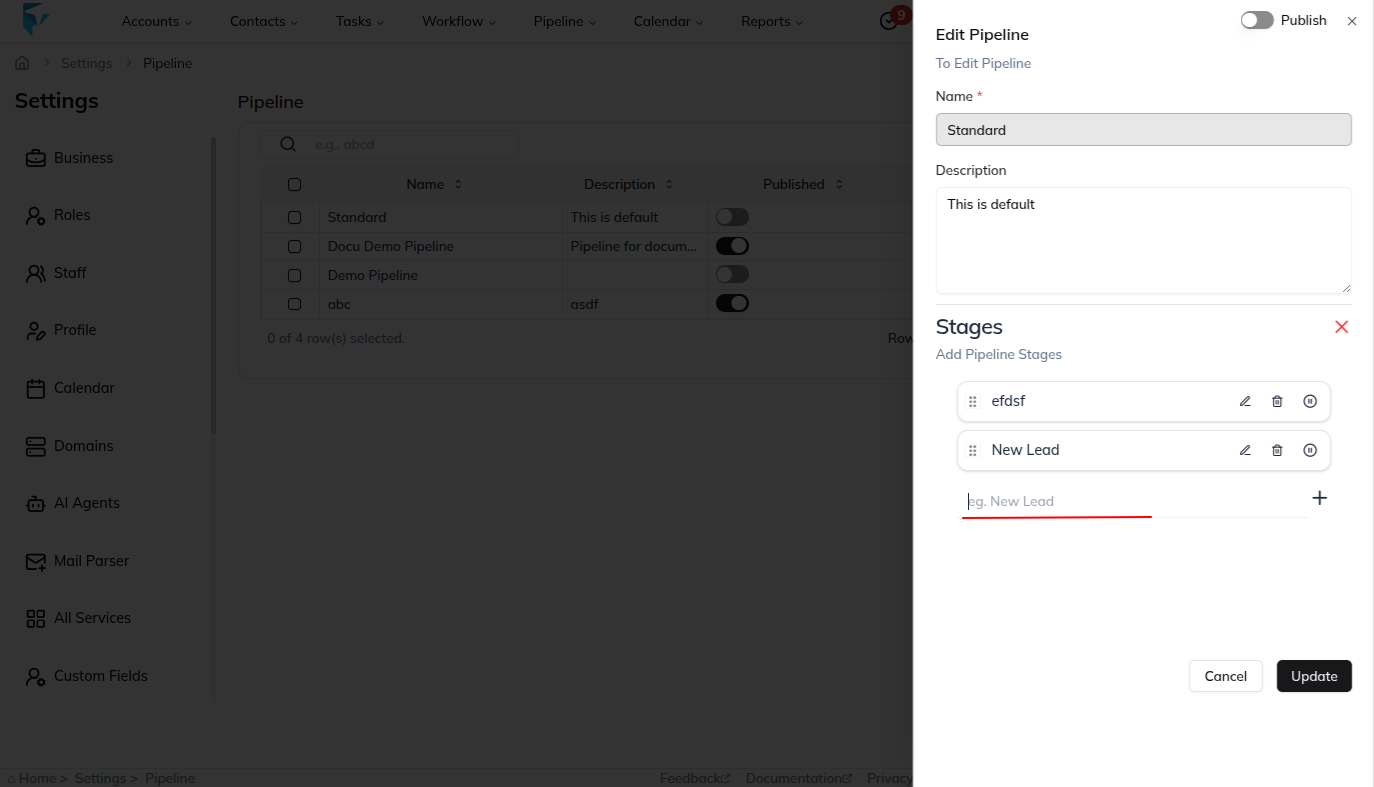
- Find and click the Plus (+) icon in that sheet. This opens a small input box.
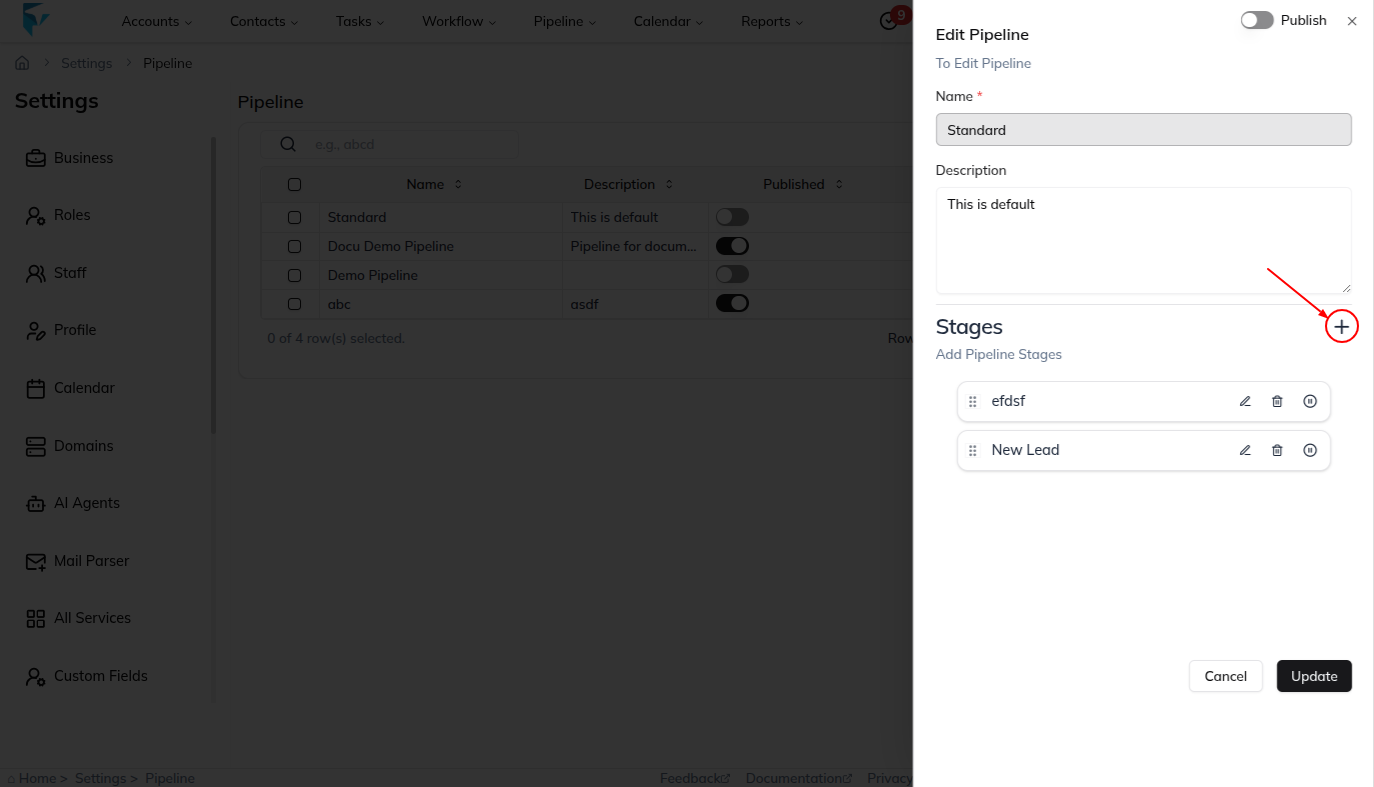
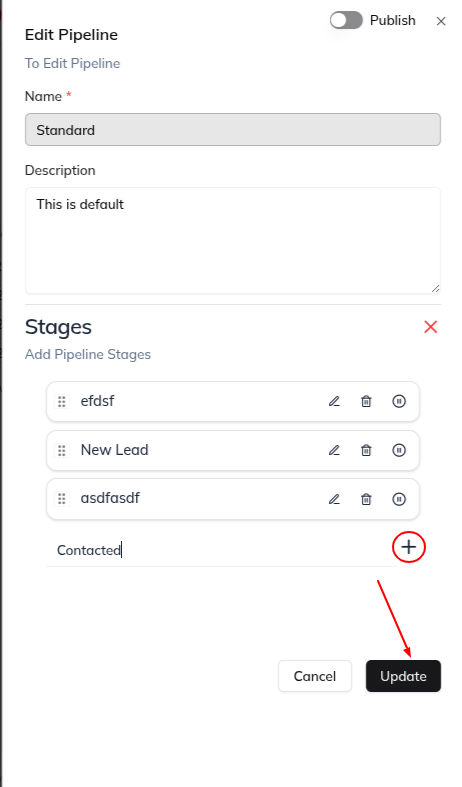
- Type the stage name (for example:
Contacted).
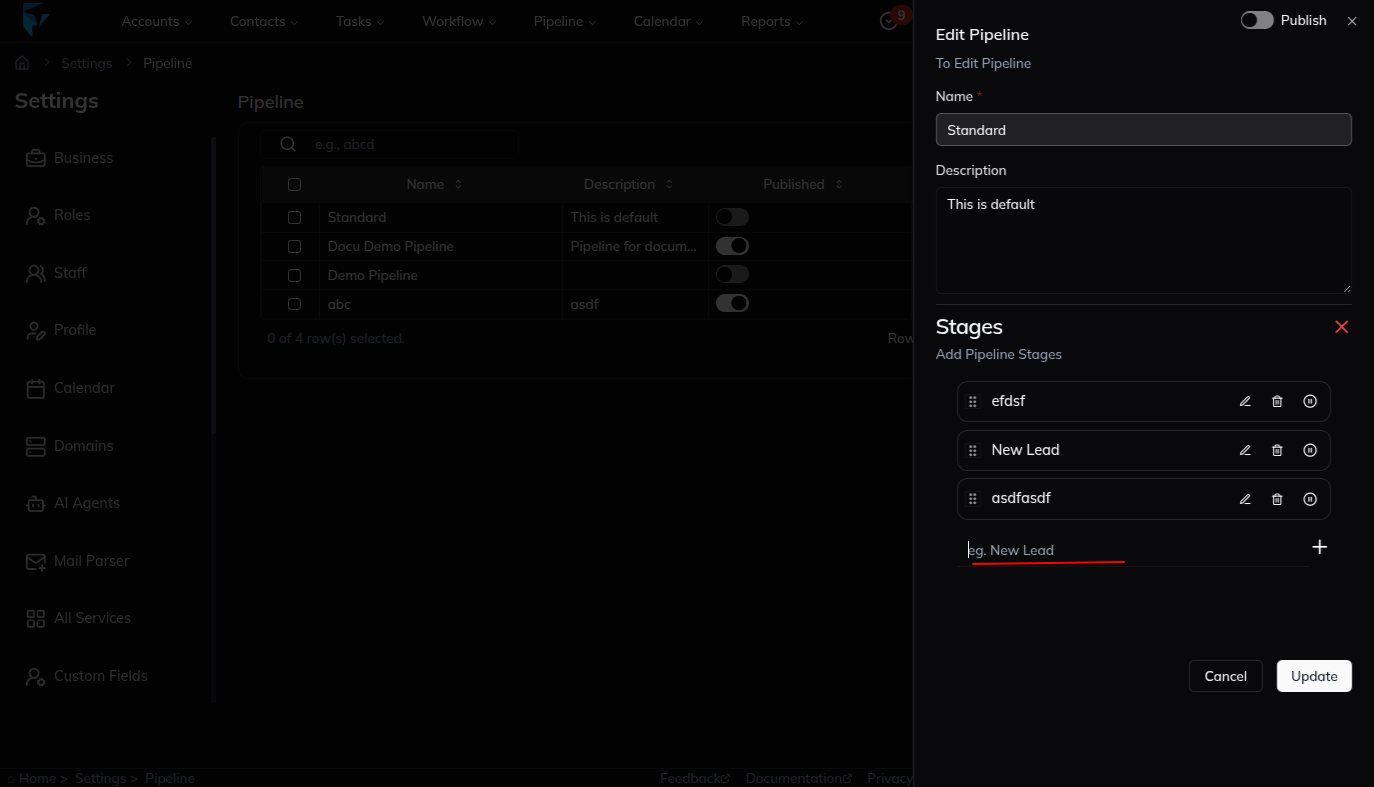
- After entering the stage name, click the Plus (+) icon and then click the Update button to save the new stage.
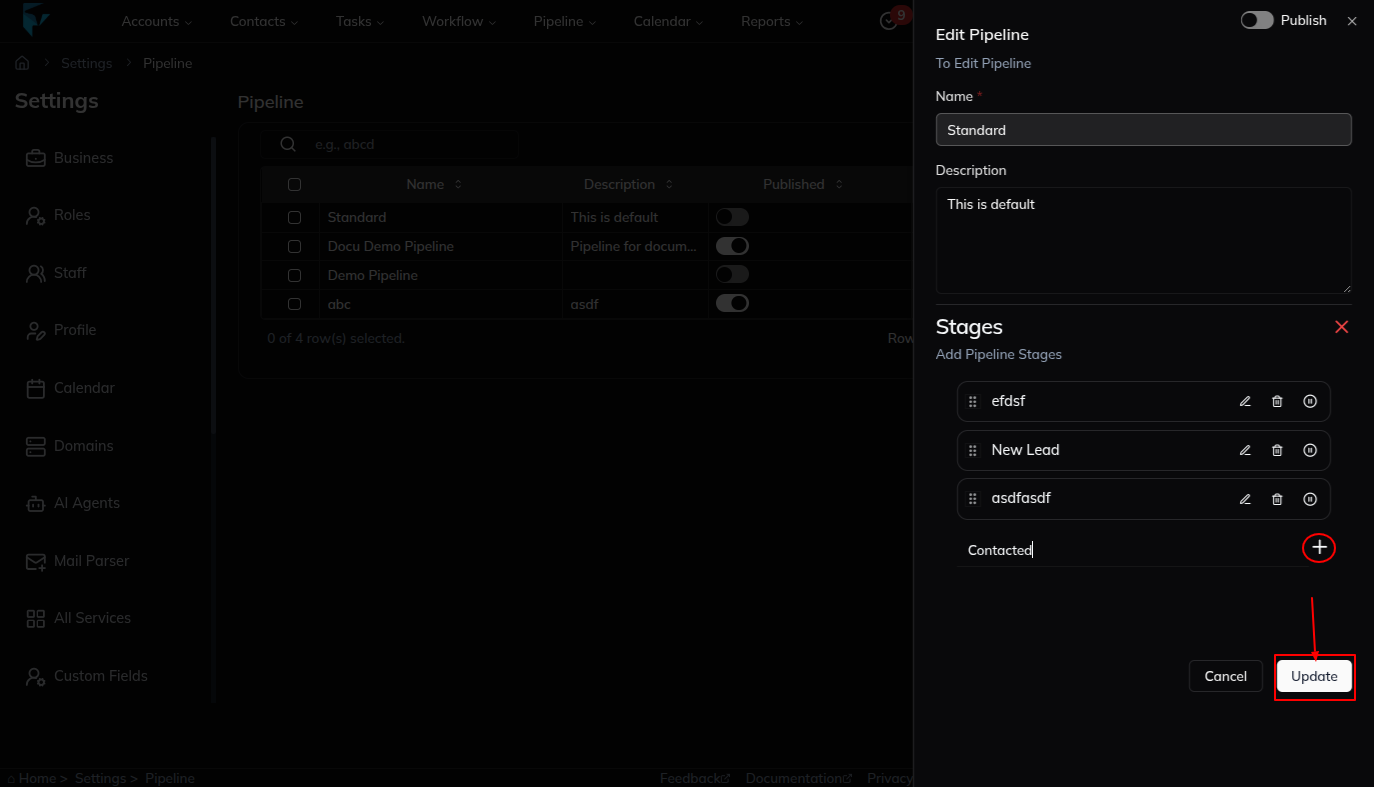
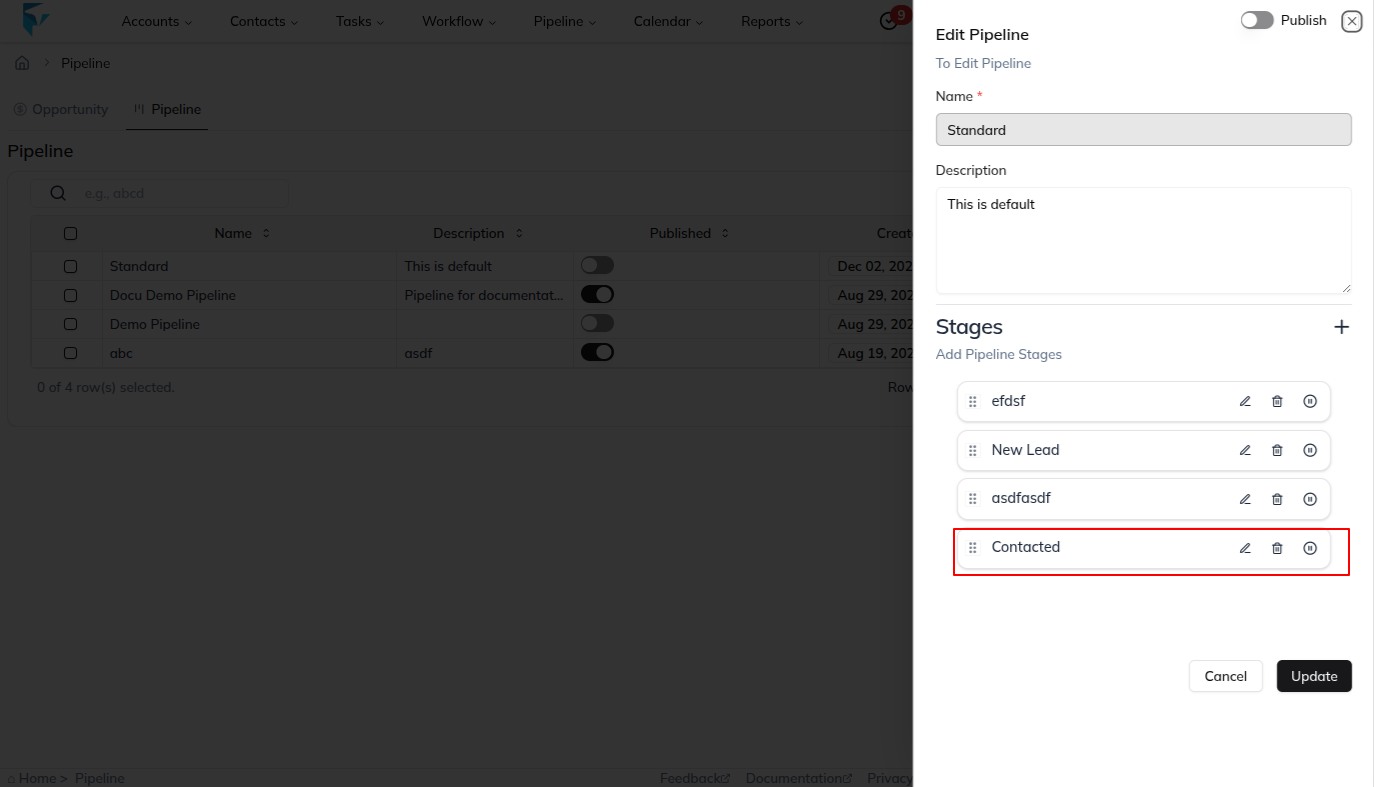
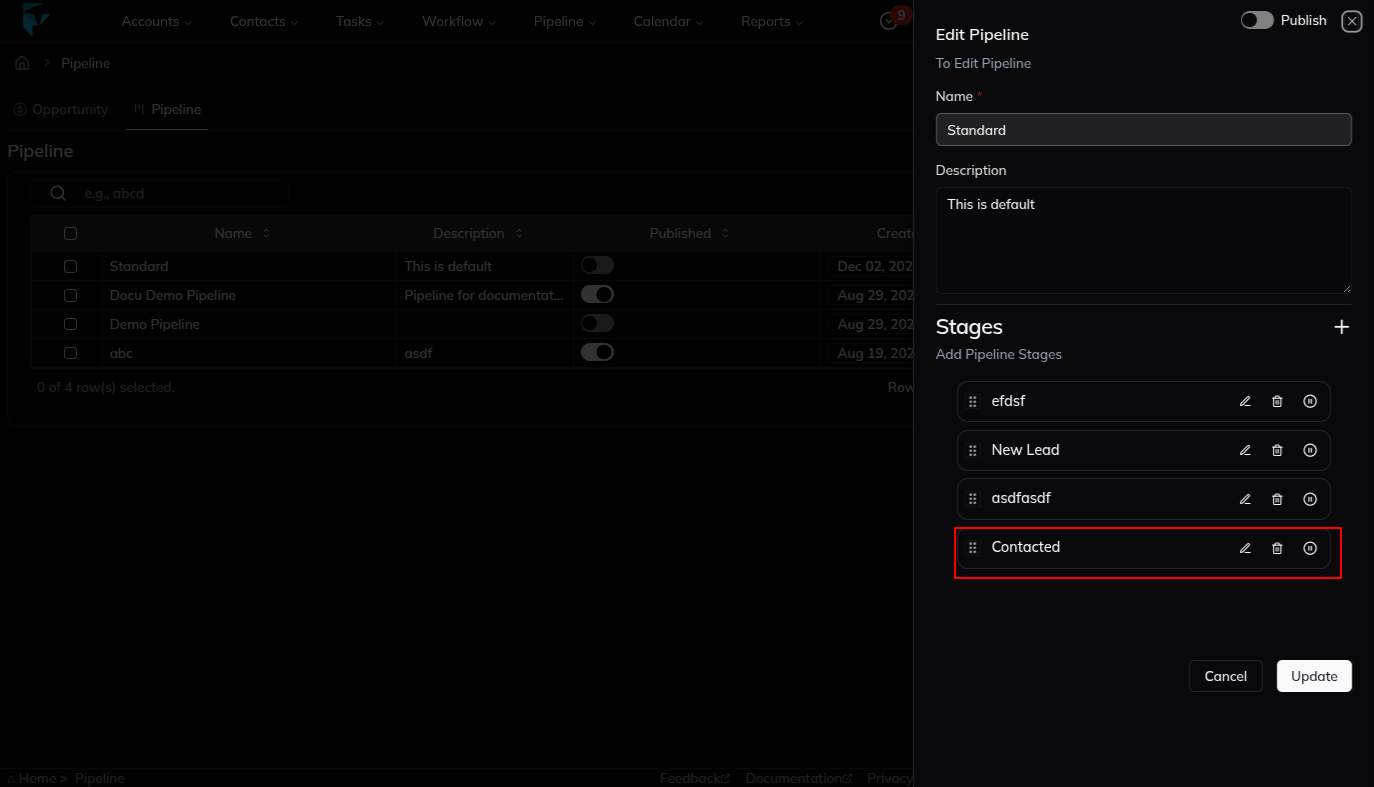
- After it saves, the new stage will appear in the pipeline’s stage list.
Quick Example
You want to add a stage called “Follow-up” to the Sales Pipeline:
- Go to Settings → Pipeline (or use the Navigation hover).
- In the table, click the pipeline’s “…” → Edit.
- In Edit Pipeline, click +, type Follow-up, click the Plus icon, then click the Update button to save.
- Now Follow-up appears as a new stage in that pipeline.
Notes & Tips
- You can add as many stages as you need by repeating the plus (+) step.
- To change stages later, open the Edit Pipeline sheet again and update the stage names.
- Keep stage names short and clear (example:
New,Contacted,Proposal,Closed) so everyone understands them quickly.
Result
The change is saved in Franmantra CRM and is available to users with the right permissions.
Troubleshooting
- If you cannot see the option, check your role permissions or ask an admin to update your access.
- If the update does not appear immediately, refresh the page and confirm you are in the correct Sub-account.