How to Create a Calendar
What this does
This guide explains how to create a calendar in Franmantra CRM.
Before you start
- Sign in to Franmantra with a role that has permission to use this area.
- Confirm you are working in the correct Sub-account before making changes.
Steps
The Calendar feature helps you manage personal bookings, team schedules, and group events. You can create a calendar in two ways.
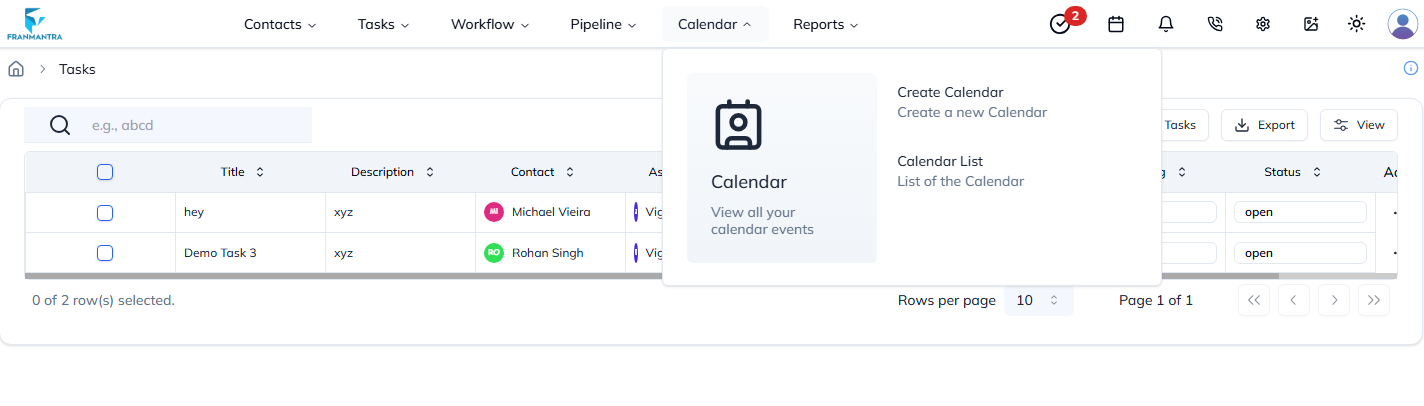
Method 1: From the Header
-
In the Header menu, hover over Calendar.
-
Click Create Calendar.
-
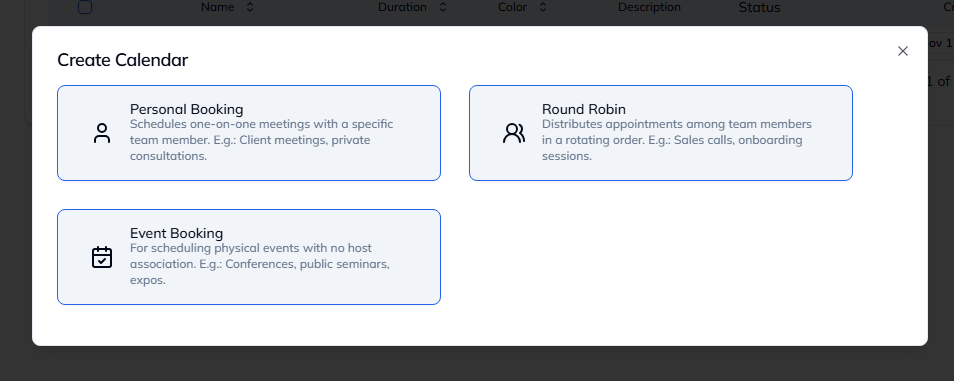
A pop-up will show three calendar types:
- Personal Booking – one-on-one meetings
- Round Robin – team-based rotation
- Event Booking – group events
-
Choose a type, fill the form, and click Submit.

-
Your new calendar will appear in the Calendar List.
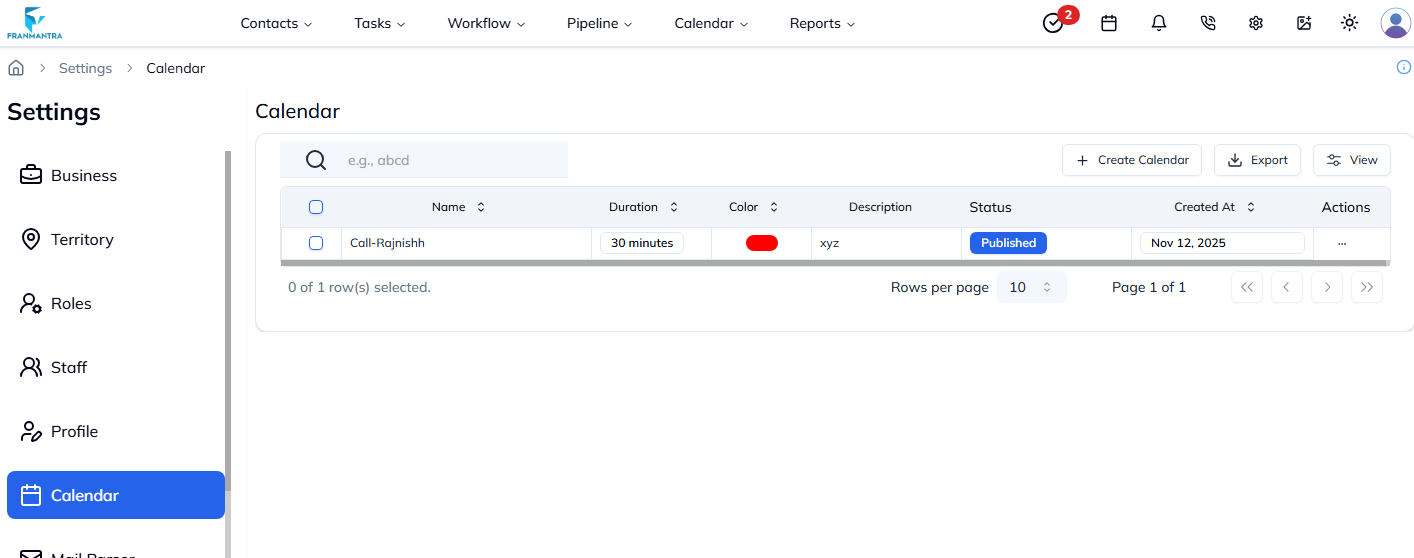
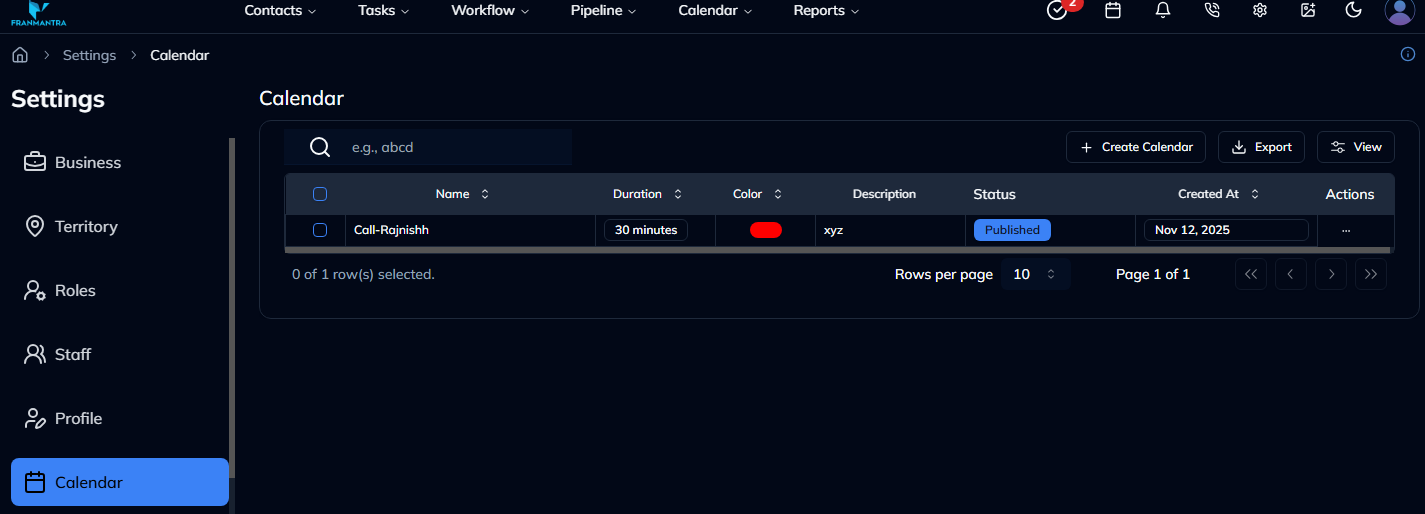
Method 2: From Settings
-
Open Settings, which will land on Business Details.
-
From the sidebar, select Calendar.
-
Click Create Calendar.
-
Select a calendar type, fill in the form, and click Submit.
Example
To host a webinar, go to Header → Create Calendar or Settings → Calendar, choose Event Booking, fill in the event details, and click Submit.
Result
The change is saved in Franmantra CRM and is available to users with the right permissions.
Troubleshooting
- If you cannot see the option, check your role permissions or ask an admin to update your access.
- If the update does not appear immediately, refresh the page and confirm you are in the correct Sub-account.