How to Add Filters in Contacts
What this does
This guide explains how to how to add filters in contacts in Franmantra CRM.
Before you start
- Sign in to Franmantra with a role that has permission to use this area.
- Confirm you are working in the correct Sub-account before making changes.
Steps
The Filters feature in Franmantra CRM allows you to narrow down your contact list, pipeline, or other datasets by applying multiple conditions such as owner, tag, date, or status. Filters can be combined, saved as Smart Lists, and reused to save time.
1. Opening the Filter Menu
- Navigate to the module you want to filter (e.g., Contacts, Opportunities, or Communication).
- Click on the Filters button at the top of the table.

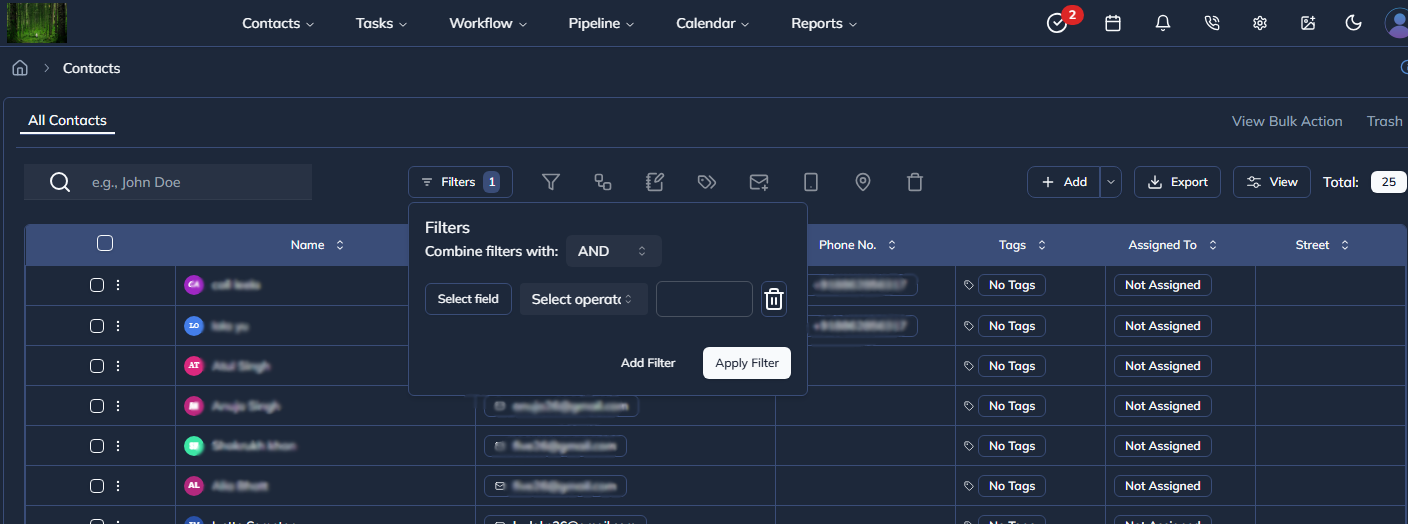
Figure 1: The Filters button in the toolbar.
2. Adding a New Filter Condition
- In the filter panel, click Add Filter.
- A new filter row appears with three main parts:
- Field Selector – Choose the field you want to filter by (e.g.,
Owner,Status,Tags,Created Date). - Operator – Defines how to compare values (e.g.,
equals,contains,is before,is between). - Value – Enter or select the value you want to match.
- Field Selector – Choose the field you want to filter by (e.g.,
Each field automatically shows the correct input type based on its data — such as a dropdown, date picker, or text input.
3. Combining Filters (AND / OR)
At the top of the filter panel, you can choose how multiple filters are combined:
| Operator | Description |
|---|---|
| AND | Only items matching all conditions are shown. |
| OR | Items matching any one condition are shown. |
Use this to create complex filter sets — for example:
Show contacts where Owner is John AND Tag is “Hot Lead”
4. Applying Filters
After adding your desired conditions:
- Click Apply Filter.
- The table updates immediately to show filtered results.
- The Filters button shows a small badge with the number of filters applied.
5. Saving Filters as a Smart List (Optional)
If you often use the same filters, you can save them as a Smart List:
- Apply your filters.
- Click Save as Smart List.
- Enter a name and click Save.
A new Smart List tab appears at the top of your module for quick access later.
6. Updating or Deleting Filters
- To update an existing filter, adjust the field, operator, or value and click Update Filter.
- To remove a condition, click the Trash 🗑️ icon next to it.
- To clear all filters, remove each filter or refresh the page.
7. Example Use Cases
✅ Filter contacts created this month. ✅ View deals assigned to a specific sales rep. ✅ Find leads tagged as “Warm” or “Follow-up Needed.” ✅ Filter calls between specific dates.
Result
The change is saved in Franmantra CRM and is available to users with the right permissions.
Troubleshooting
- If you cannot see the option, check your role permissions or ask an admin to update your access.
- If the update does not appear immediately, refresh the page and confirm you are in the correct Sub-account.