Create a Role and Assign Permissions
What this does
This guide explains how to create a role and assign permissions in Franmantra CRM.
Before you start
- Sign in to Franmantra with a role that has permission to use this area.
- Confirm you are working in the correct Sub-account before making changes.
Steps
The Role feature allows you to create custom roles and decide what each user can or cannot do. Roles are helpful when you want to give different levels of access to your team members.
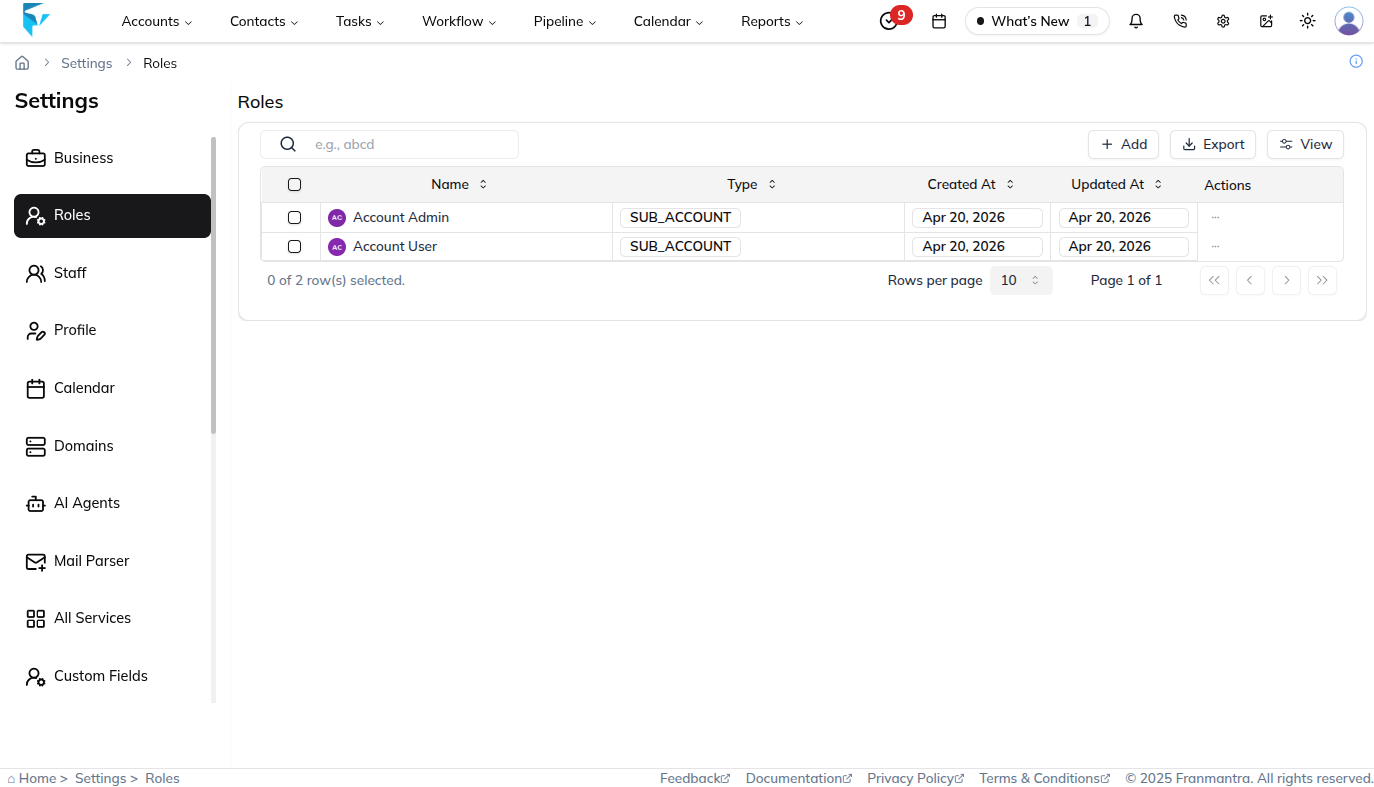
1. Open the Role Section
- Click the settings icon in the top-right corner of the page.
- You will land in the Business Details section by default.
- From the left-side menu, click on Role.
- You will now see a table that lists all the existing roles, along with action buttons.
2. Create a New Role
- Click the Add button at the top of the Role section.
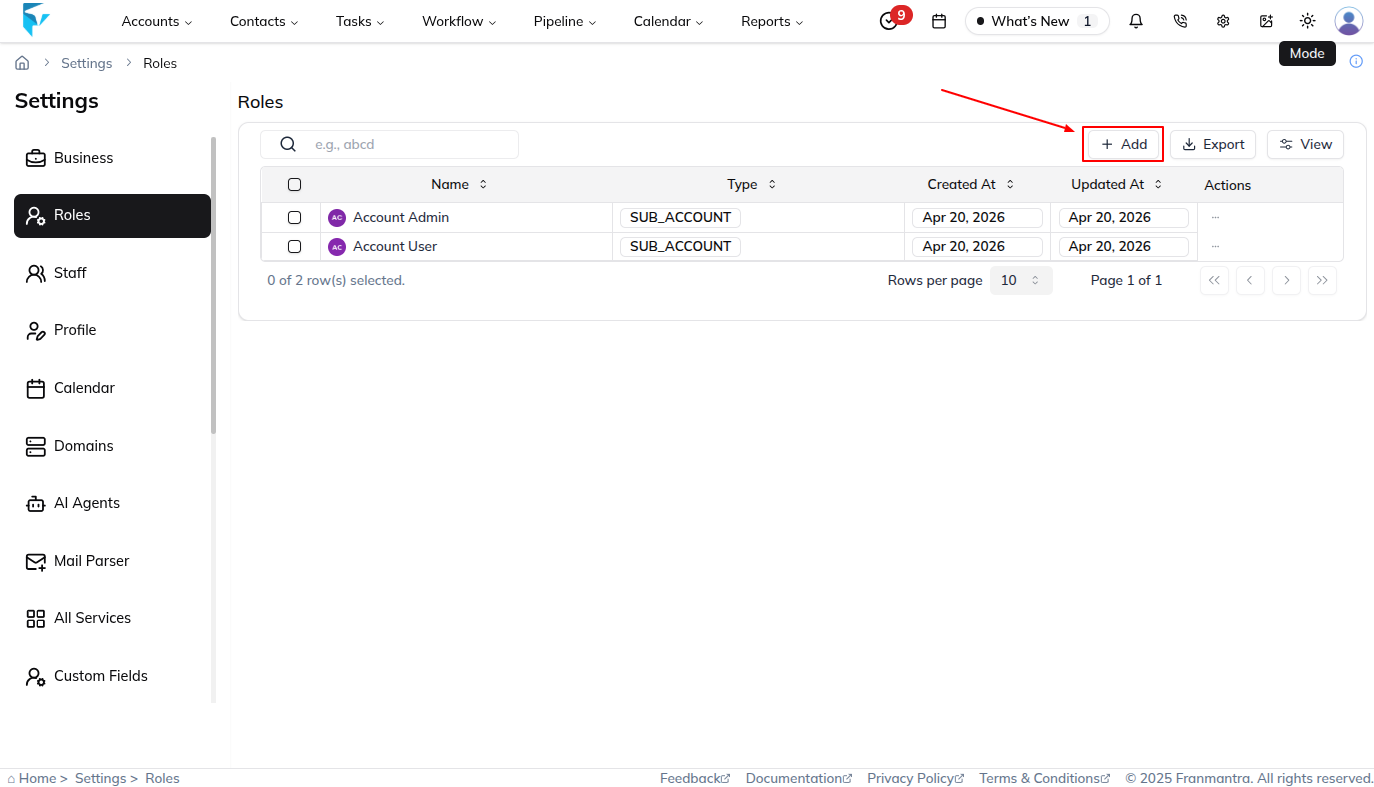
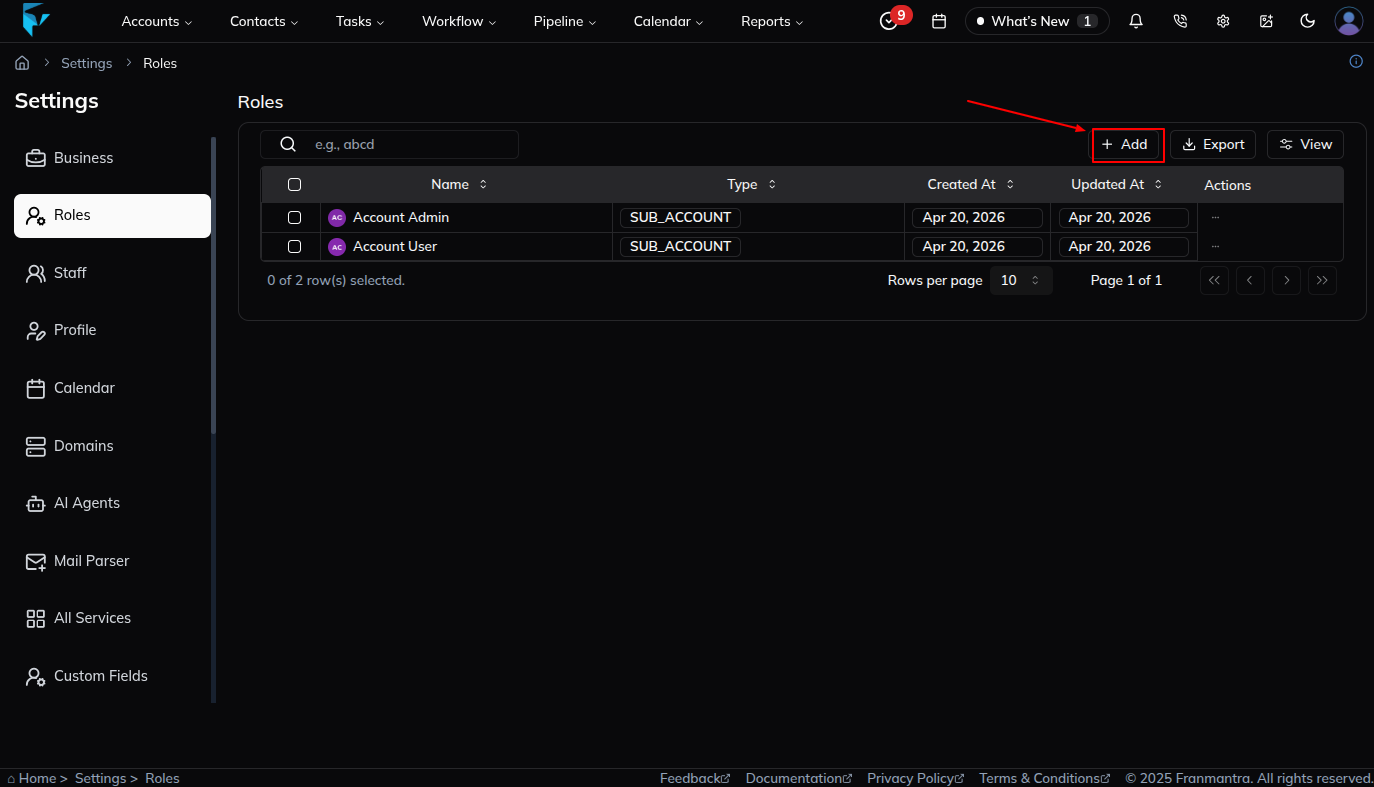
- A popup form will appear with the following fields:
- Role Name – The name of the role (e.g., “Manager”, “Support Staff”).
- Access Types – Select which type of access this role should have.
- Permission Management – Define specific permissions (like view, edit, delete) for this role.
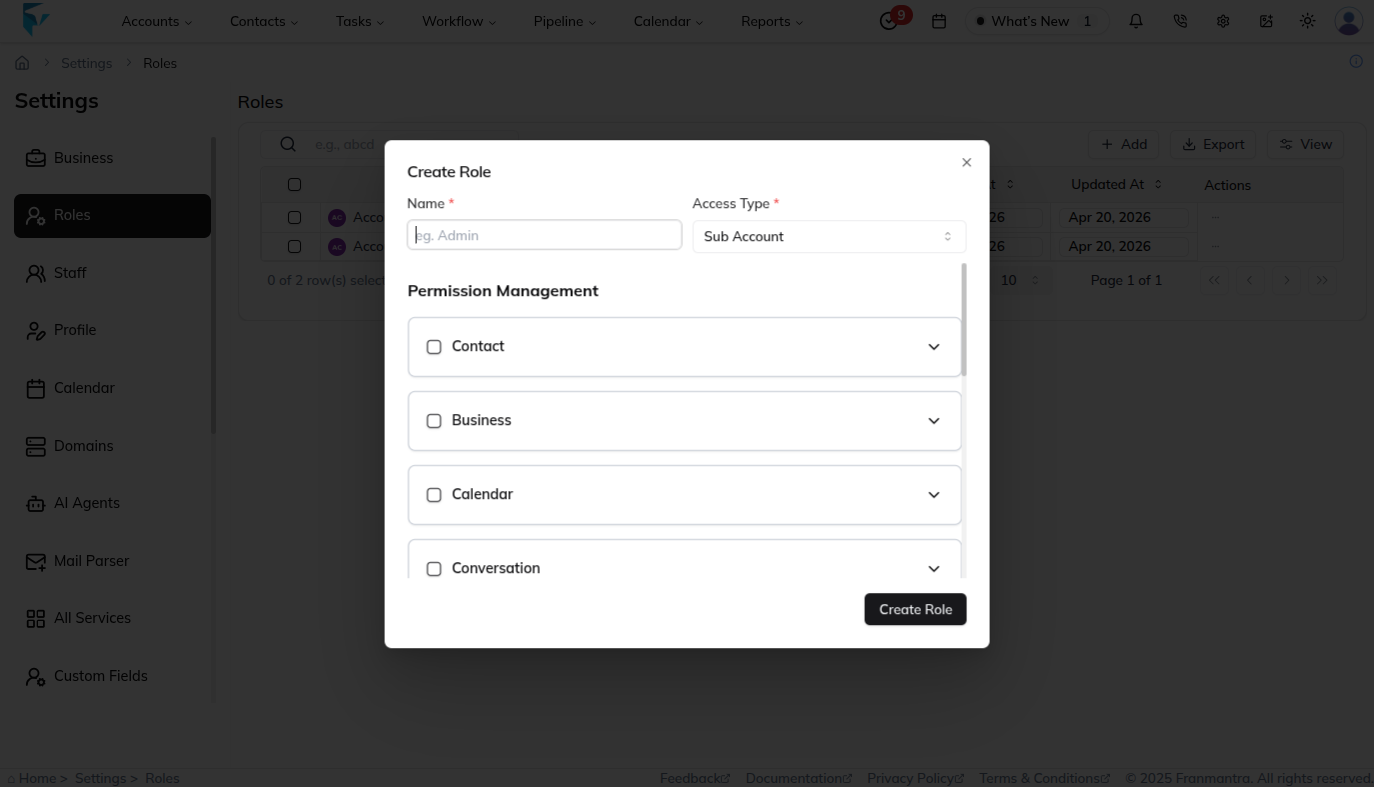
- After filling in the details and selecting the right permissions, click the Create Role button.
- The new role will now appear in your role list table.
Example: Creating a Role
Imagine you want to create a role called “Content Manager”.
- Role Name: Content Manager.
- Access Types: Give access to features like Templates, Tags, and Pipelines.
- Permission Management: Allow the user to create and edit content but not delete it.
- Final Action: Click Create Role.
✅ Now, whenever you assign this role to a user, they will automatically receive these specific permissions.
Result
The change is saved in Franmantra CRM and is available to users with the right permissions.
Troubleshooting
- If you cannot see the option, check your role permissions or ask an admin to update your access.
- If the update does not appear immediately, refresh the page and confirm you are in the correct Sub-account.