Managing Bulk Actions on Contacts
What this does
This guide explains how to manage bulk actions on contacts in Franmantra CRM.
Before you start
- Sign in to Franmantra with a role that has permission to use this area.
- Confirm you are working in the correct Sub-account before making changes.
Steps
Bulk actions help you save time by applying the same operation to multiple contacts at once. Instead of updating each contact individually, you can assign opportunities, Workflows, notes, tags, send emails, or even delete multiple contacts in one go.
Go to the Contacts Page
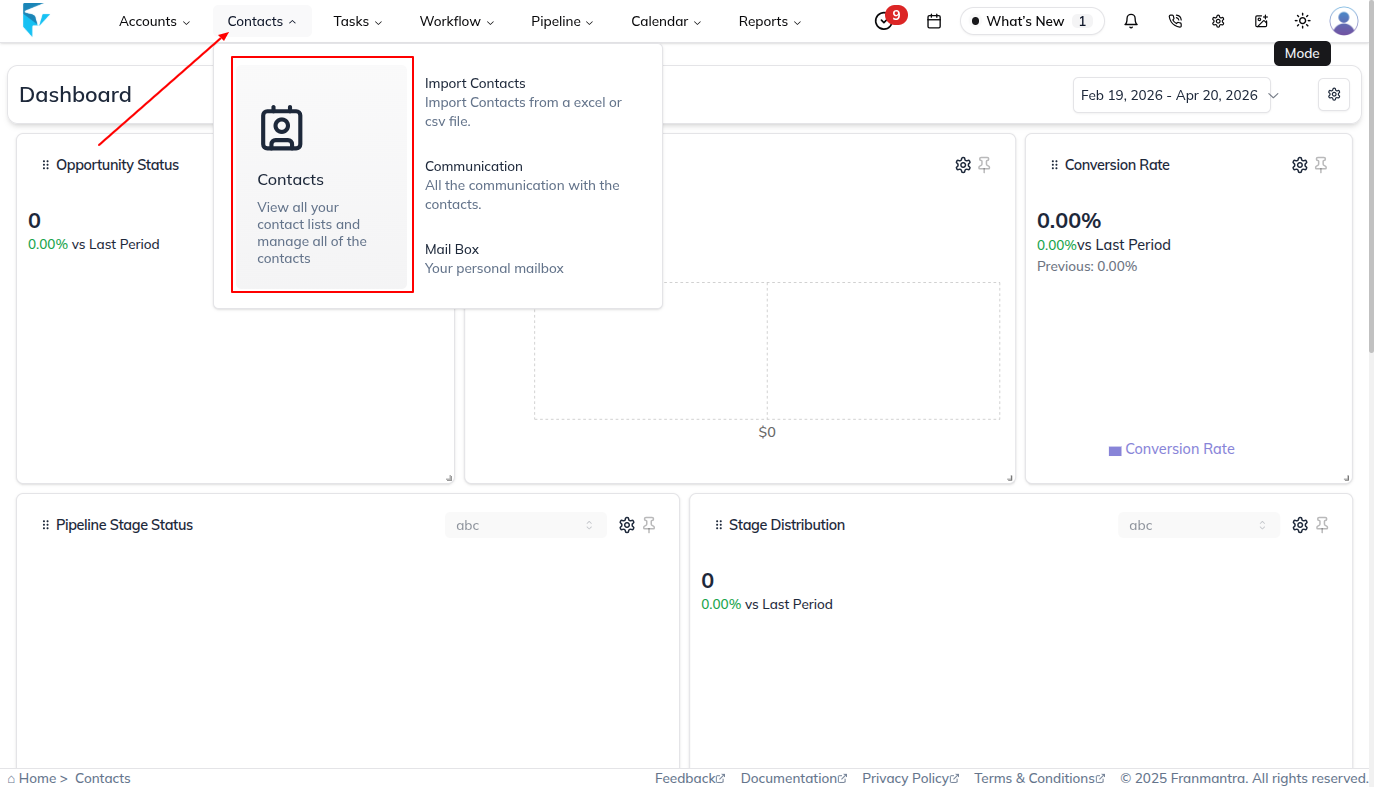
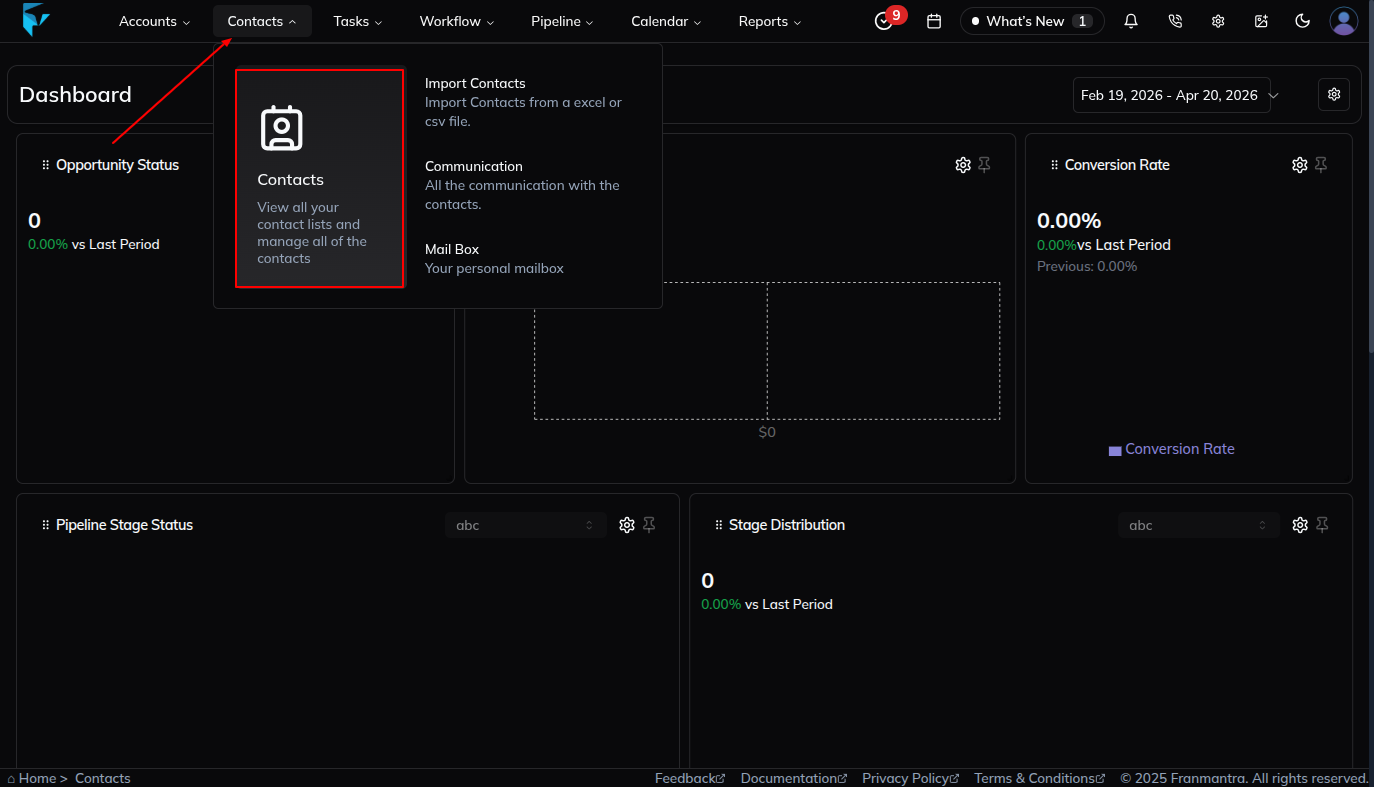
- In the header, we have the Contact option. When you hover over it, a dropdown shows the option "Contacts".
- When you click on "Contacts", you will land directly on the Contacts Details page.
Select Contacts
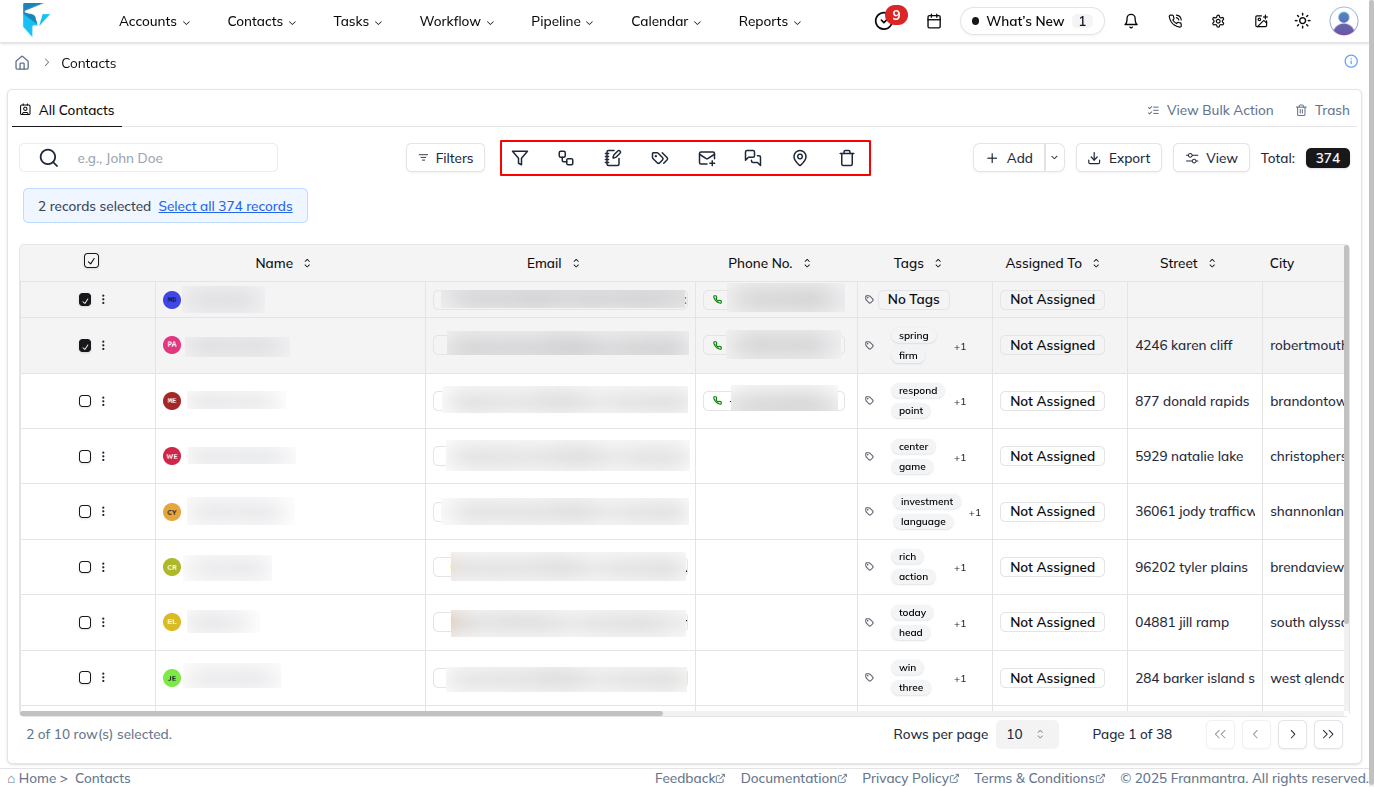
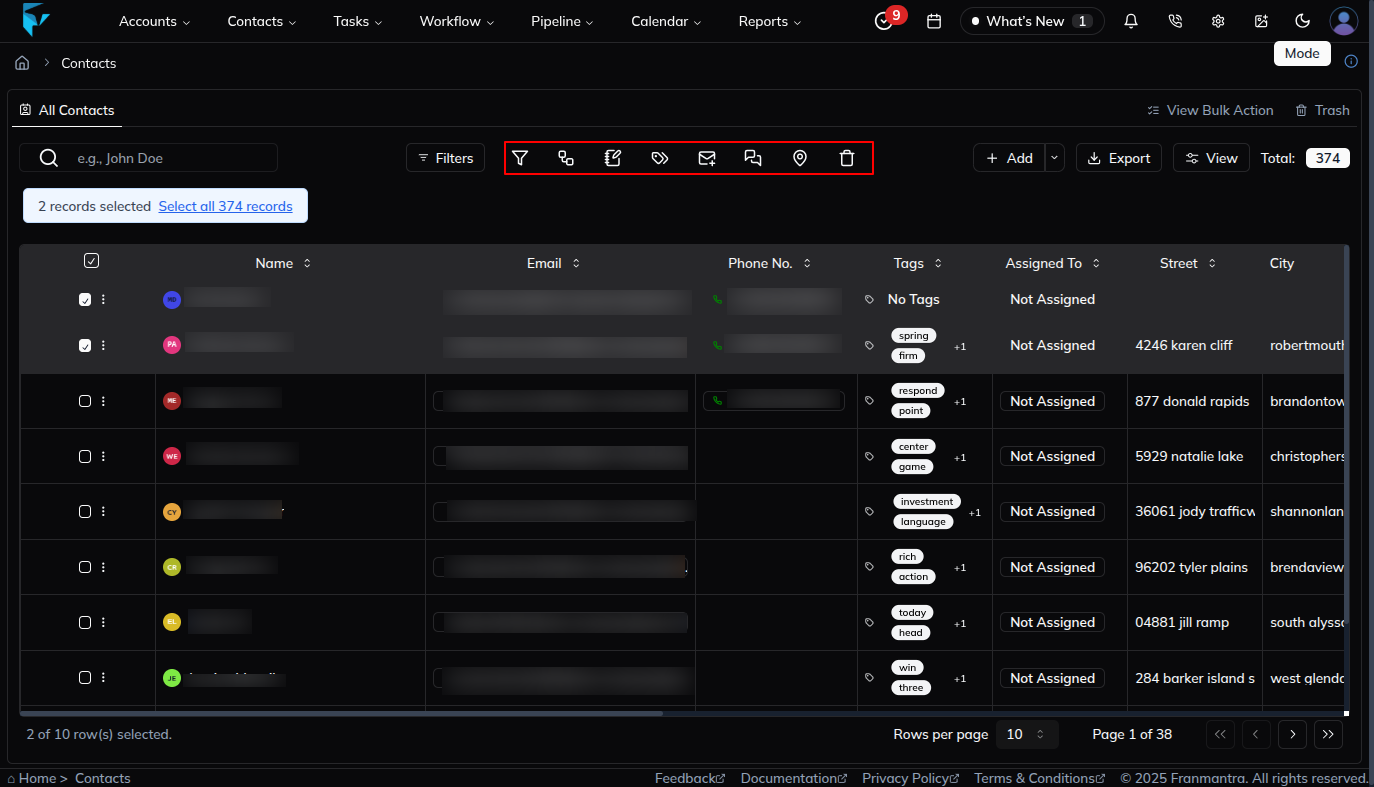
- On the Contacts page, select one or more contacts from the table.
- Once selected, the bulk action options become active.
The following bulk actions are available:
- Opportunity
- Workflow
- Notebook
- Tags
- Send Mail
- Send SMS
- Territory Check
- Delete
Perform Bulk Actions
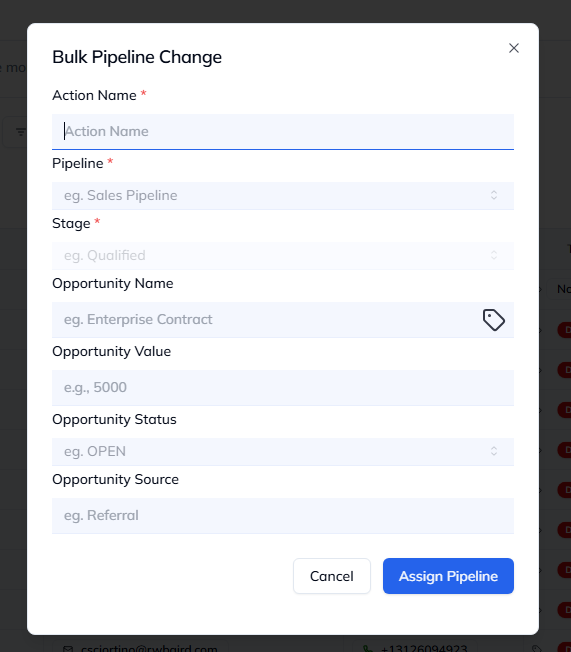
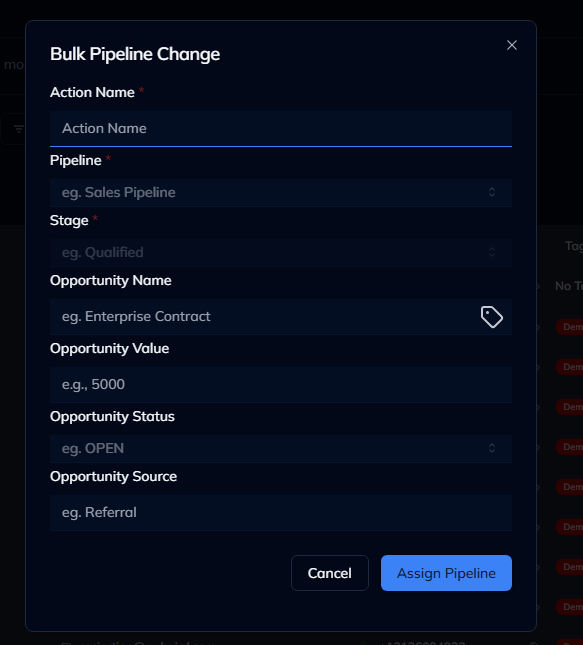
- Click Opportunity, and a Bulk Pipeline Change pop-up will appear.
- Fill in the details:
- Pipeline name (dropdown list of created pipelines)
- Stage (from the selected pipeline)
- Opportunity Name
- Opportunity Value
- Opportunity Status
- Opportunity Source
- Click Assign Pipeline. The opportunity will be added to all selected contacts.
Workflow
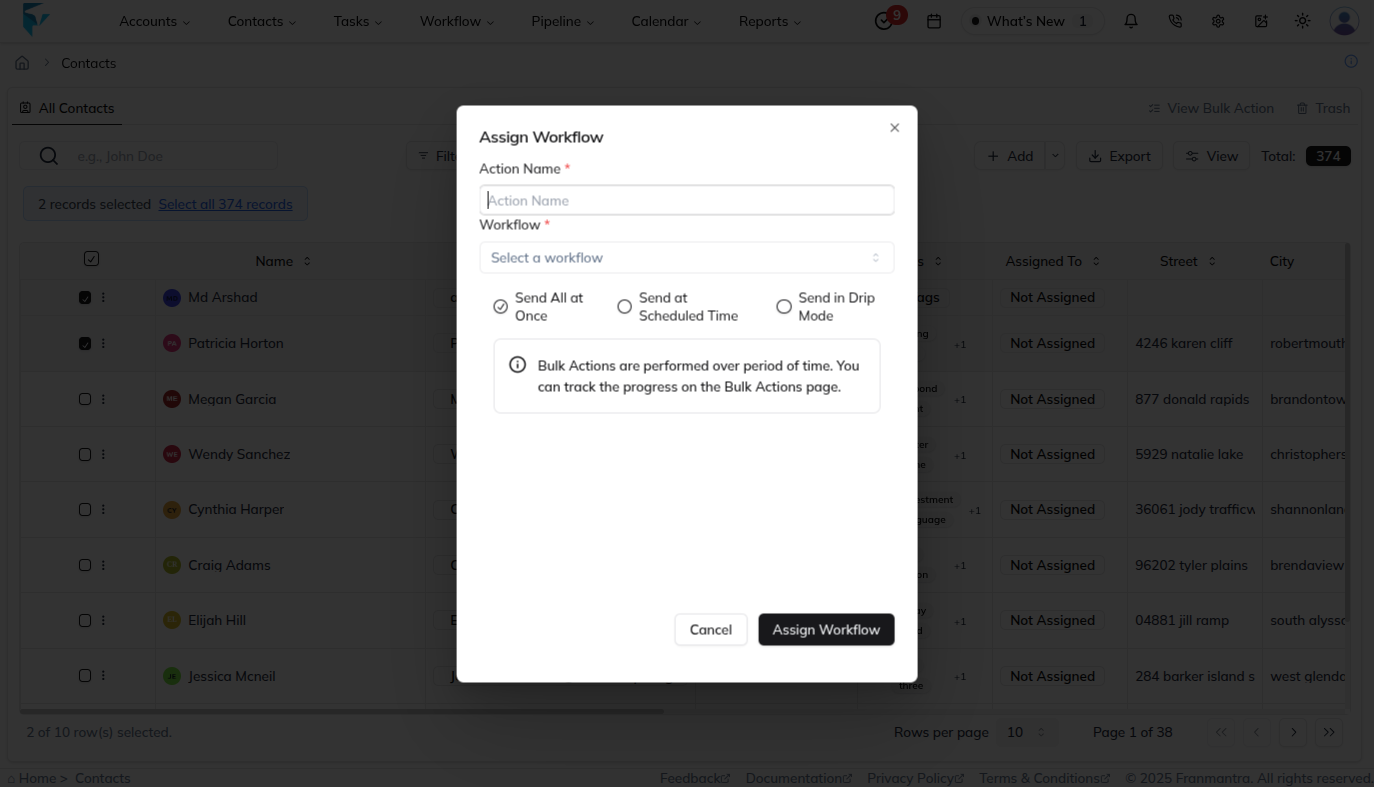
- Click Workflow, and an Assign Workflow pop-up will appear.
- Select the Workflow from the created Workflows.
- Enable the trigger switch, then choose the trigger.
- Click Assign Workflow.

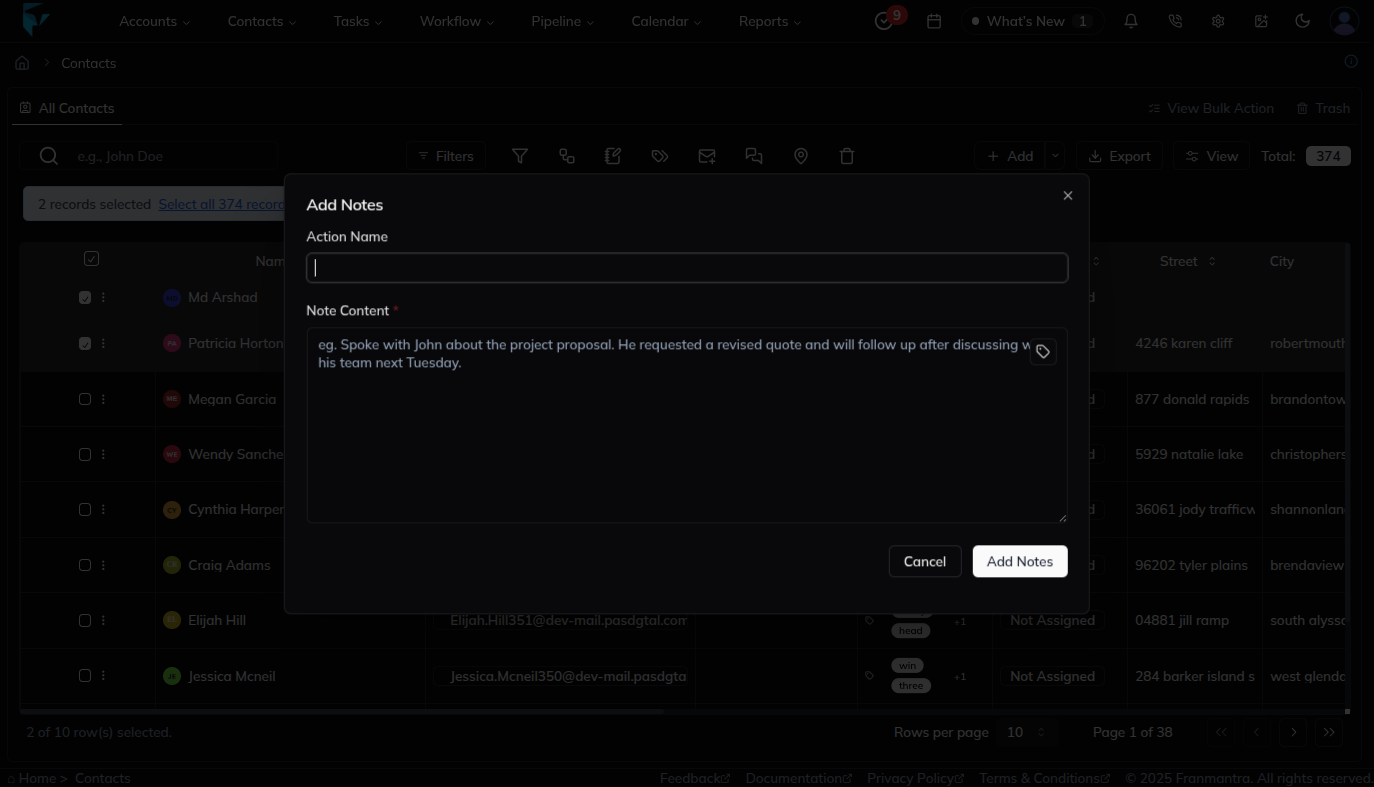
Add Notes
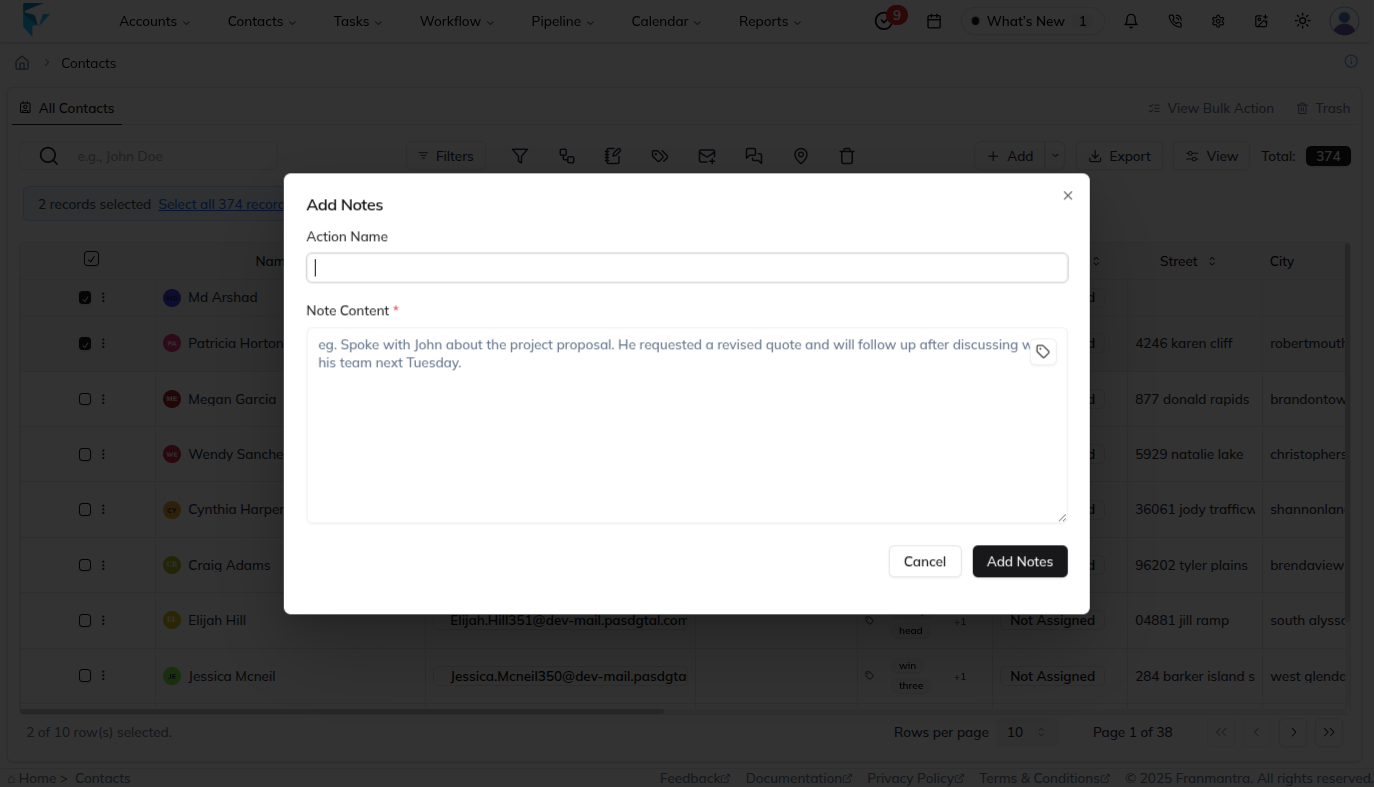
- Click Notebook, and an Add Notes pop-up will appear.
- Enter the Note Content.
- Click Add Notes.
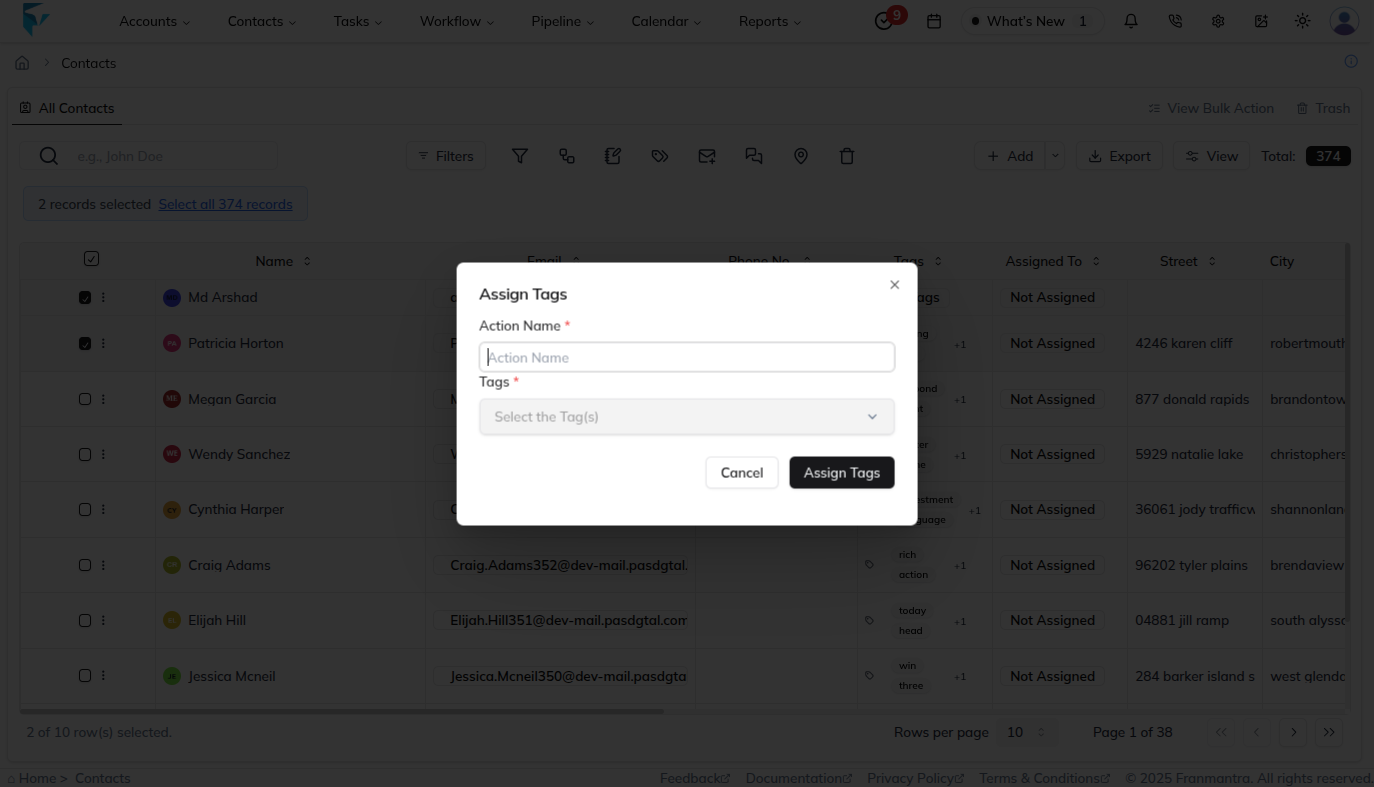
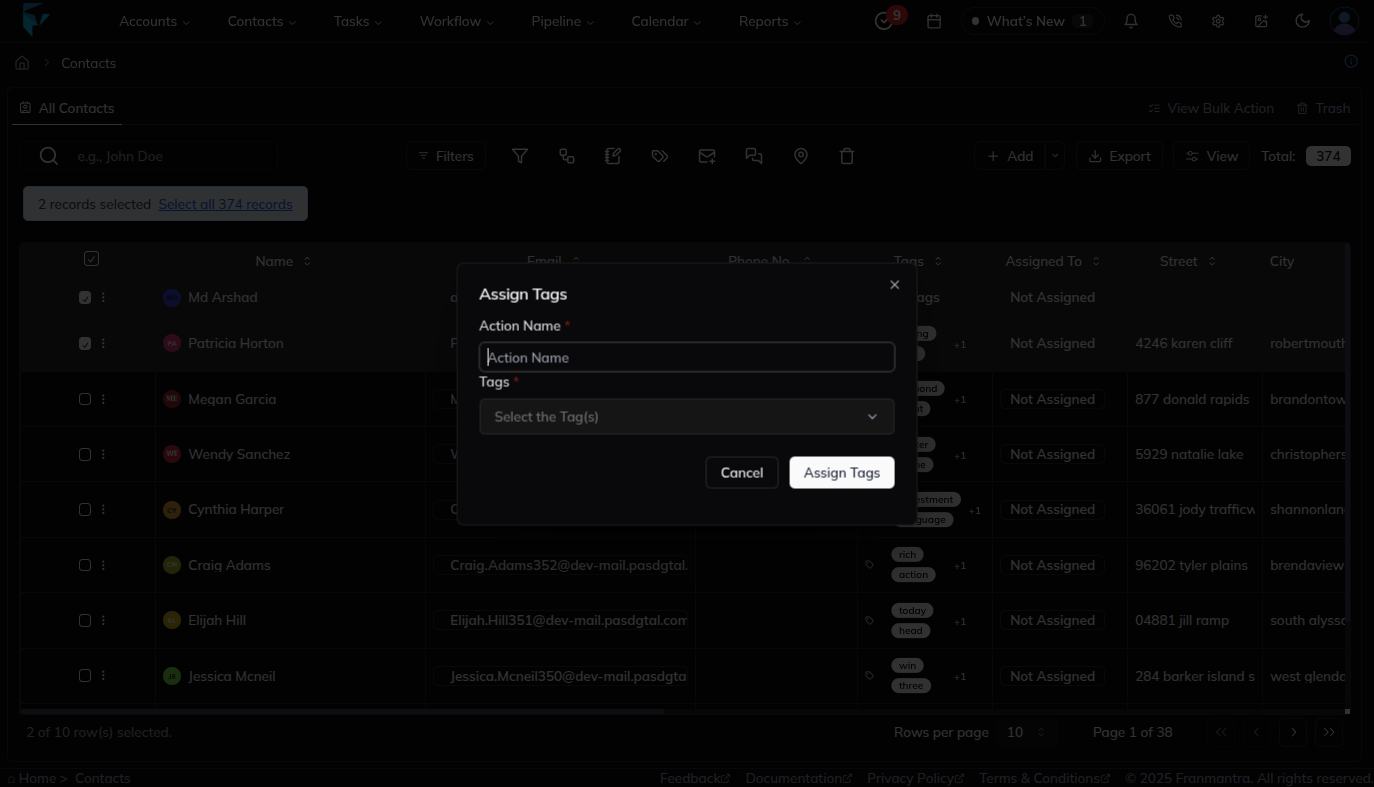
Tags
- Click Tags, and an Assign Tags pop-up will appear.
- Select one or more tags from the list.
- Click Assign Tags.
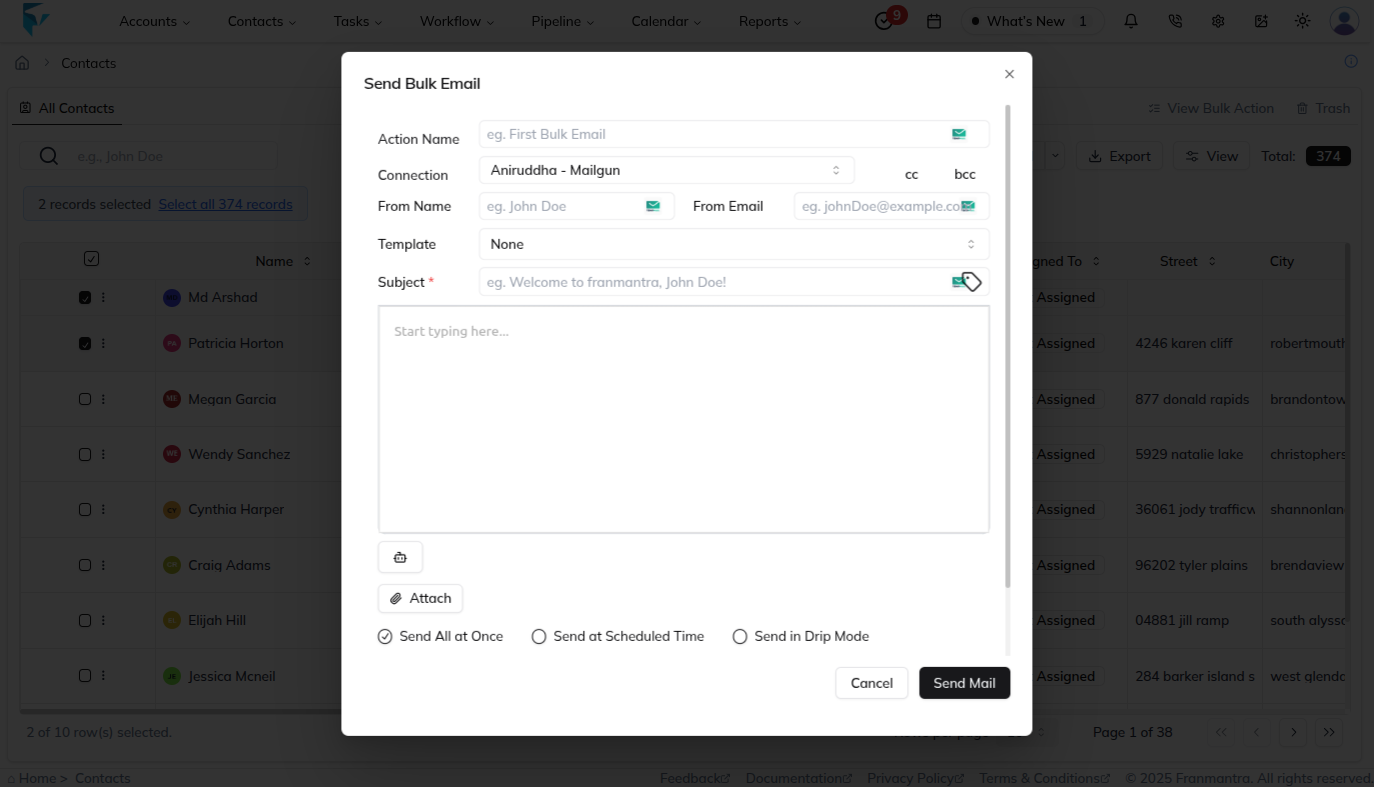
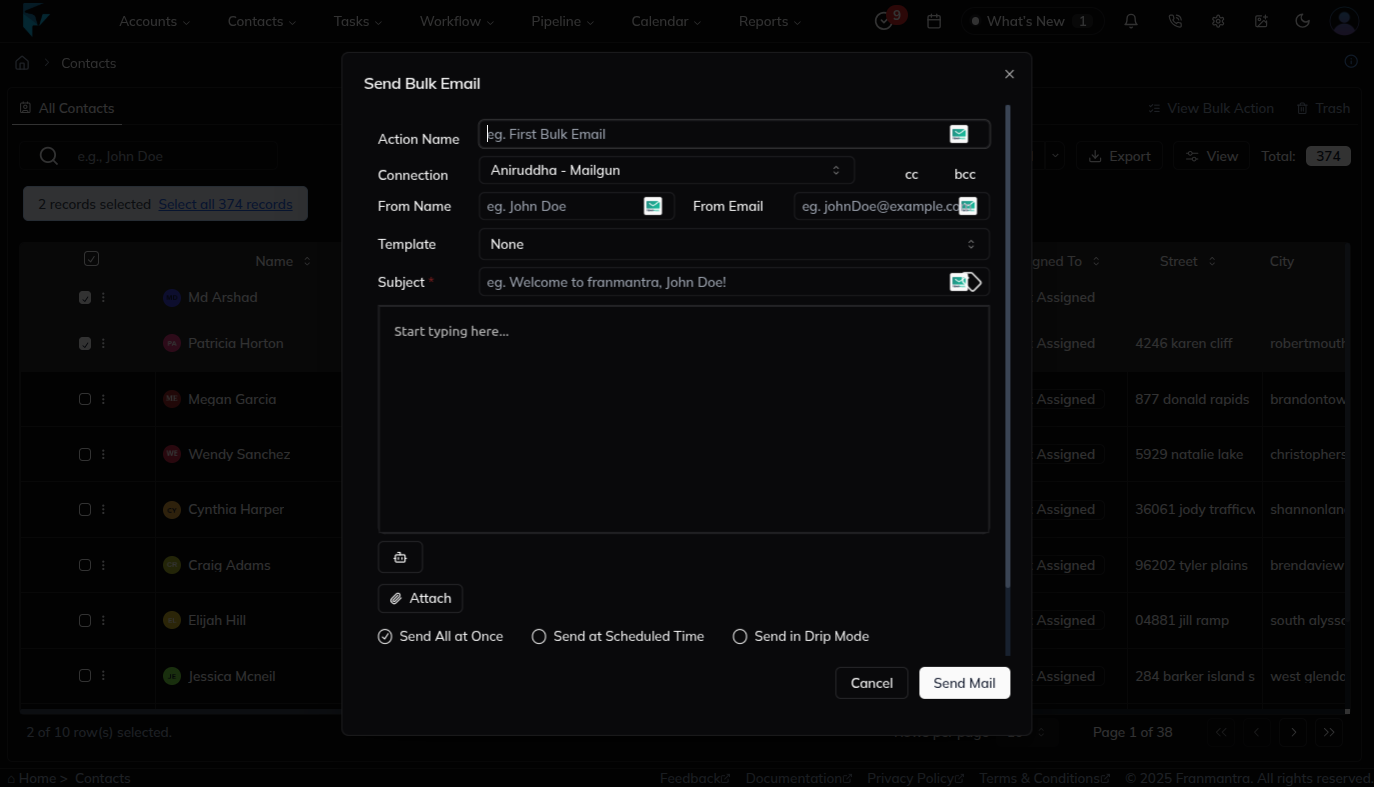
Send Mail
-
Click Mail, and a Send Email form will appear.
-
Fill in the details:
- From Name
- From Email
- Template (if available)
- Subject
- Email Content
-
Click Send Mail.
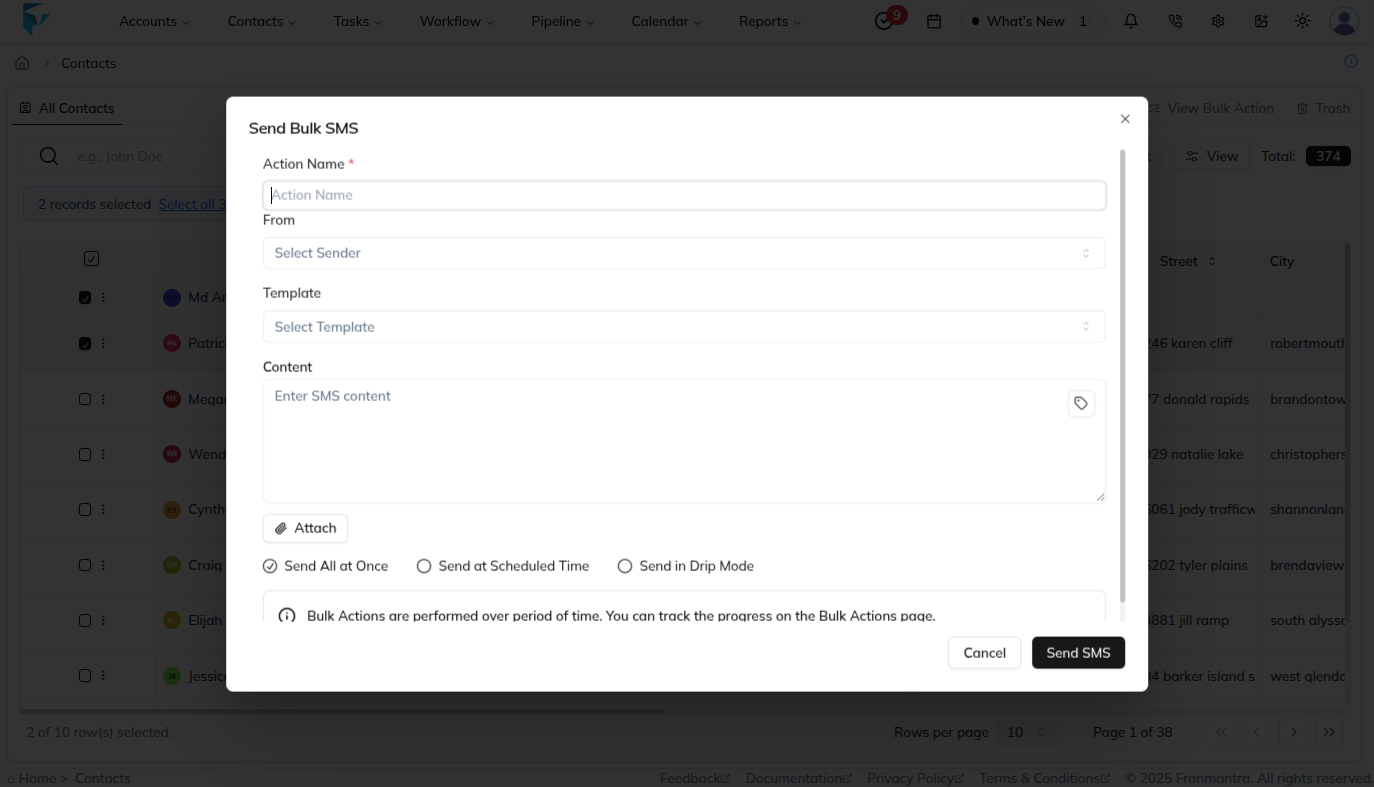
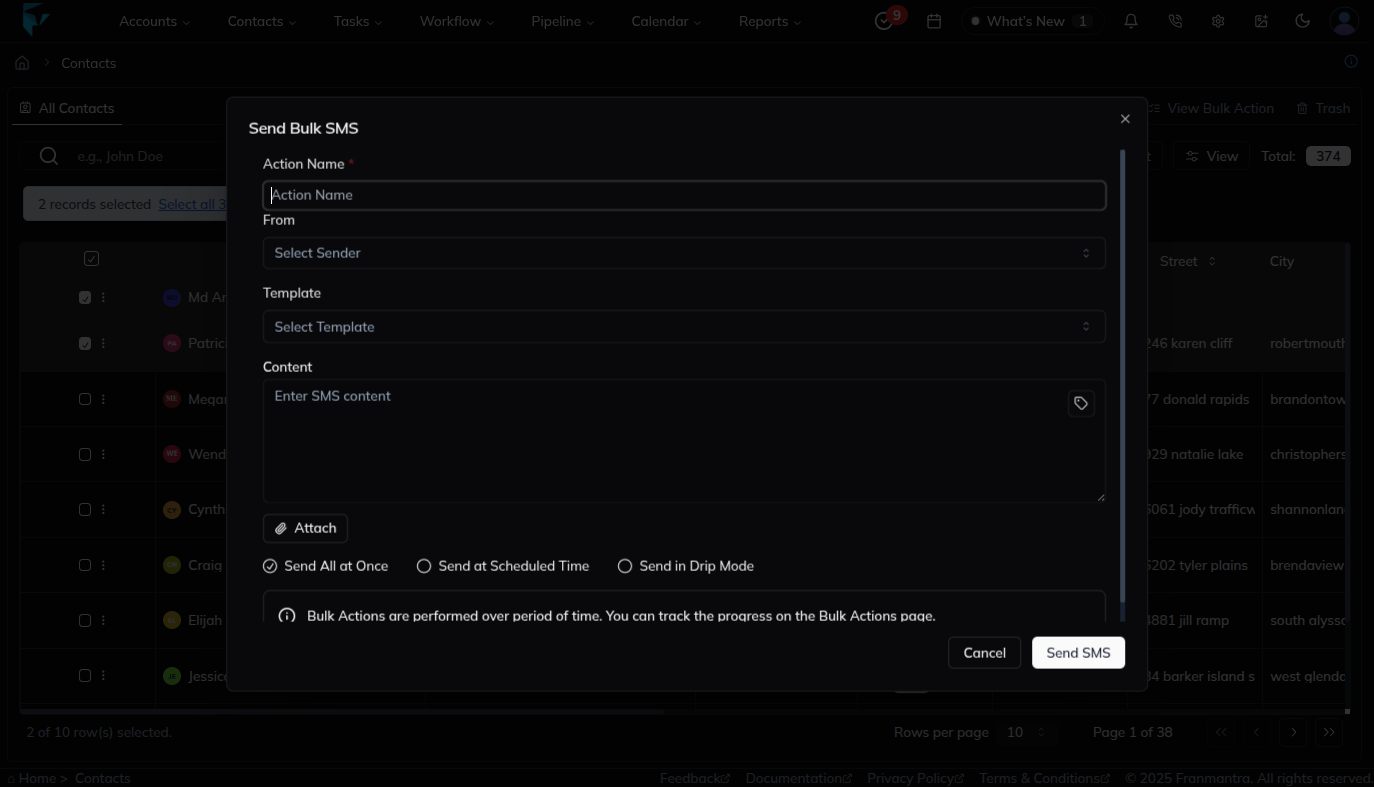
Send SMS
-
Click SMS, and a Send SMS form will appear.
-
Fill in the details:
- Action Name
- From
- Template (if available)
- Contact
- Attach (select any one by default "Send All at Once")
-
Click Send SMS.
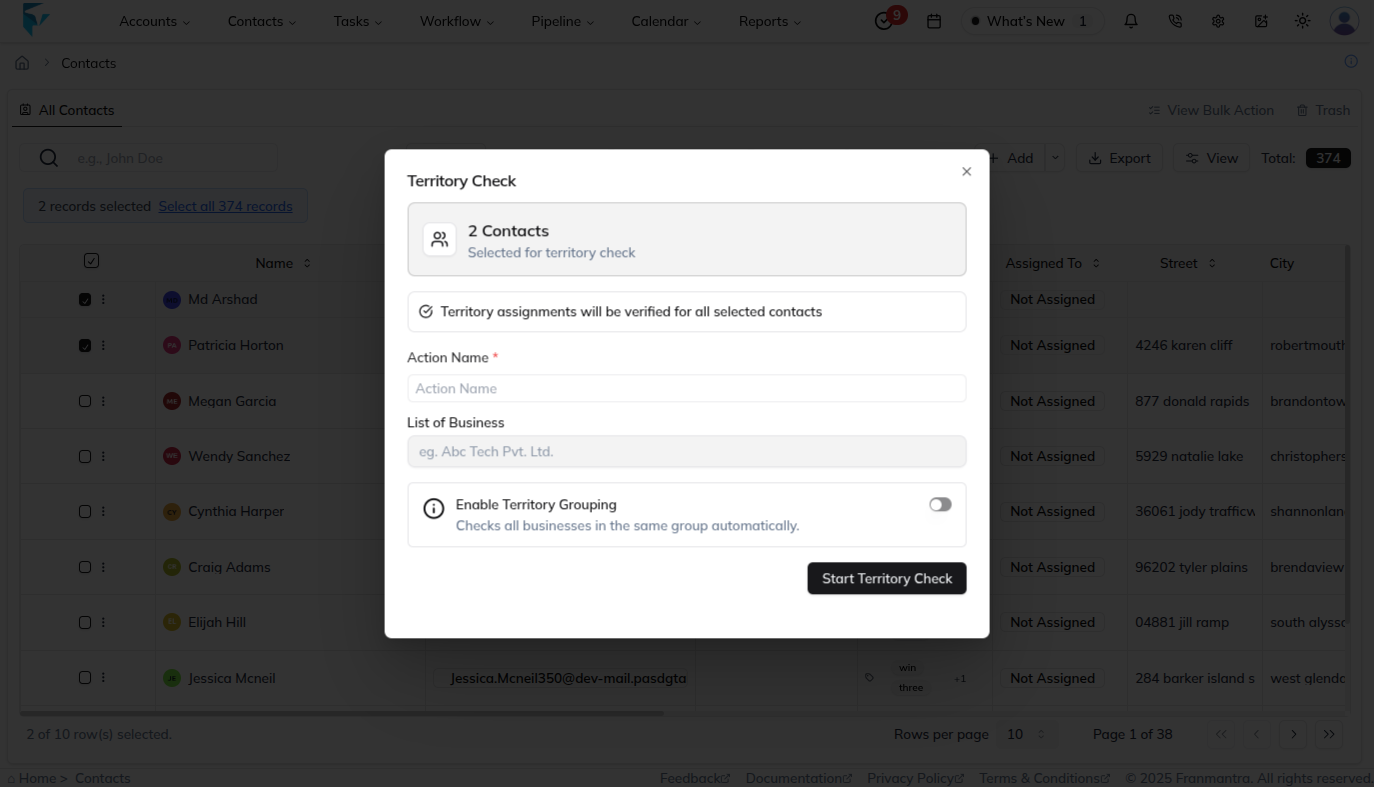
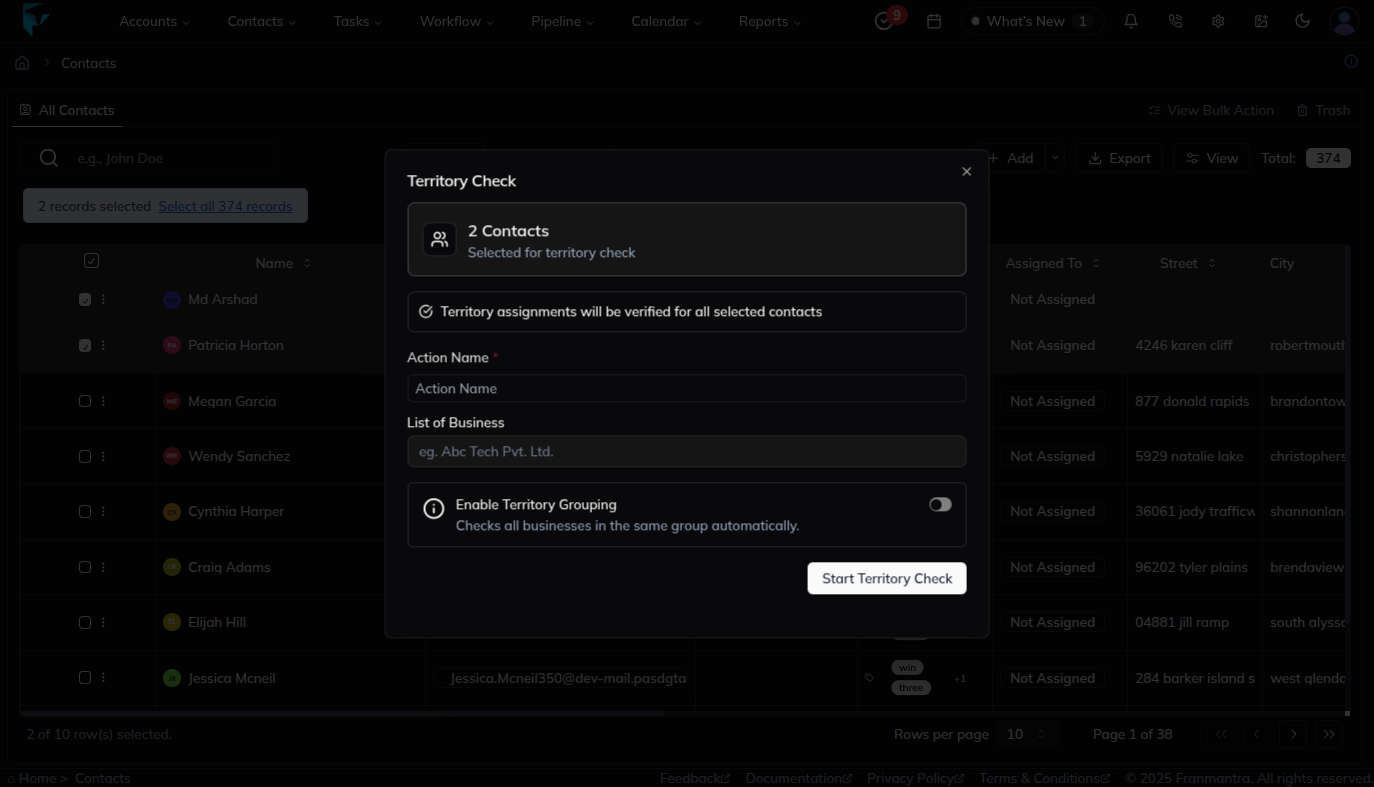
Territory Check
- Click Territory, and a Territory Check form will appear.
- Fill in the details:
- Action Name
- List of Business
- Enable Territory Grouping
- Click Start Territory Check.
Delete
- Click Delete, and a Delete Confirmation pop-up will appear.
- The pop-up will display the total number of selected contacts.
- To confirm, type DELETE and then click Delete.
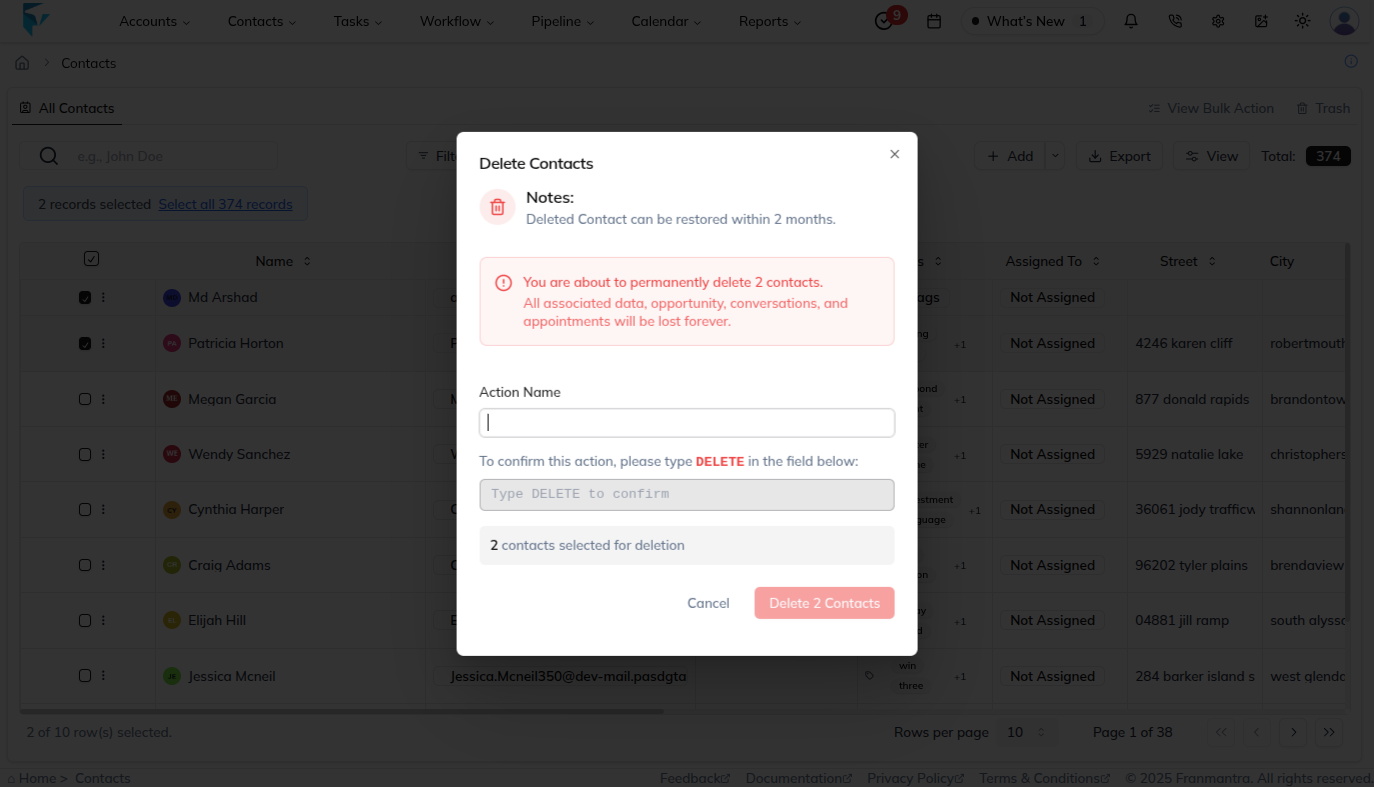
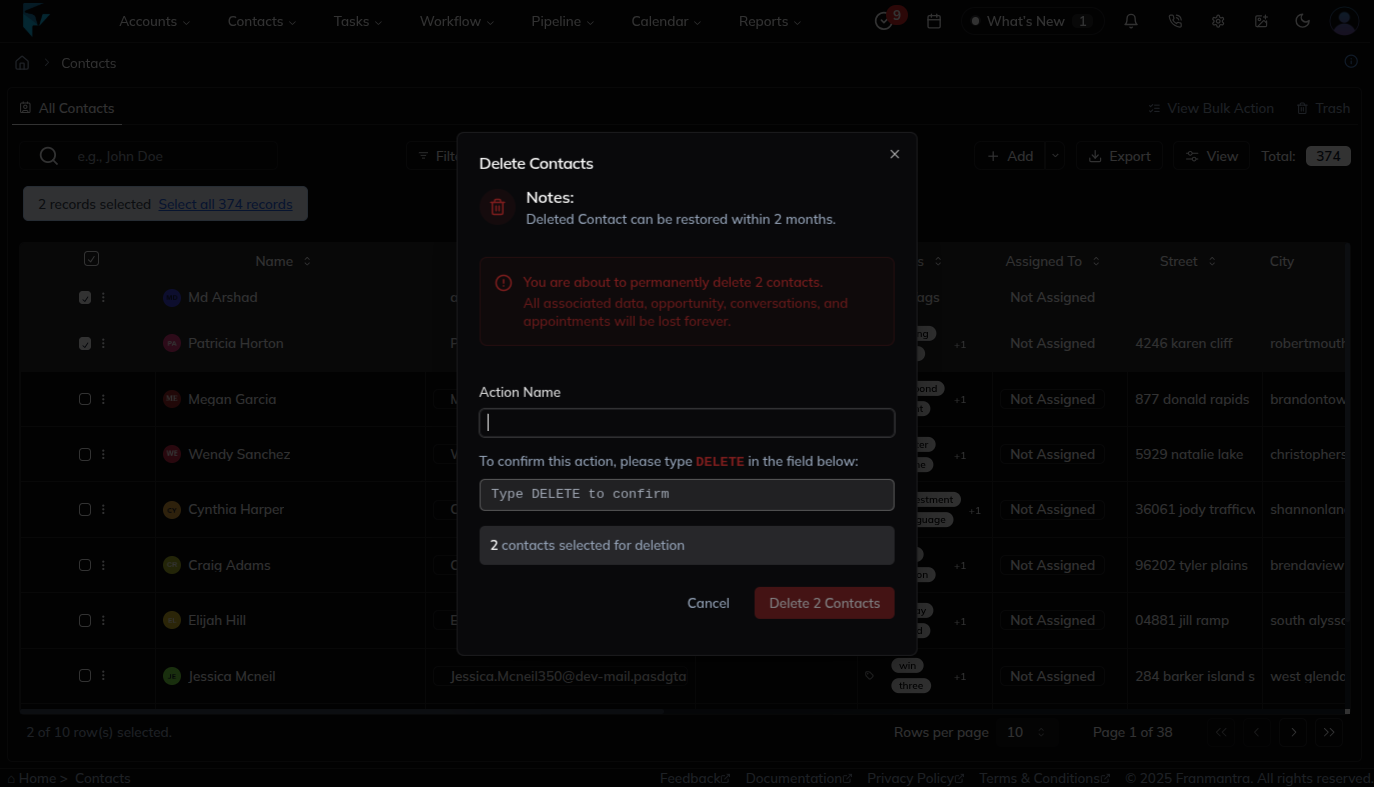
The selected contacts are moved to Trash and can be restored from there if needed.
Result
The change is saved in Franmantra CRM and is available to users with the right permissions.
Troubleshooting
- If you cannot see the option, check your role permissions or ask an admin to update your access.
- If the update does not appear immediately, refresh the page and confirm you are in the correct Sub-account.