Create a Workflow
How to Create a Workflow
Franmantra’s Workflow module allows you to automate complex business processes. Follow these steps to set up your Workflow from the dashboard.
What this does
This guide explains how to create a workflow in Franmantra CRM.
Before you start
- Sign in to Franmantra with a role that has permission to use this area.
- Confirm you are working in the correct Sub-account before making changes.
Steps
1. Open the Create Workflow Dialog
To start creating a Workflow, you first need to access the Workflow section from the main menu. In the center of the header, you will find a menu. When you hover over it, a list of Workflow-related options will appear.
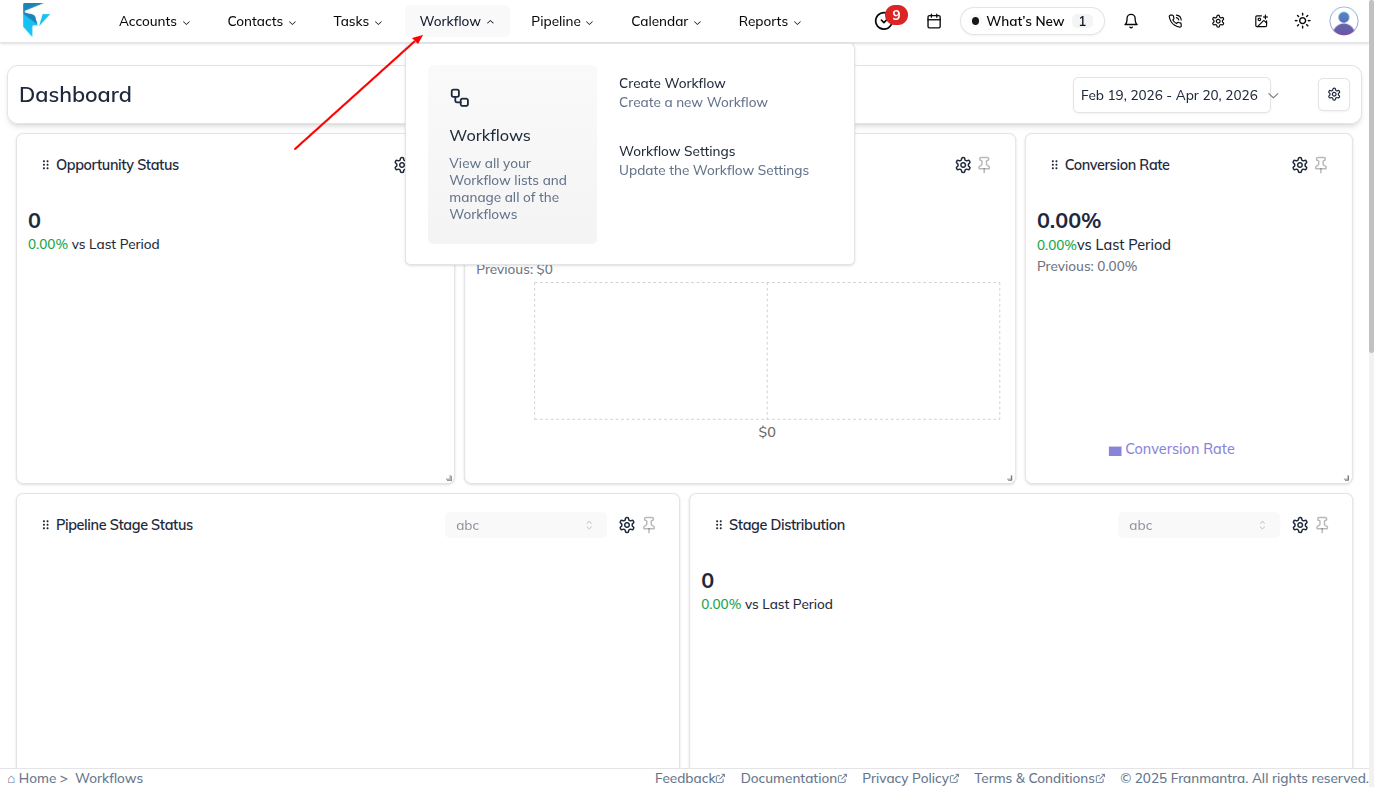
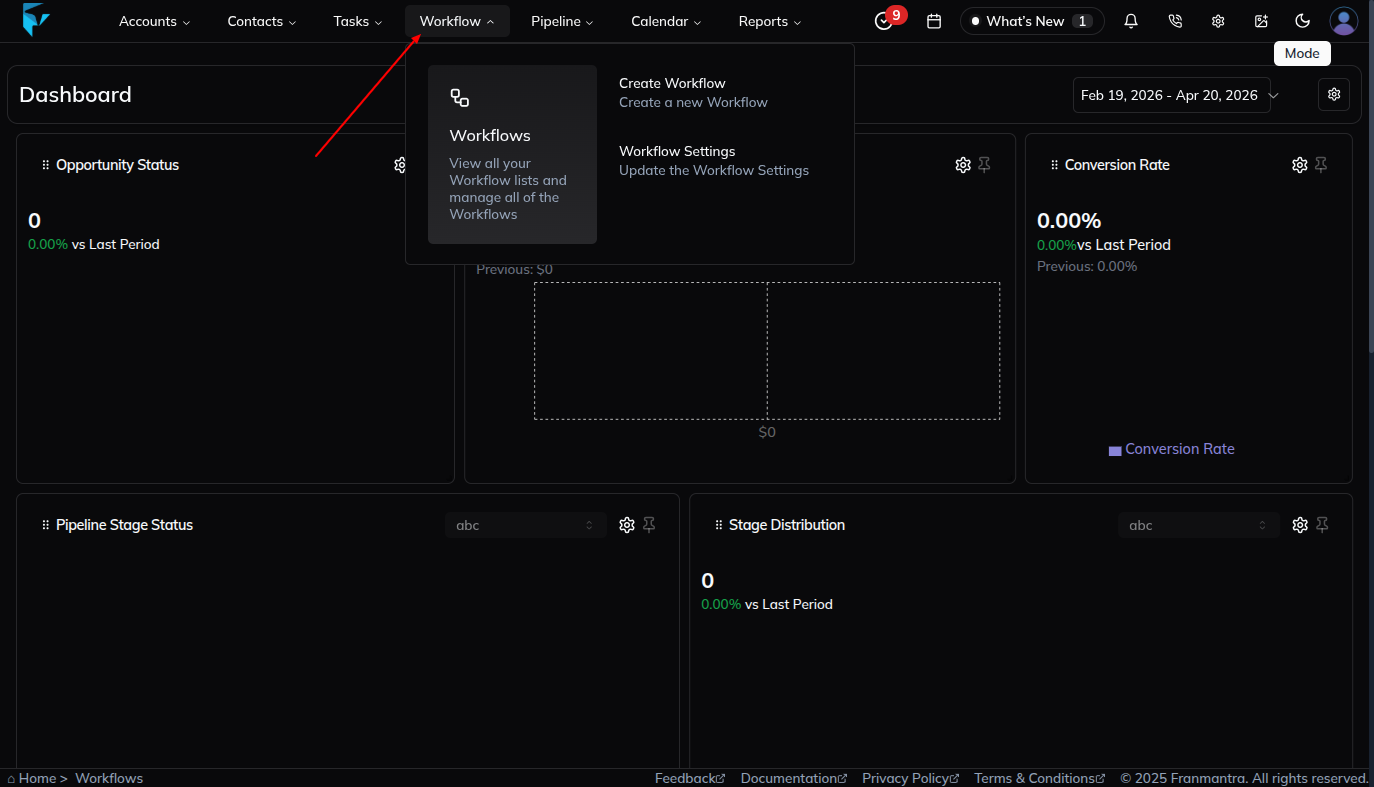
From here, you have two ways to begin:
-
Option A: Click on Create Workflow directly from the menu. This will immediately open the Create Workflow form on your screen.
-
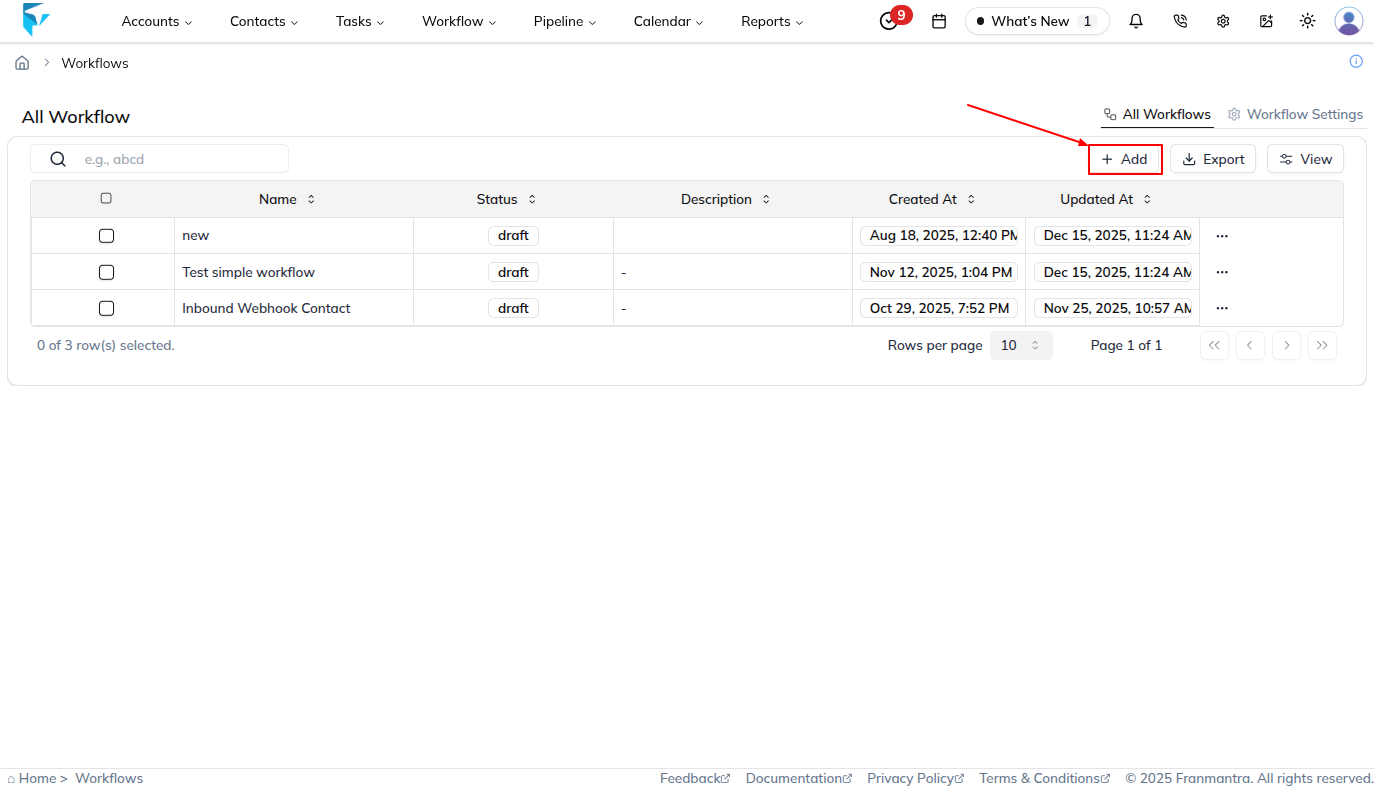
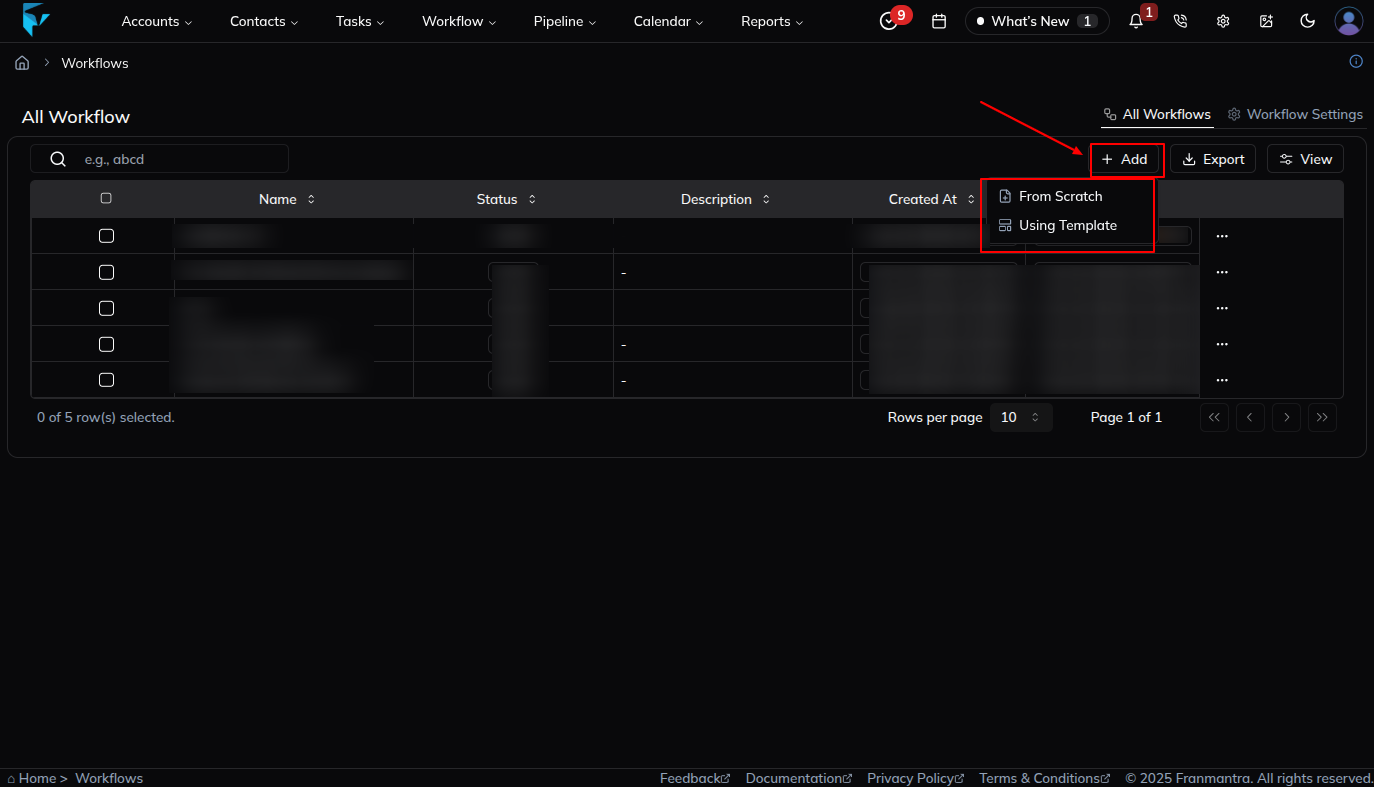
Option B: Click on Workflows to go to the listing page. Once there, click the Add button at the top-left of the table.

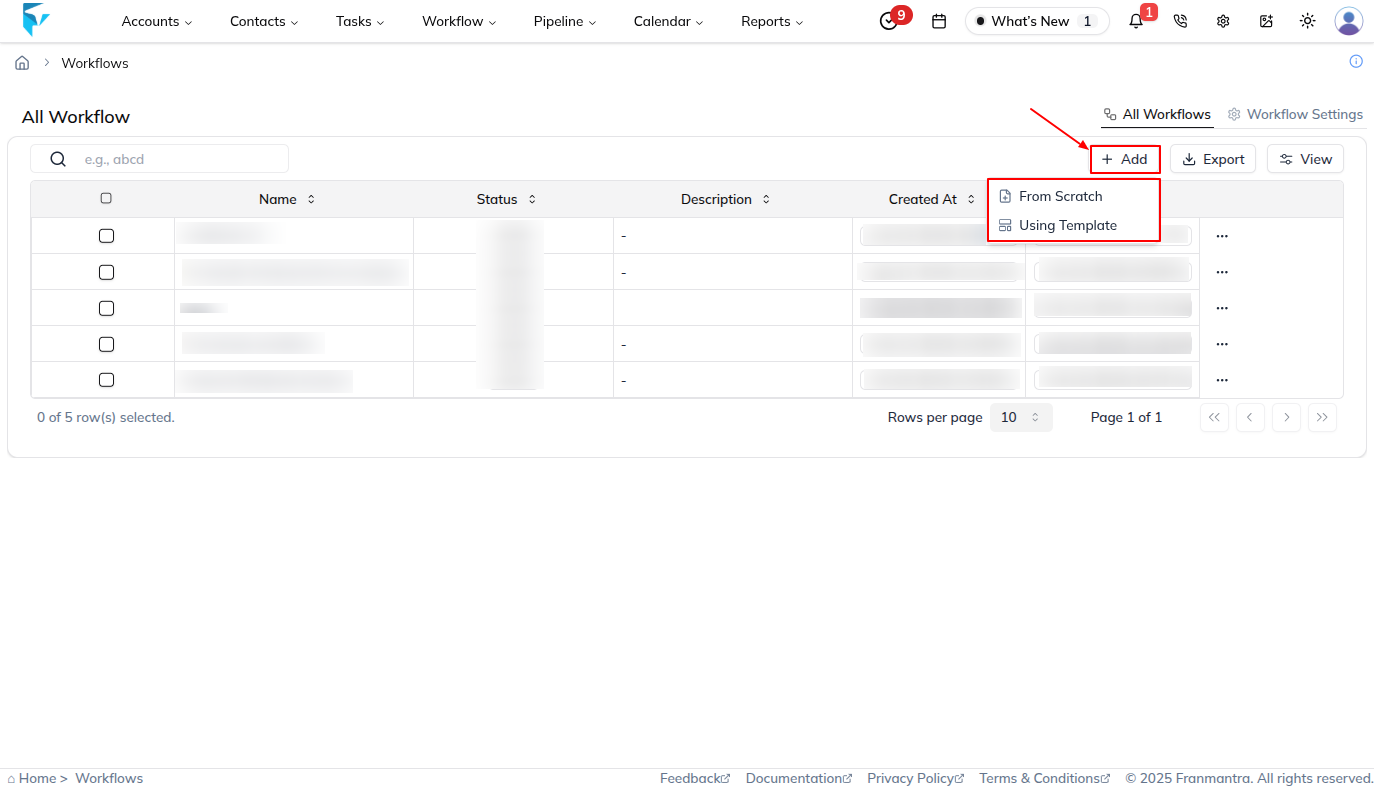
2. Choose How to Create the Workflow
Once the Create Workflow form opens, you will see two ways to set up your Workflow. Pick the one that fits you best!
🆕 Option A — Create from Scratch
- Choose this if you want to build the Workflow yourself from the very beginning — you get full control over every step.
- Fill in the following details:
| Field | Description |
|---|---|
| Workflow Name | Give it a clear name (e.g., New Lead Welcome Series). |
| Description | Briefly explain what this Workflow will do (optional but helpful). |
- Once done, click Create to save it. Your Workflow will appear in the list with a Draft status — ready for you to add triggers and actions. 🎉
📋 Option B — Create from an Agency Template
- Choose this if your agency has already set up a Workflow template for you. This is much faster because the triggers and actions are already configured!
- In the Create Workflow form, look for a "Use Template" option.
- Browse the list of templates your agency has provided and pick the one that matches your need.
- Give the Workflow a Name if needed, then click Use Template — your Workflow is created with everything pre-filled! ✅
💡 Not sure which to pick? If your agency gave you a template, go with Option B — it saves a lot of time. If you need something custom, use Option A.
3. Save the Workflow
- Once all details are entered, click the Create button for Scratch or Use Template button for Template.
- Your Workflow will now appear in the list with a draft status, ready for you to add triggers and actions.
Next Steps
- Define your Triggers to start the automation.
- Add Actions and Conditions to build out the process logic.
- Publish the Workflow when you are ready for it to go live.
Result
The change is saved in Franmantra CRM and is available to users with the right permissions.
Troubleshooting
- If you cannot see the option, check your role permissions or ask an admin to update your access.
- If the update does not appear immediately, refresh the page and confirm you are in the correct Sub-account.