How to Add an Event in Calendar
What this does
This guide explains how to create event in calendar in Franmantra CRM.
Before you start
- Sign in to Franmantra with a role that has permission to use this area.
- Confirm you are working in the correct Sub-account before making changes.
Steps
You can add events to your calendar for meetings, webinars, or team schedules. There are two ways to reach the calendar landing page before creating an event.
Method 1: From the Header to Calendar Page
- Go to the Header menu at the top of the page and hover over the Calendar option.
- From the dropdown menu, click on Calendar.
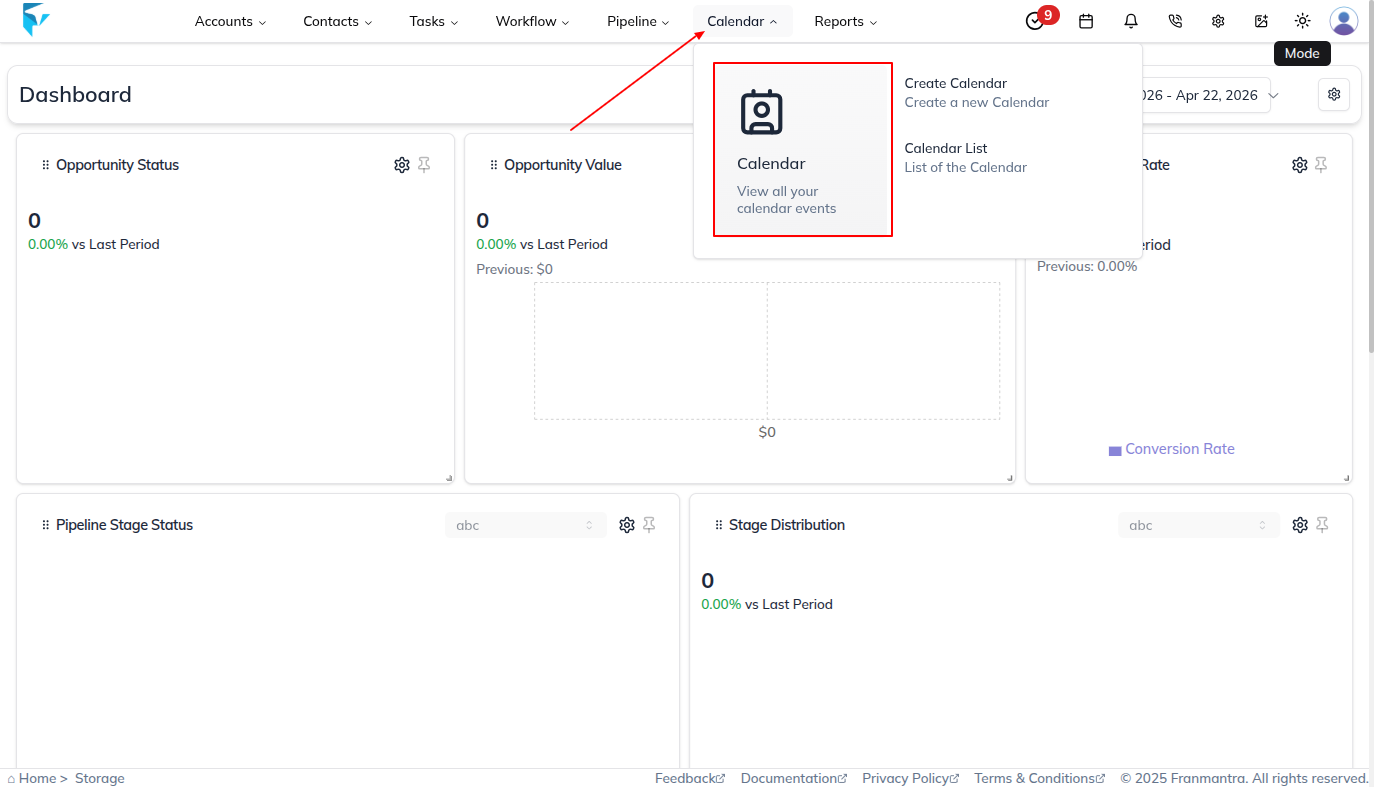
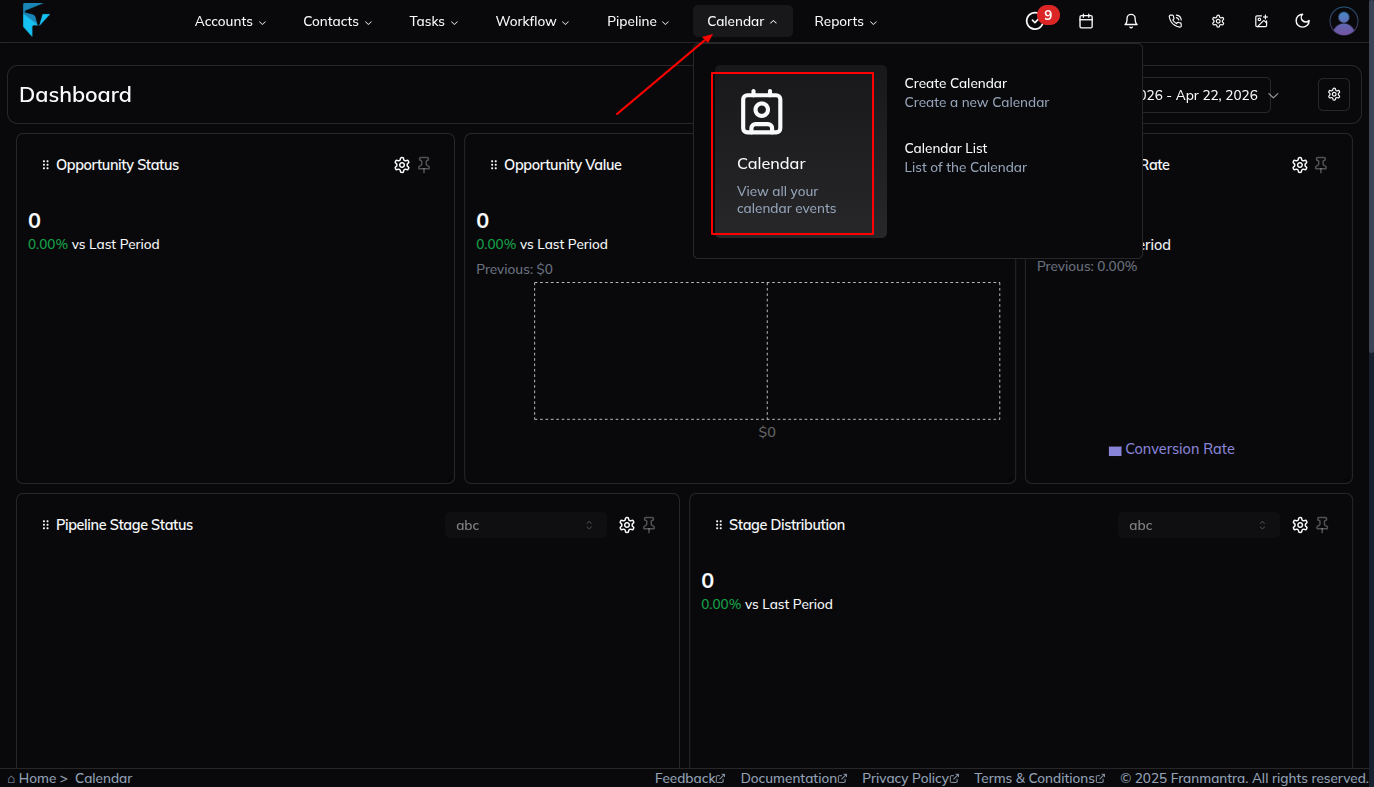
- You’ll land directly on the Calendar page.

Method 2: From Settings to Calendar Page
- Click on the Settings icon (top-right of the page). You’ll land on the Business Details section of the settings page.
- From the left sidebar menu, select Calendar.
- A list of calendars will appear (if you already created them).
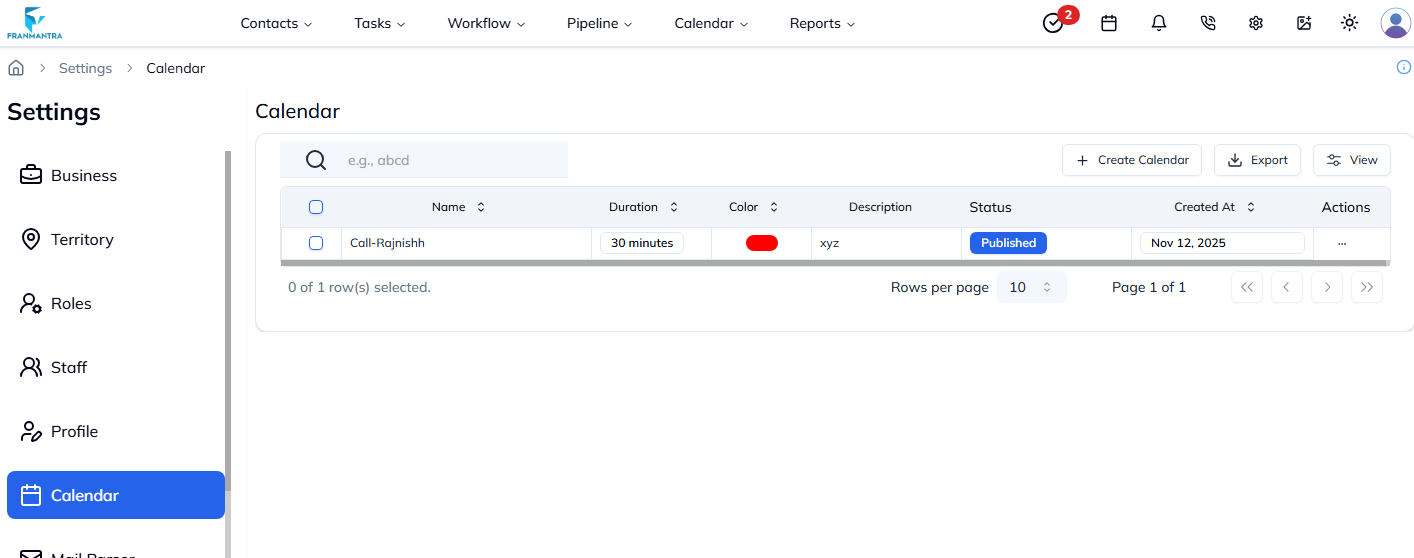
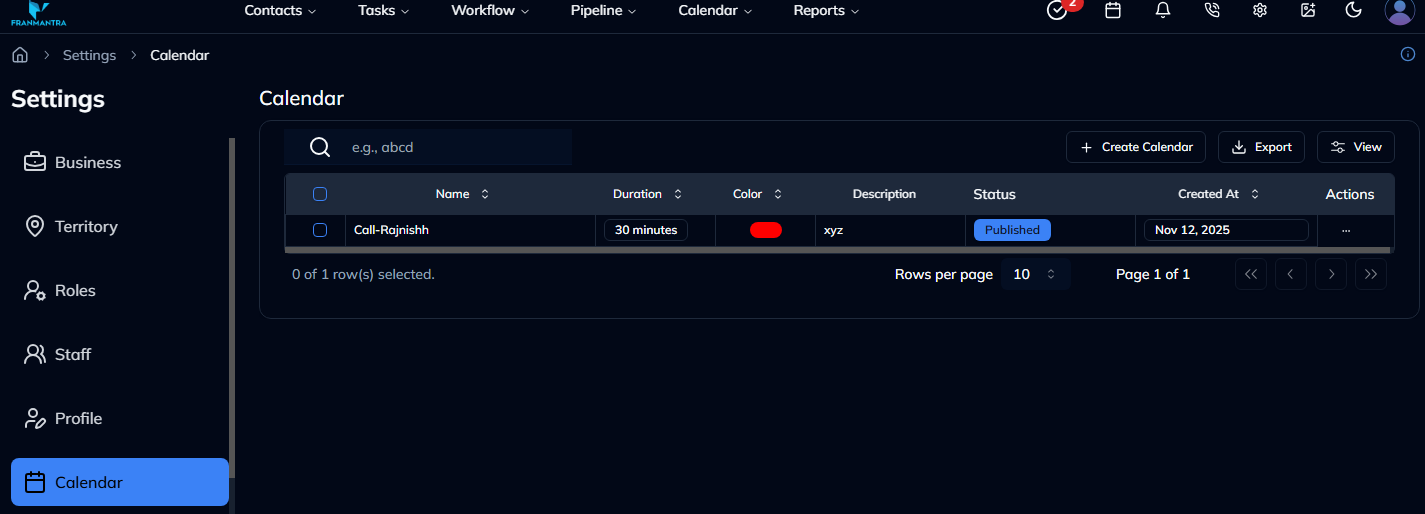
- Click on the name of a calendar record to land on the Calendar page.
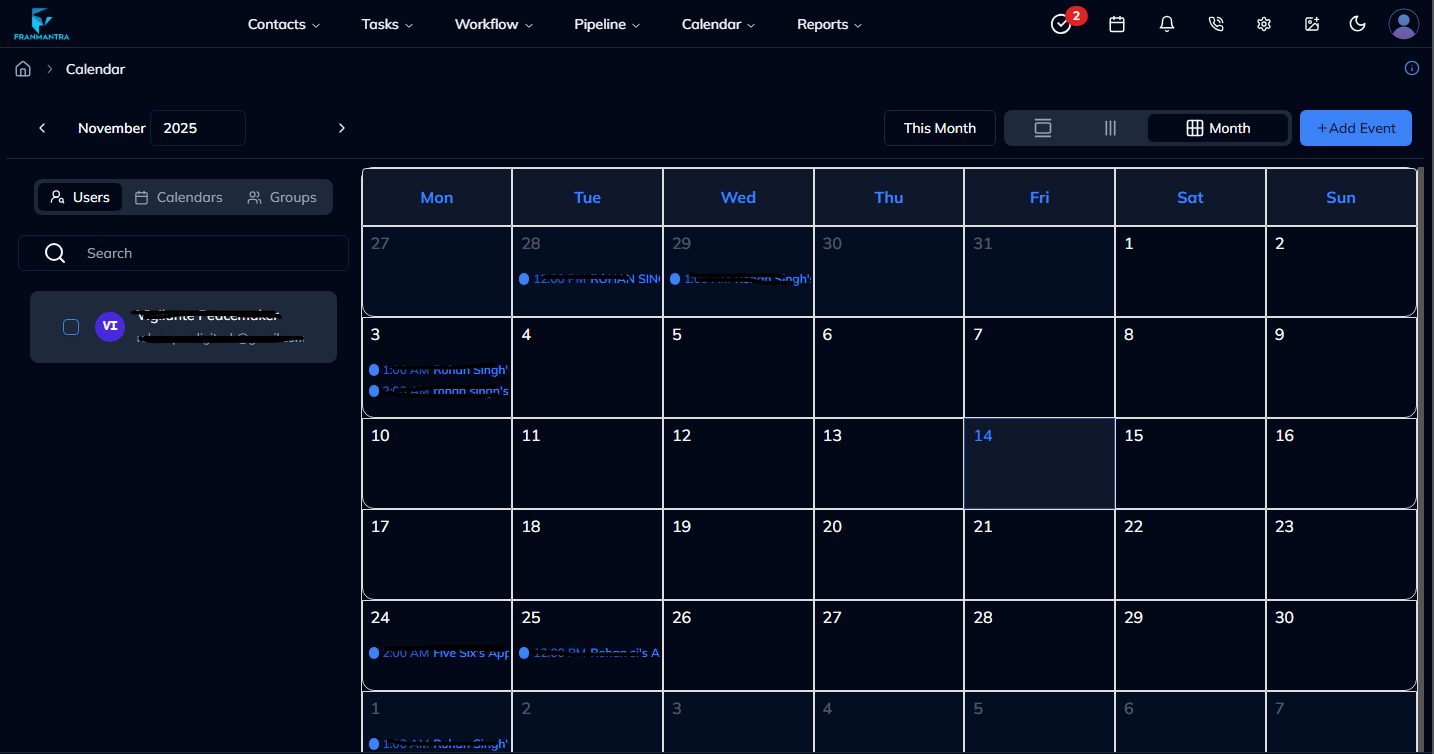
Steps to Add an Event
Once you are on the Calendar page:
- Click the Add Event button.
- An Add Event form will pop up with the following fields:
- Calendar – select a calendar from your calendar list. (When you select a calendar, the User dropdown appears.)
- Title – enter the event title.
- User – choose the user(s) who will attend the meeting.
- Timezone – select the timezone. (After selecting, you can pick the time from the date-time picker.)
- Date – select the event date from the created calendar.
- Time – choose the time duration set in the calendar.
- Description – add details about the event.
- Contact – enter the contact details of the person you’re inviting.
- Status – select Confirmed or Unconfirmed from the dropdown.
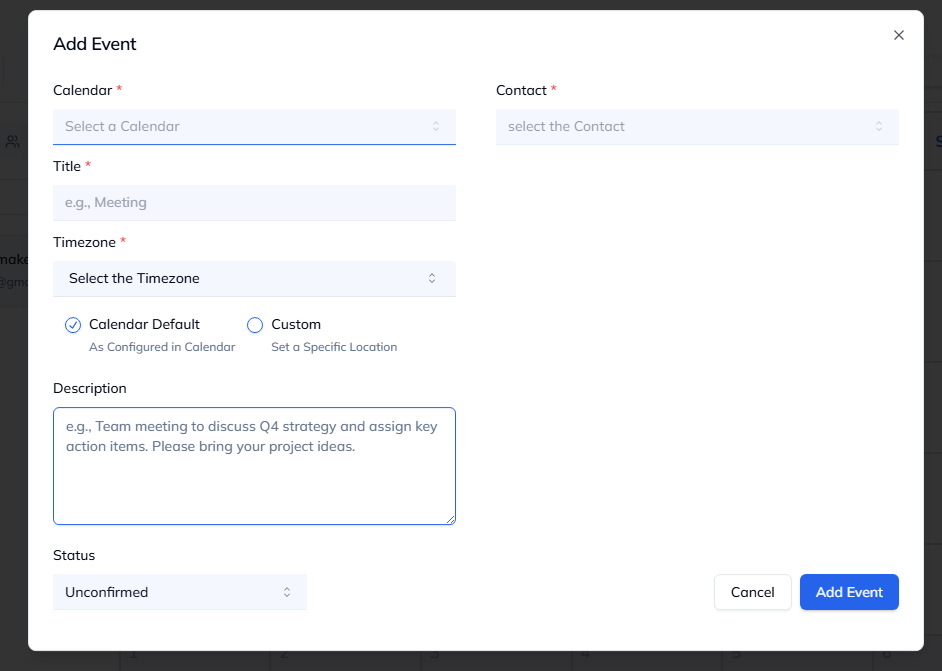

- After filling in all fields, click Add Event.
- The event will be created and displayed on the Calendar page.
Notes
- Events are created based on the date you select in the form, not just by clicking on the calendar directly.
- However, if you click on a specific day in the calendar view, the Add Event form will also pop up for quicker scheduling.
Result
The change is saved in Franmantra CRM and is available to users with the right permissions.
Troubleshooting
- If you cannot see the option, check your role permissions or ask an admin to update your access.
- If the update does not appear immediately, refresh the page and confirm you are in the correct Sub-account.