Managing Workflows: Edit, Duplicate, Share, or Delete
What this does
This guide explains how to manage workflows in Franmantra CRM.
Before you start
- Sign in to Franmantra with a role that has permission to use this area.
- Confirm you are working in the correct Sub-account before making changes.
Steps
Workflows are the backbone of automating processes. Once you’ve created Workflows, you may need to update them, make copies, share them with Sub-accounts, or even delete them. Here’s how to manage your Workflows from the Workflow page.
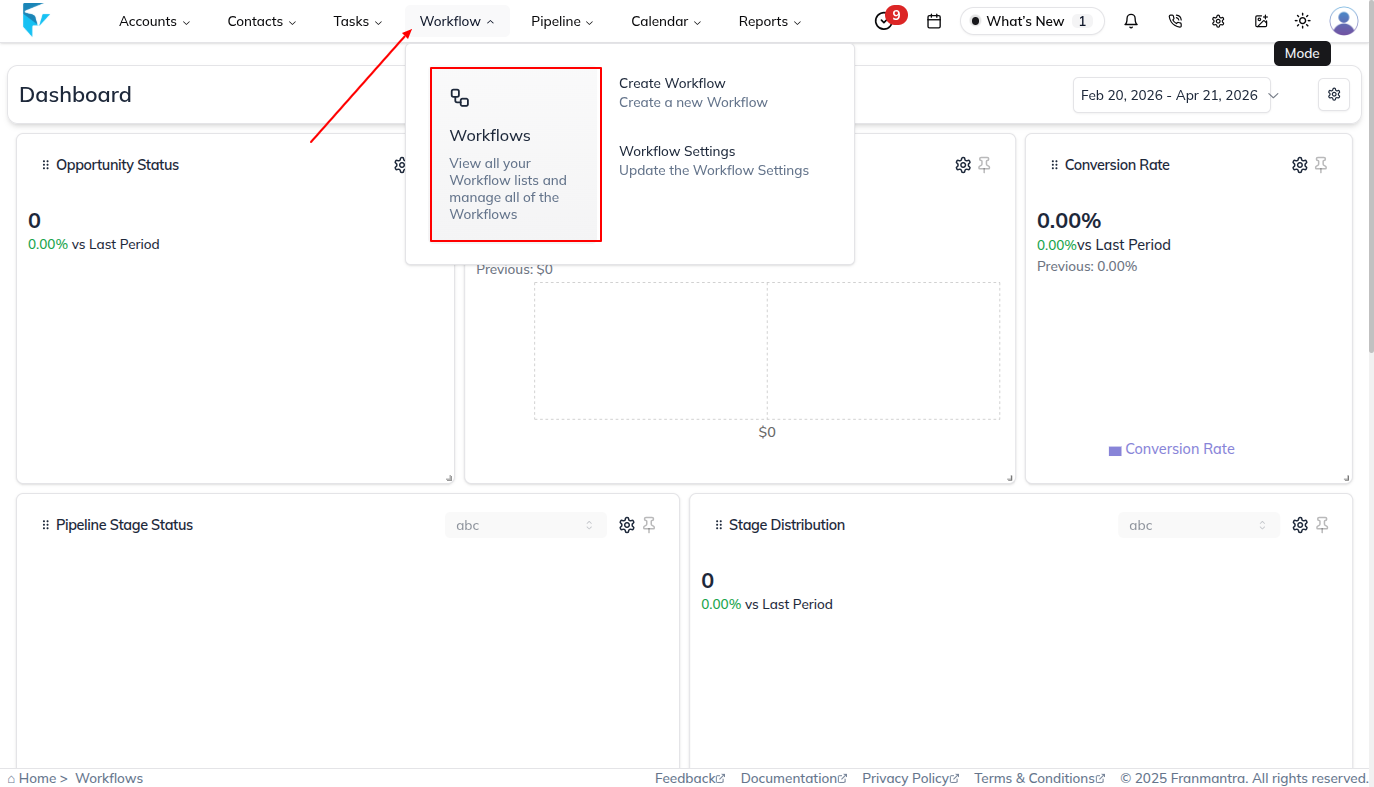
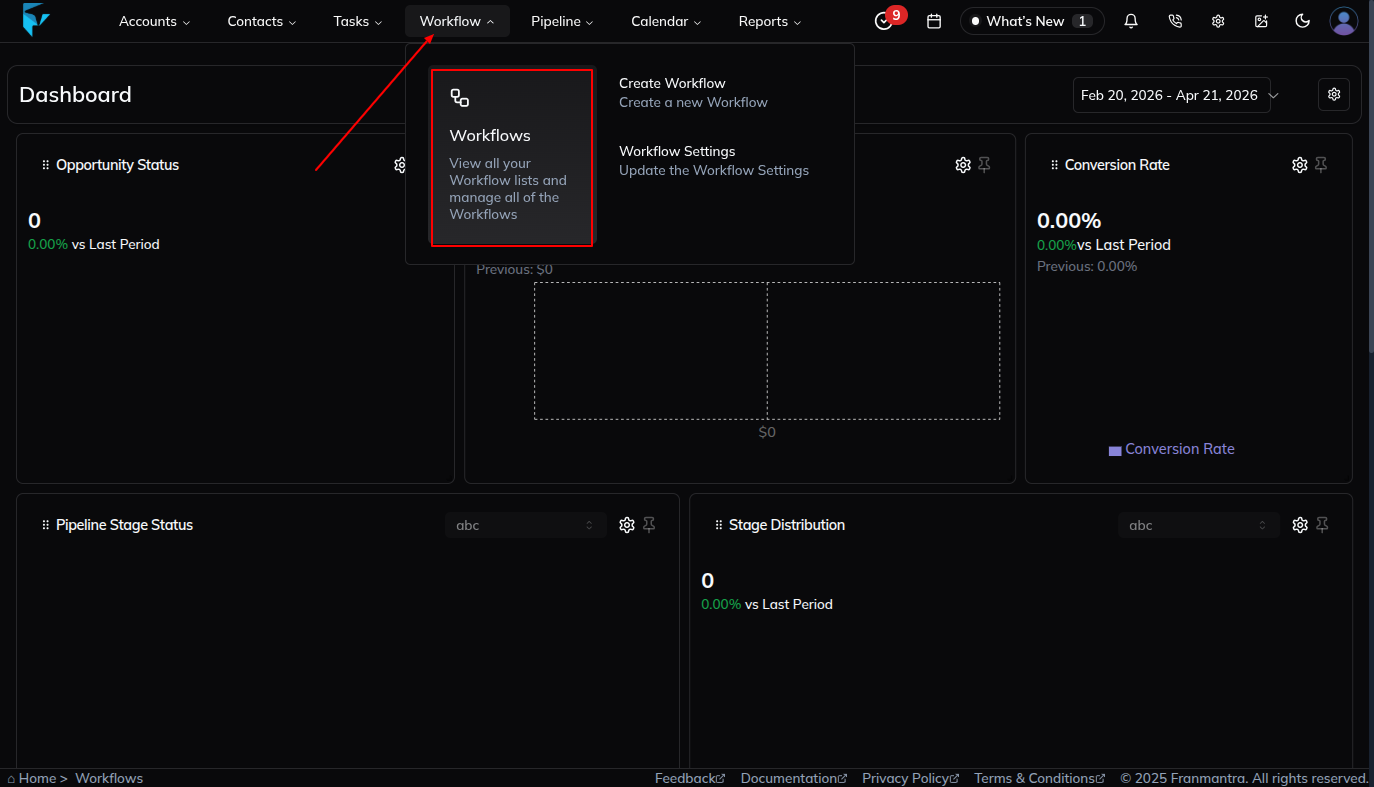
Go to the Workflow Page
- From the header menu, hover over Workflow.
- In the dropdown, click Workflow.
- You’ll land on the Workflow page, where all existing Workflows are listed in a table format.
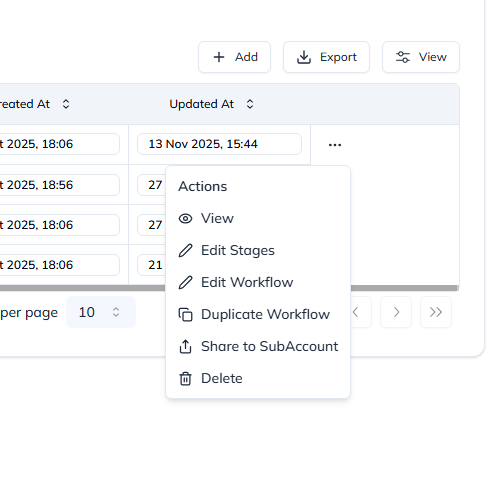
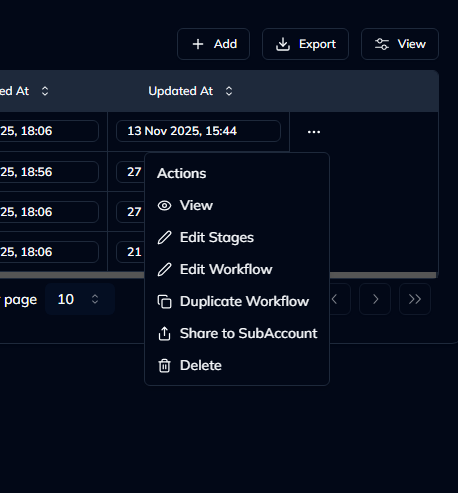
Open the Workflow Menu
- Each Workflow record has an actions column on the right side.
- Click the three dots (...) icon in that column.
- A menu will appear with the following options:
- View
- Edit Stages
- Edit Workflow
- Duplicate Workflow
- Share to SubAccount
- Delete
Manage the Workflow
Here’s what each option does:
View
- Select View to see the complete details of the Workflow.
- This includes all configured stages and settings.
- No changes can be made in this mode (read-only view).
Edit Stages
- Click Edit Stages to modify the Workflow stages.
- You can add, remove, or reorder stages as needed.
- Save your changes to update the Workflow structure.
Edit Workflow
- When you click Edit Workflow, a pop-up form appears.
- Update the Workflow details as needed.
- Click the Update button to save your changes.
Duplicate Workflow
- Select Duplicate Workflow to create a copy of an existing Workflow (including its stages).
- A pop-up form appears where you can rename the Workflow.
- Once renamed, click Duplicate, and a new Workflow will be created.
Share to SubAccount
- Use this option to share the Workflow with one or more Sub-accounts.
- When clicked, a pop-up appears showing available Sub-account users.
- Select the Sub-account(s), then confirm to share.
Delete Workflow
- To delete a Workflow (including all its stages), click Delete.
- A confirmation pop-up will appear.
- To confirm, type DELETE in the text box and click Delete Workflow.
- The Workflow will be permanently removed.
Result
The change is saved in Franmantra CRM and is available to users with the right permissions.
Troubleshooting
- If you cannot see the option, check your role permissions or ask an admin to update your access.
- If the update does not appear immediately, refresh the page and confirm you are in the correct Sub-account.