How to Edit a Calendar
What this does
This guide explains how to edit a calendar in Franmantra CRM.
Before you start
- Sign in to Franmantra with a role that has permission to use this area.
- Confirm you are working in the correct Sub-account before making changes.
Steps
Before you can edit a calendar, you need to open the Calendar Details page. There are two easy ways to get there!
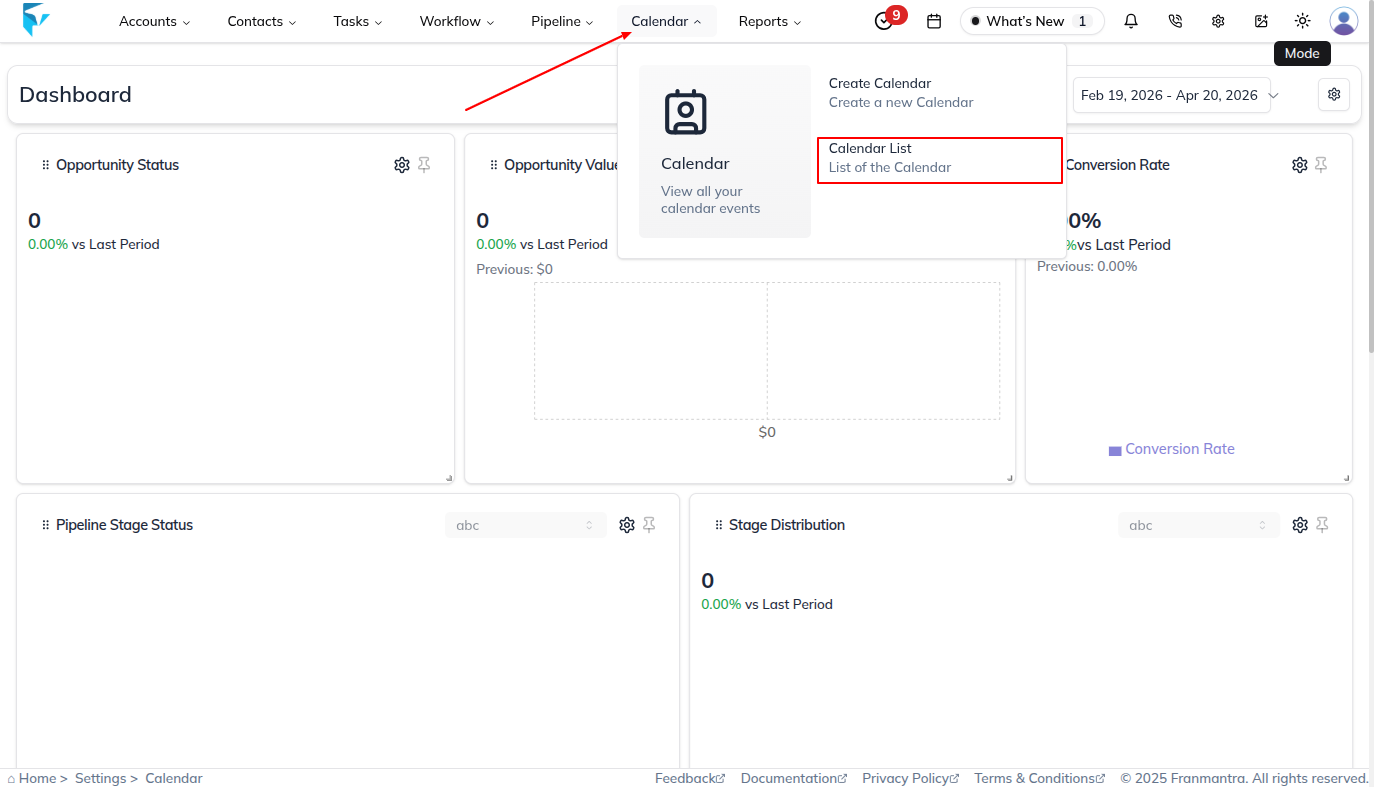
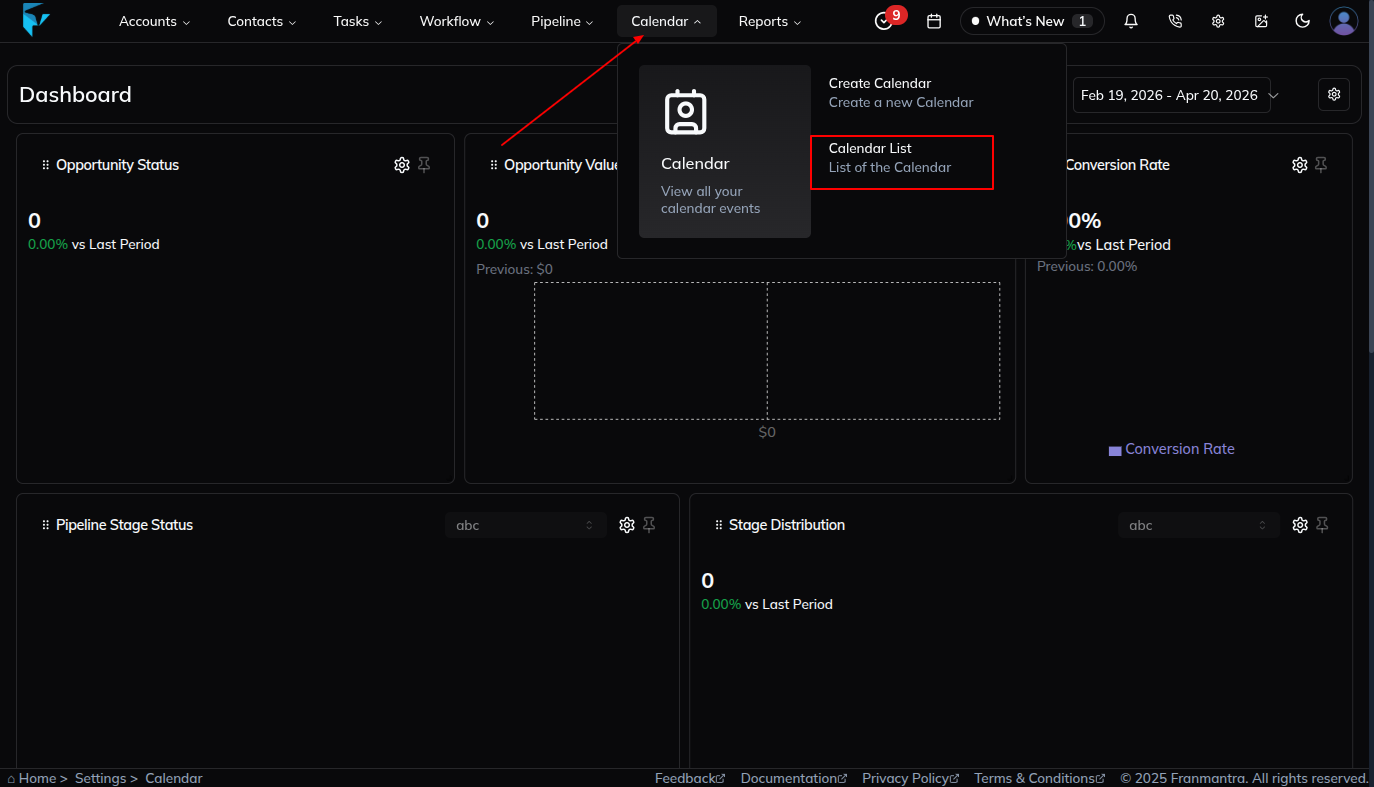
👉 Way 1: From the Header Menu
- Look at the top header menu and hover your mouse over the Calendar option.
- A dropdown menu will appear. Click on Calendar List.
- You will land directly on the Calendar Details page, where you can see all your calendars!
👉 Way 2: From the Settings Page
- Click on the Settings icon (the gear icon) located at the top-right of the header.
- This will take you to the Settings page. Look at the menu on the left side.
- Find and click on Calendar in that menu.
- You will now land on the Calendar Details page!
Steps to Edit a Calendar
- In the calendar list table, go to the Actions column of the calendar you want to edit.
- Click on the three-dot (…) icon.
- From the menu, select Edit.
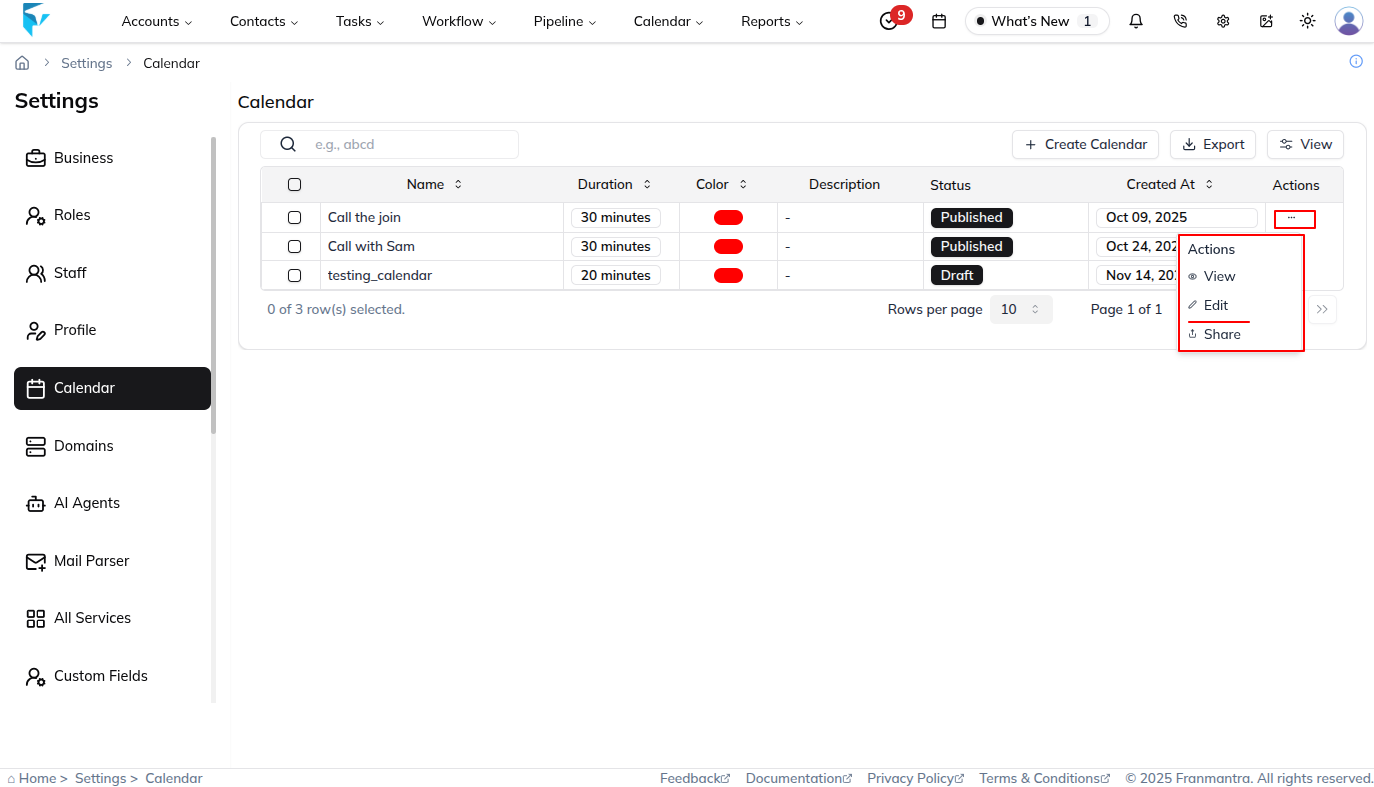
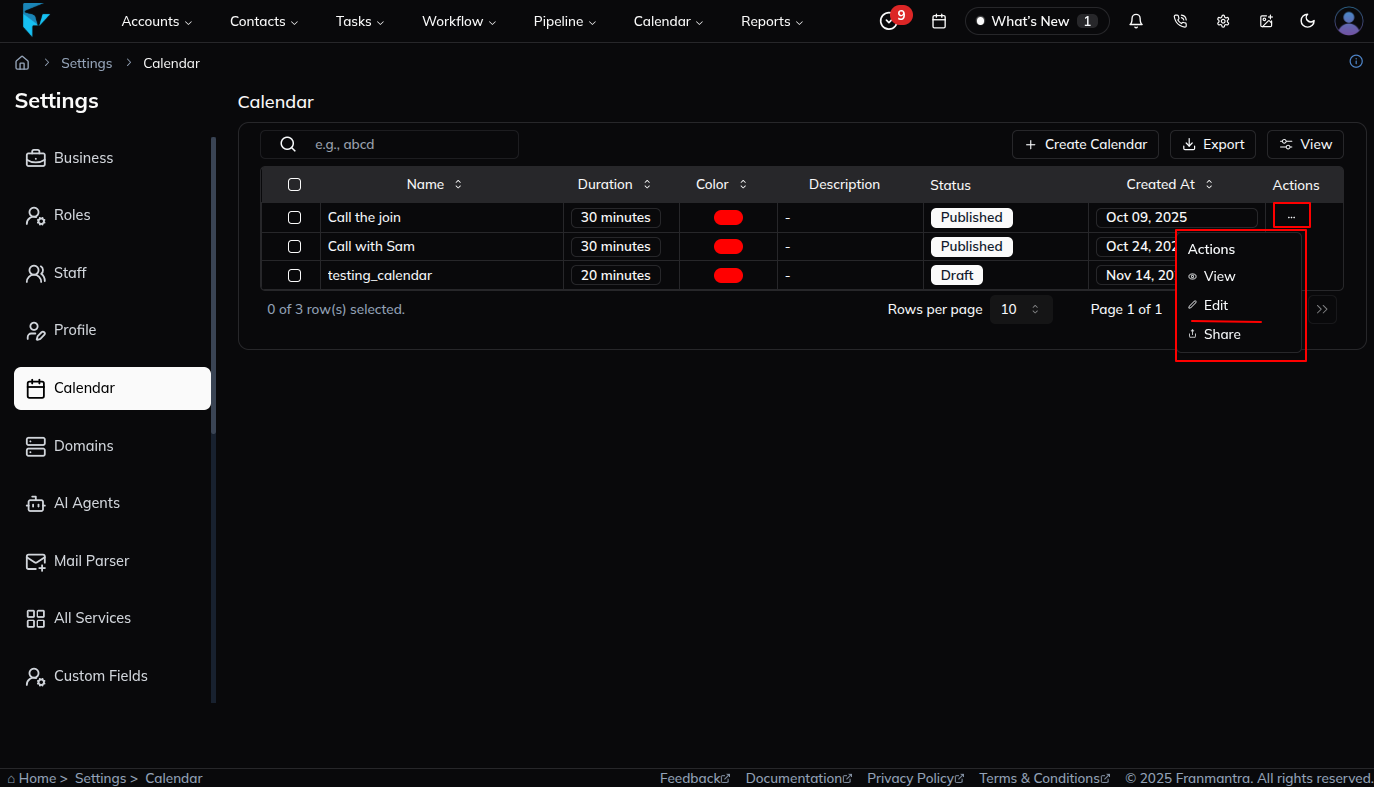
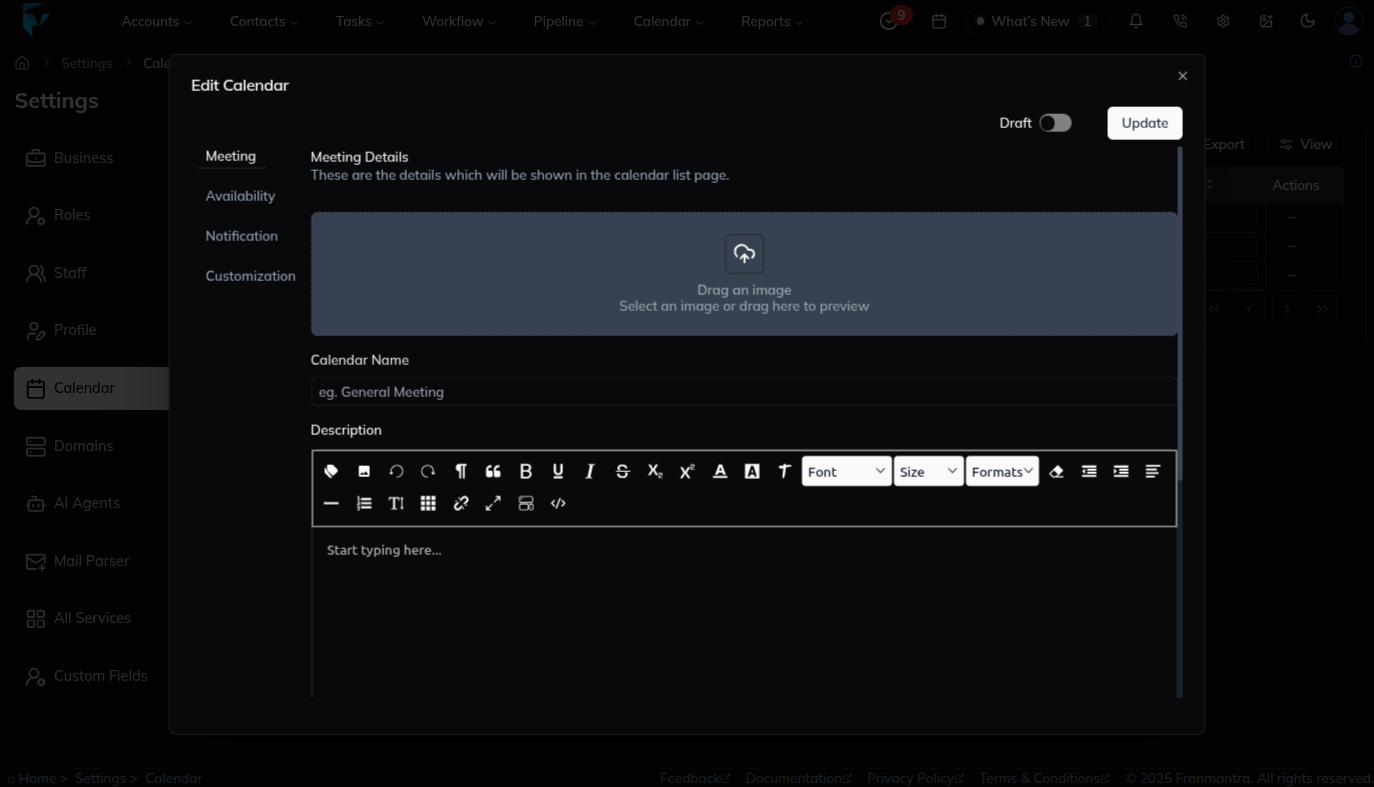
- An Edit Calendar From will appear with multiple options.
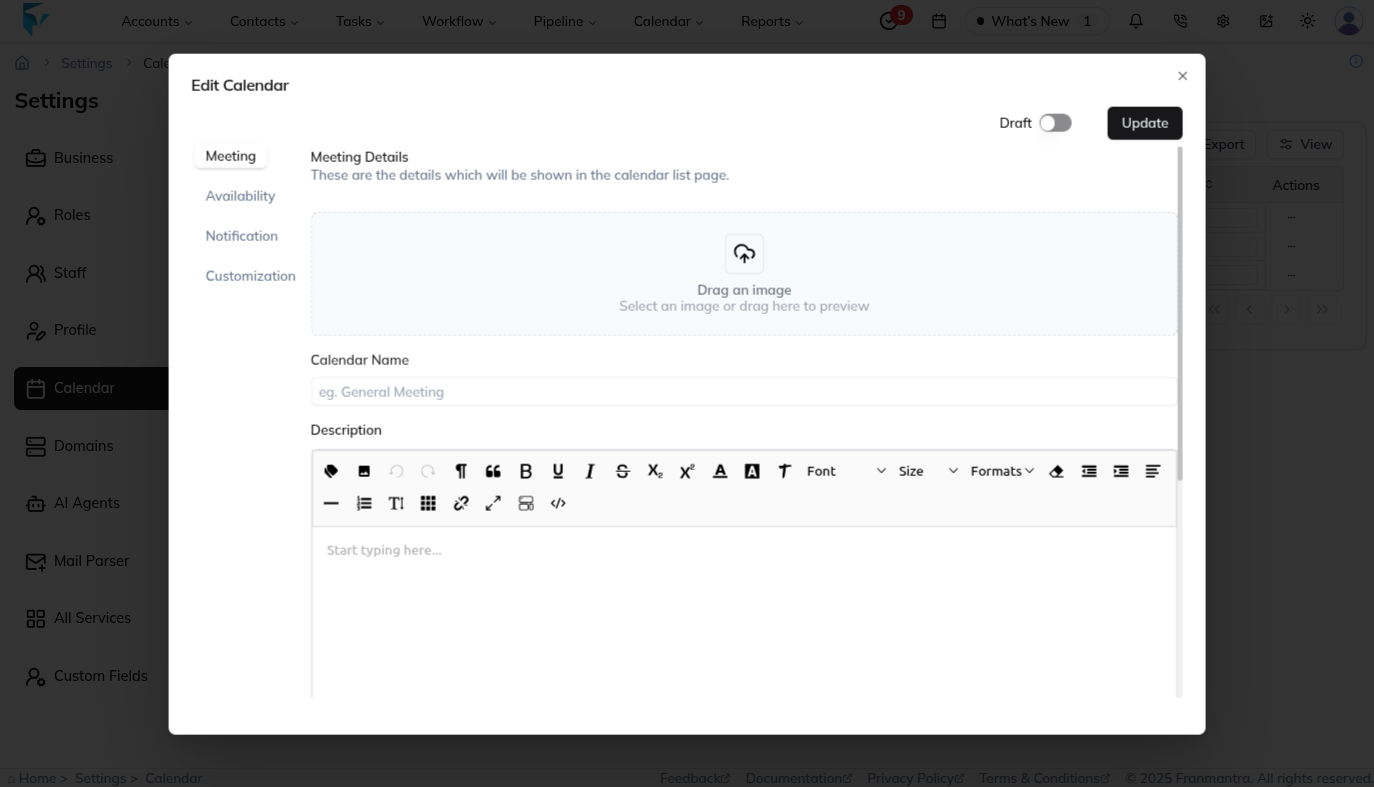
Edit Calendar Options
-
Status Switch:
- A toggle button is available to change the calendar’s status from Draft to Published (or vice versa).
-
Tabs in Edit Calendar a. Meeting
- Update calendar details like:
- Calendar Name
- Description
- Custom URL
- Title
- Members (select multiple members; for each, choose meeting location → Zoom, Google Meet, Physical, or Custom). b. Availability:
- Add or edit weekly available hours for meetings and events. c. Notification
- Manage notifications for different appointment statuses:
- Unconfirmed
- Confirmed
- Cancelled
- Add notifications for:
- Appointment Reminders
- Follow-ups
- Notification methods: Email or In-App.
- Additional options:
- Allow cancellation and rescheduling
- Add extra notes. d. Customization:
- Customize the look and feel of the calendar to match your organization’s branding (logo, colors, design preferences).
- Update calendar details like:
Save Changes
- After updating the required details, click the Update button to save your changes.
Result
The change is saved in Franmantra CRM and is available to users with the right permissions.
Troubleshooting
- If you cannot see the option, check your role permissions or ask an admin to update your access.
- If the update does not appear immediately, refresh the page and confirm you are in the correct Sub-account.