How to Modify or Delete a Contact
What this does
This guide explains how to modify a contact in Franmantra CRM.
Before you start
- Sign in to Franmantra with a role that has permission to use this area.
- Confirm you are working in the correct Sub-account before making changes.
Steps
Managing your contacts is quick and easy. You can update existing contact information when details change or delete contacts that are no longer needed. Here’s how you can do both.
Reach the Contacts Page
- Go to the header menu and hover over the Contacts option.
- In the dropdown, click the Contacts button.
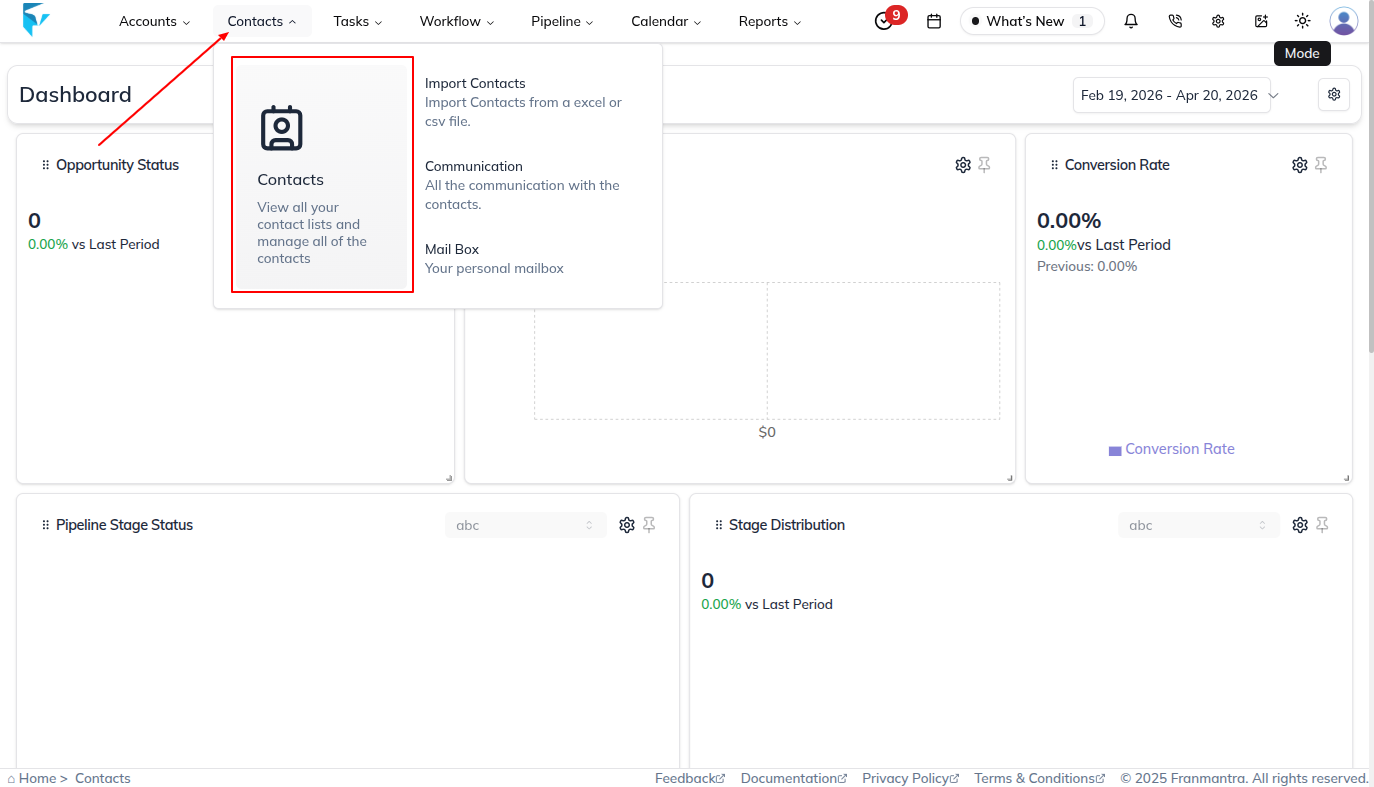
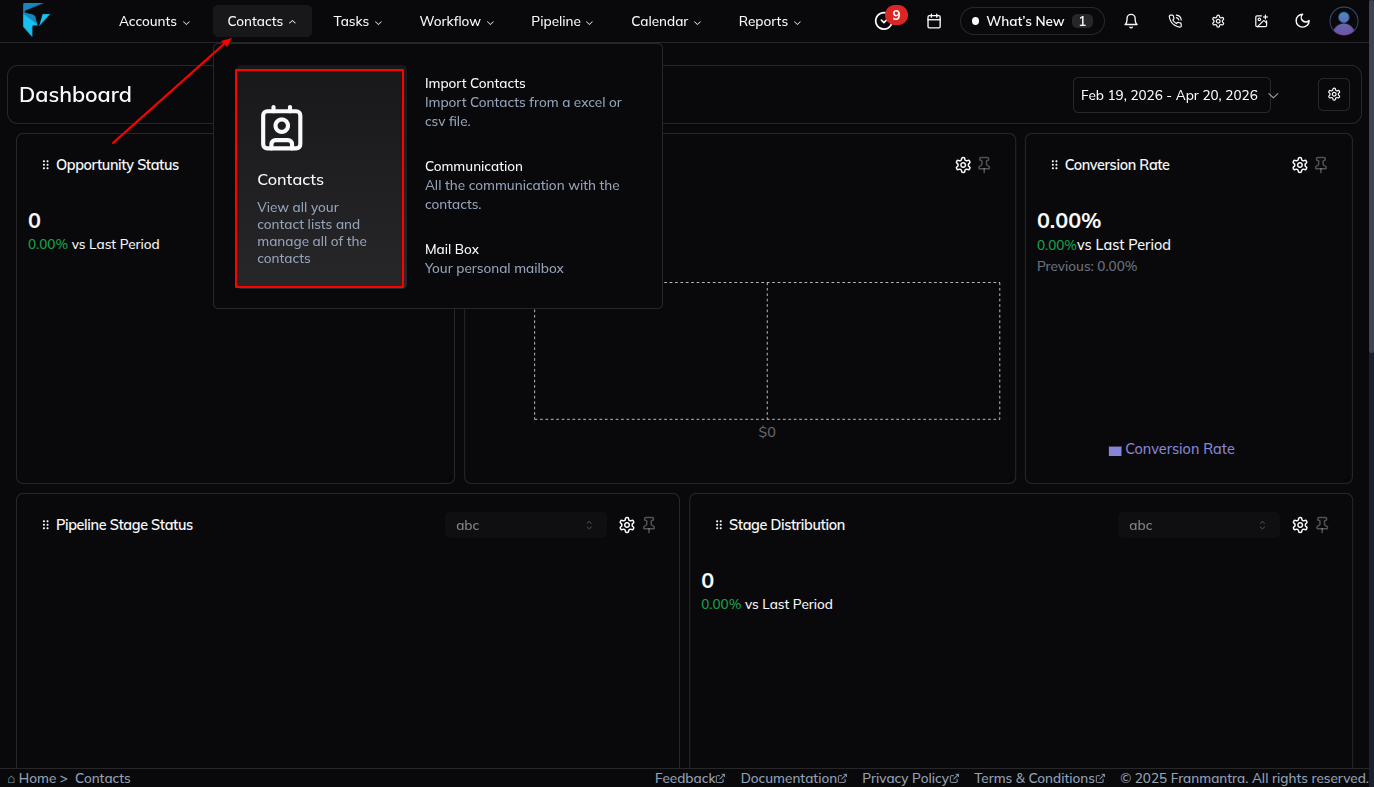
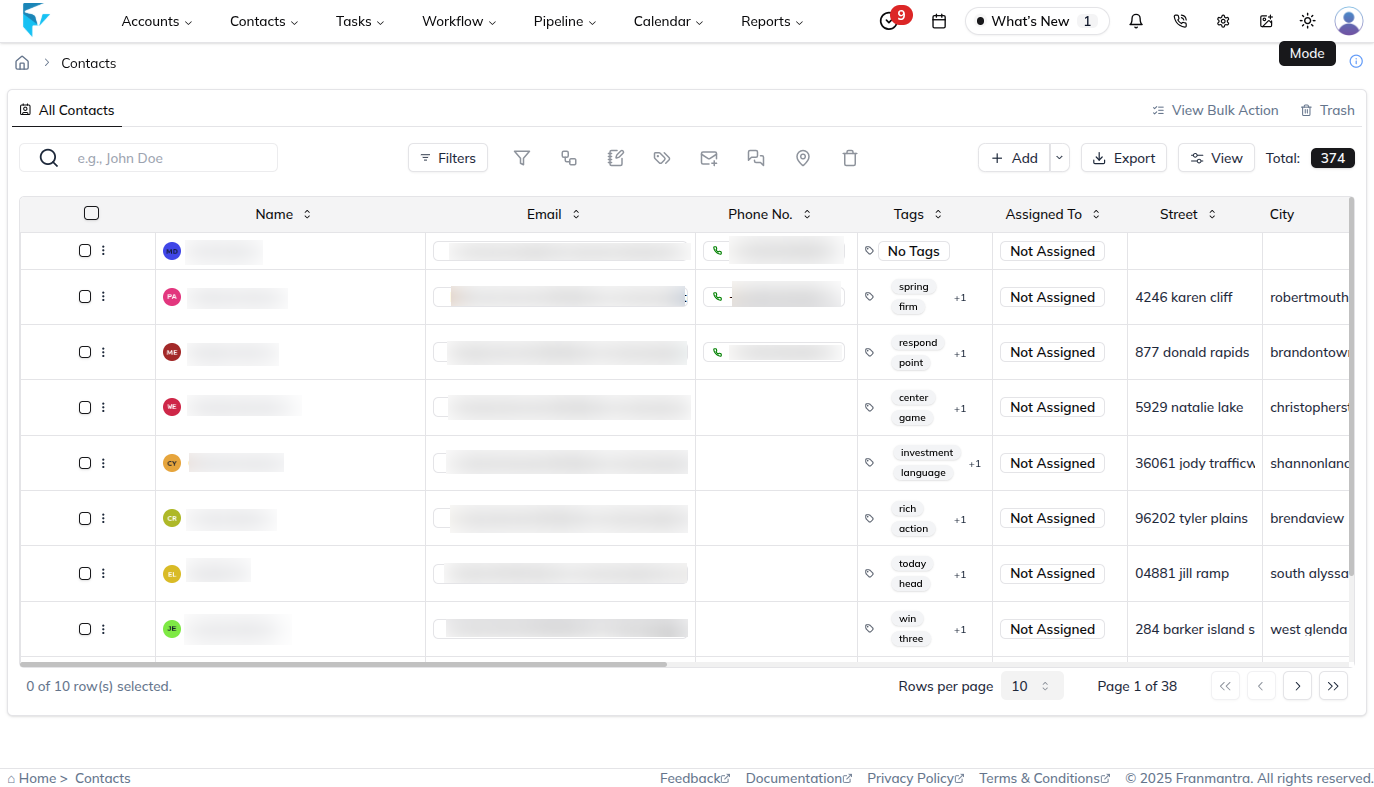
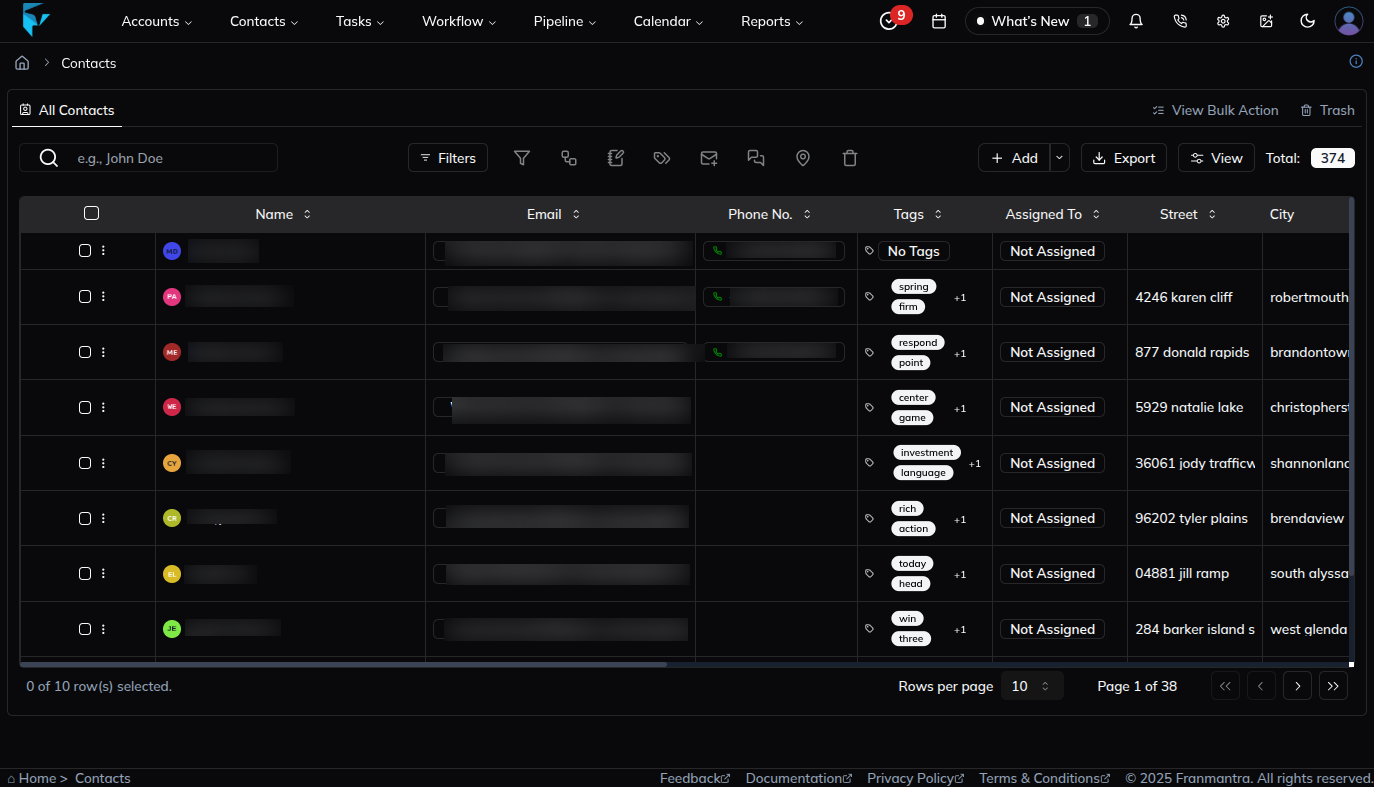
- You’ll land on the Contacts page, where contacts are displayed in a table format.
Update a Contact
To update a contact, you need to find the Edit button. There are three ways to access it:
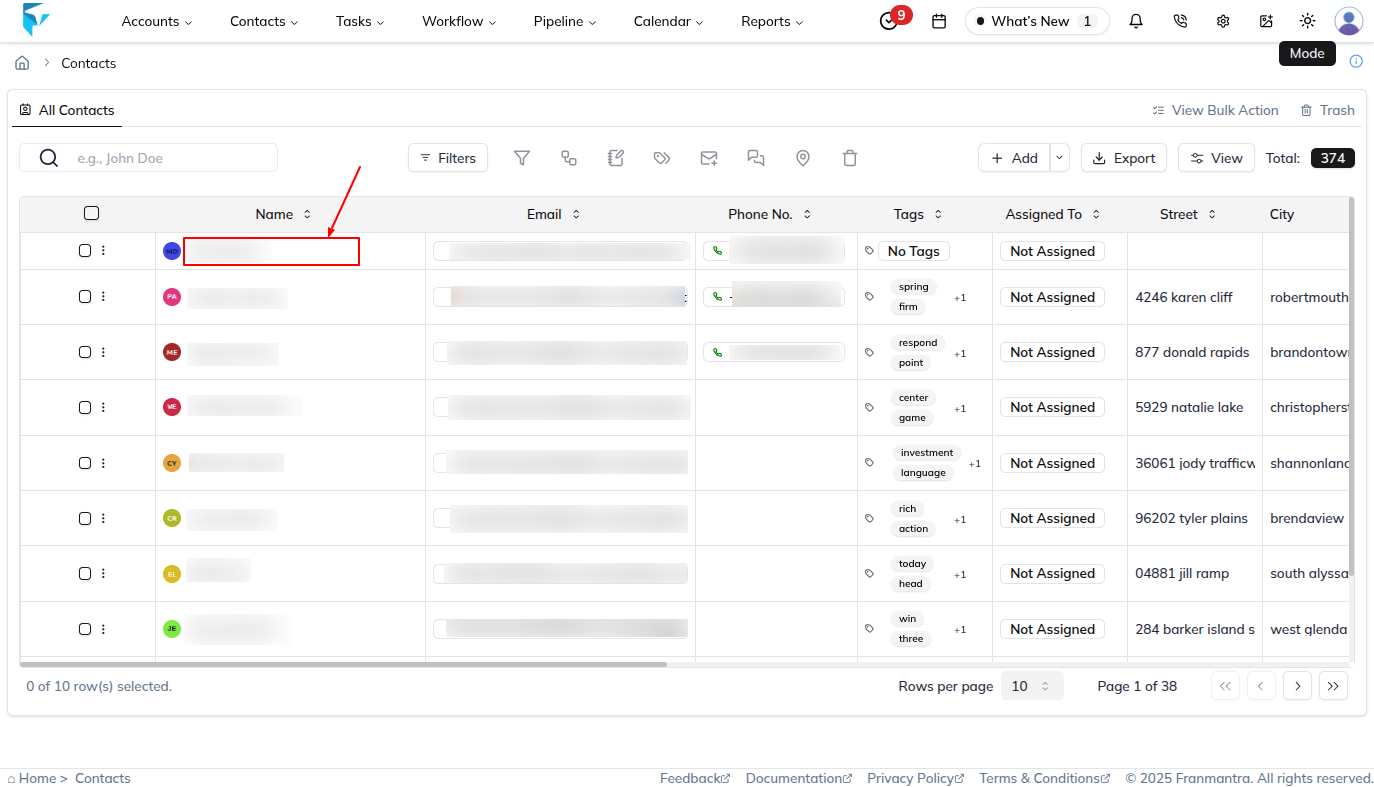
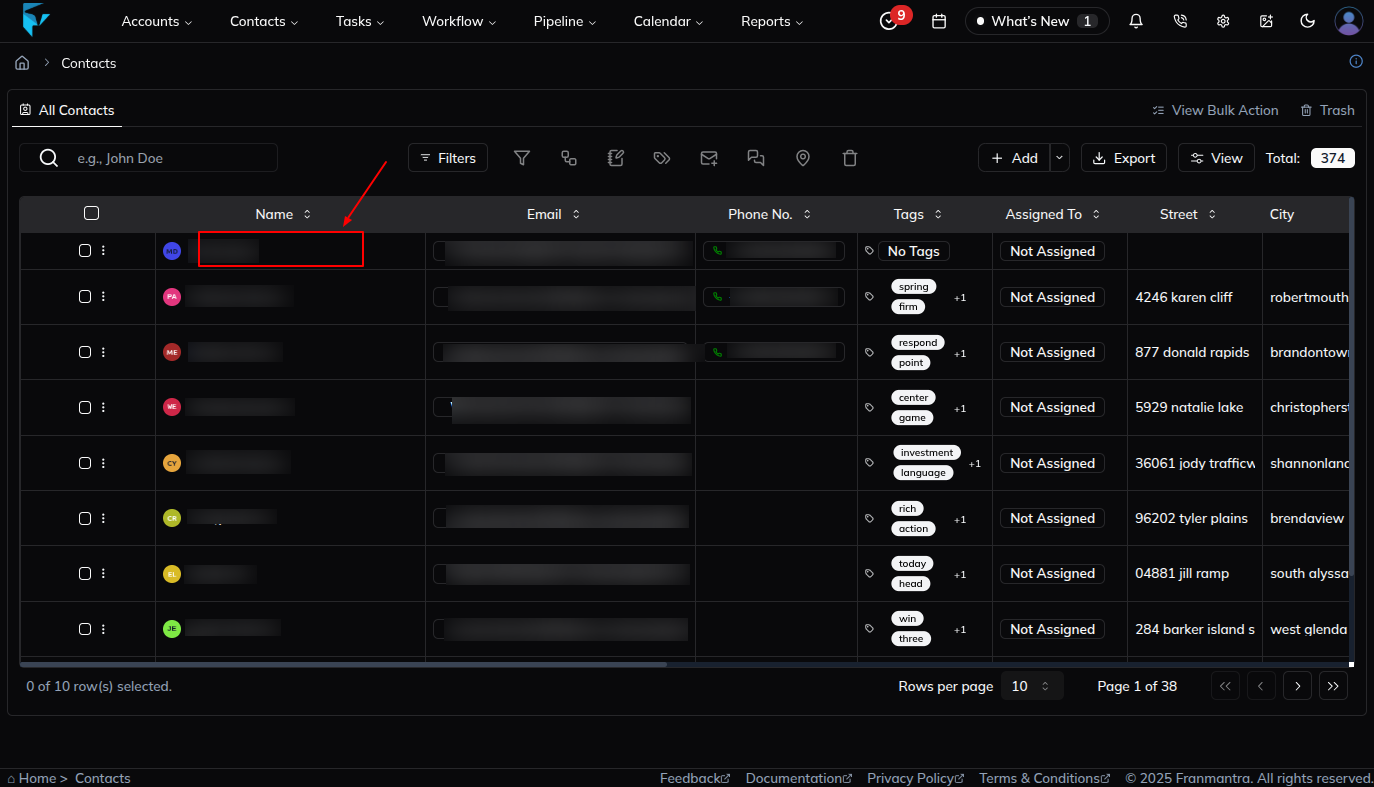
- From the Contact Name
- Click the name of any record.
- A side sheet opens with an Edit button.
- Click it, and you’ll land on the Edit Contact page.
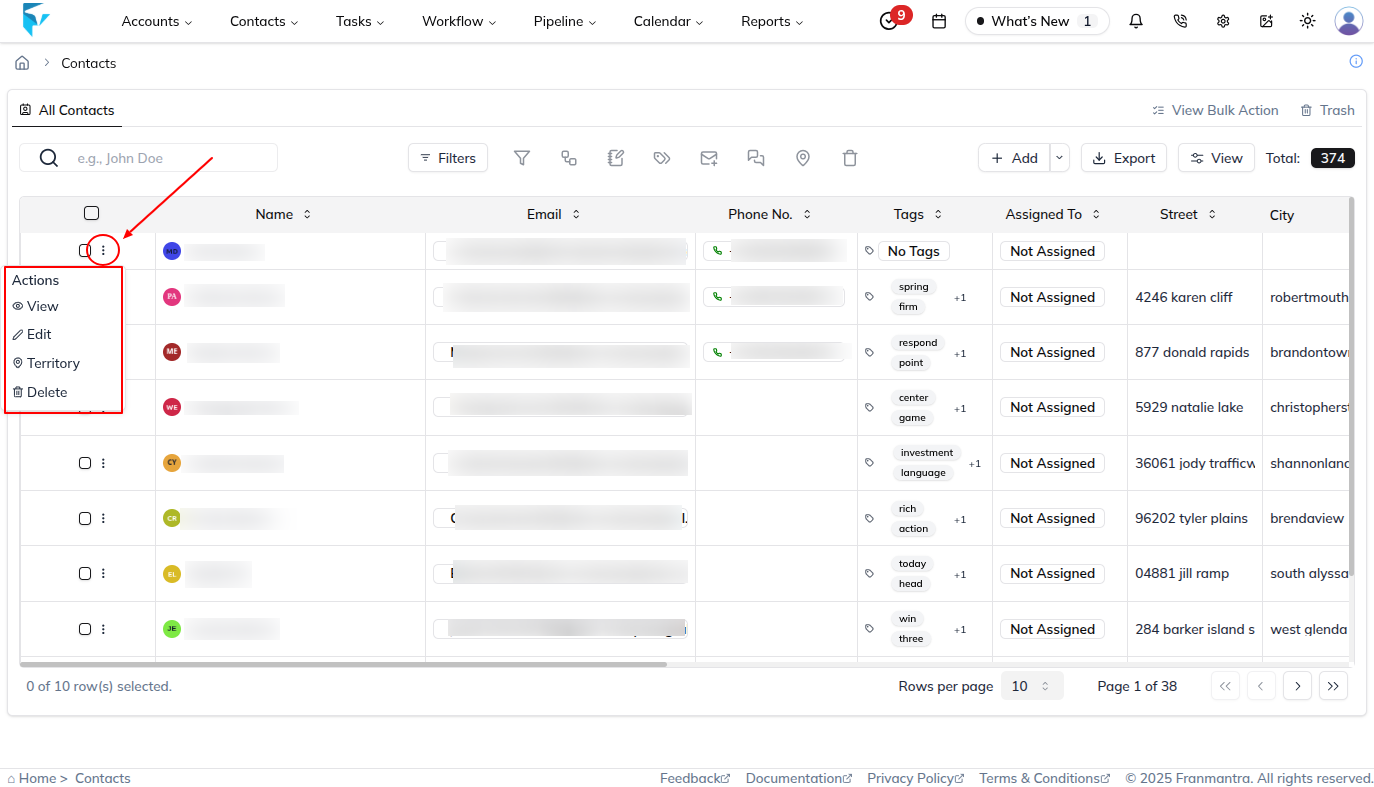
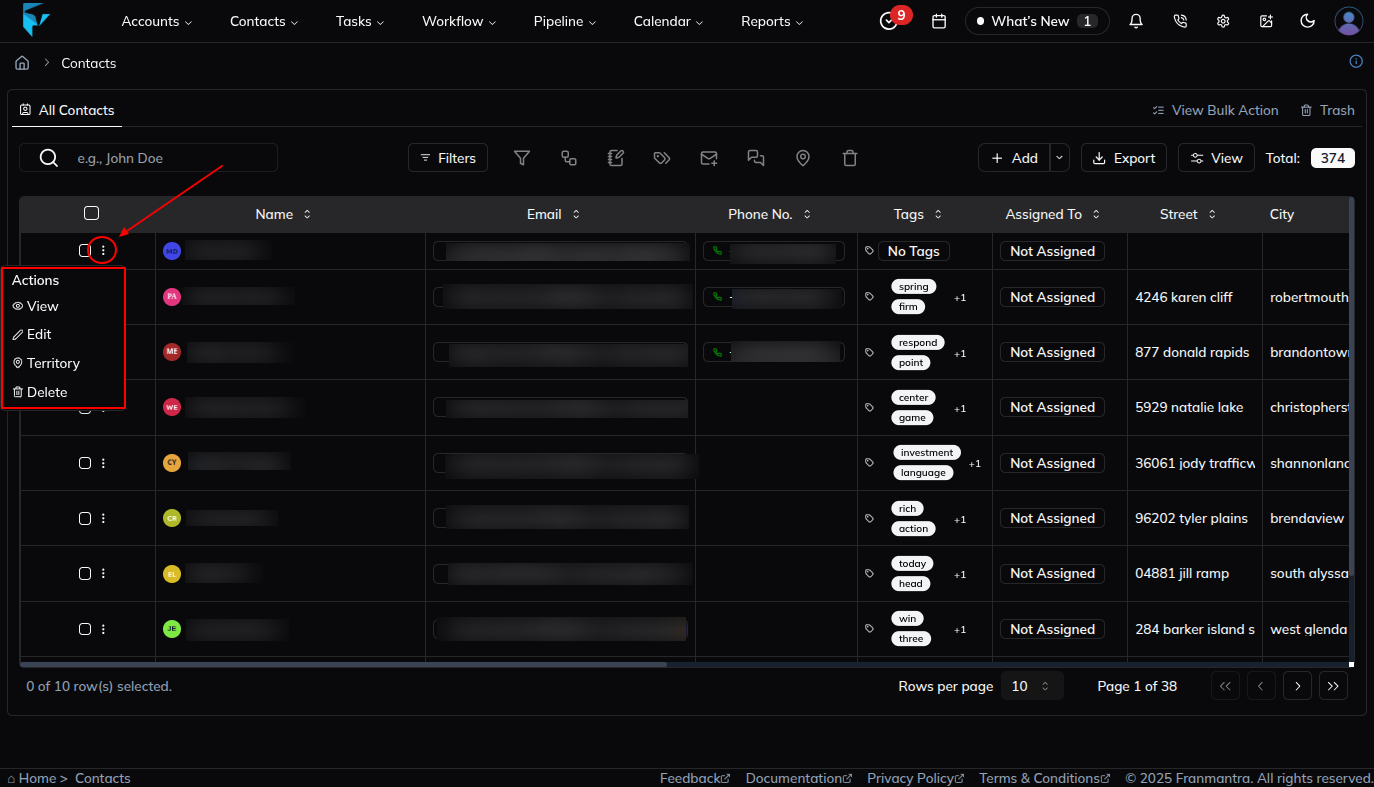
- From the First Column Menu
- In the first column of a record, click the three-dots menu next to the checkbox.
- A menu appears with the Edit option.
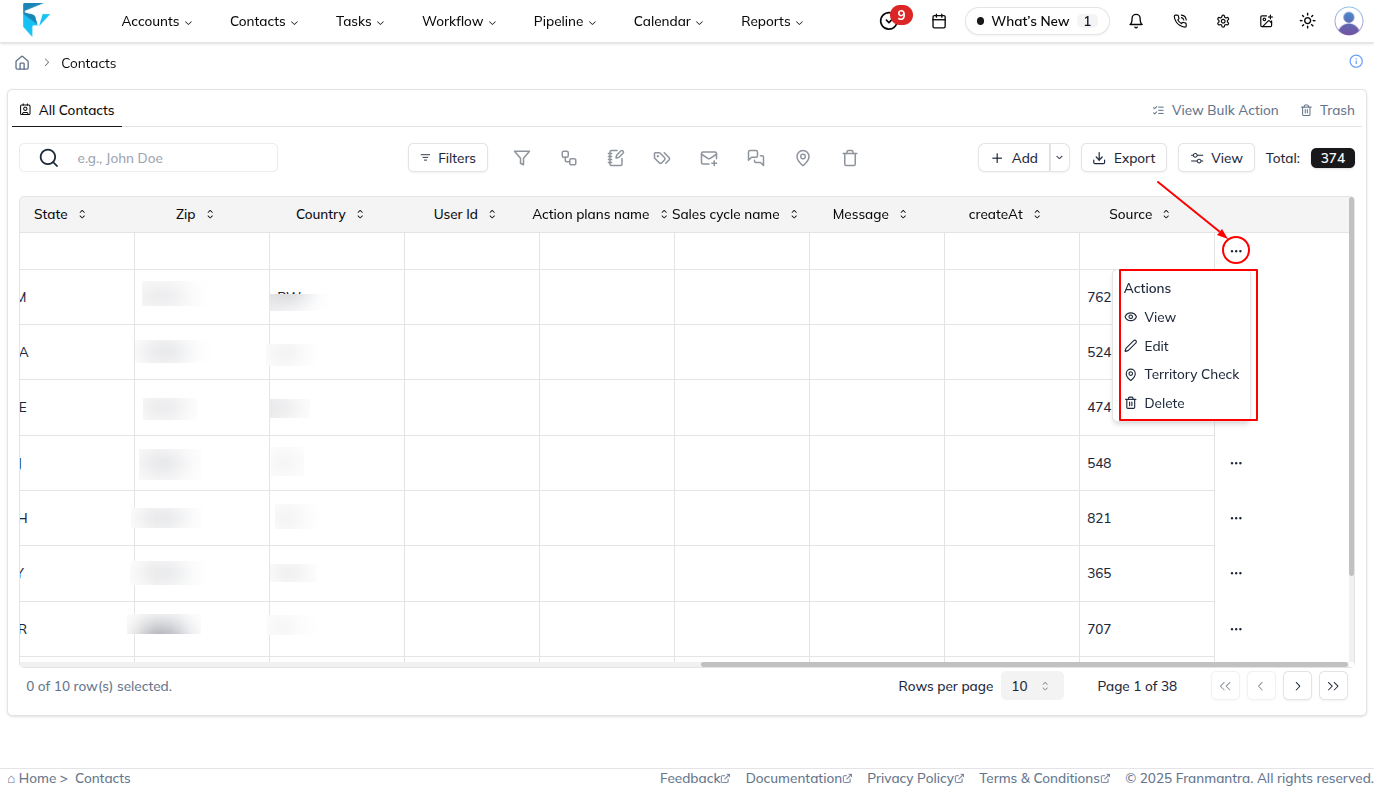
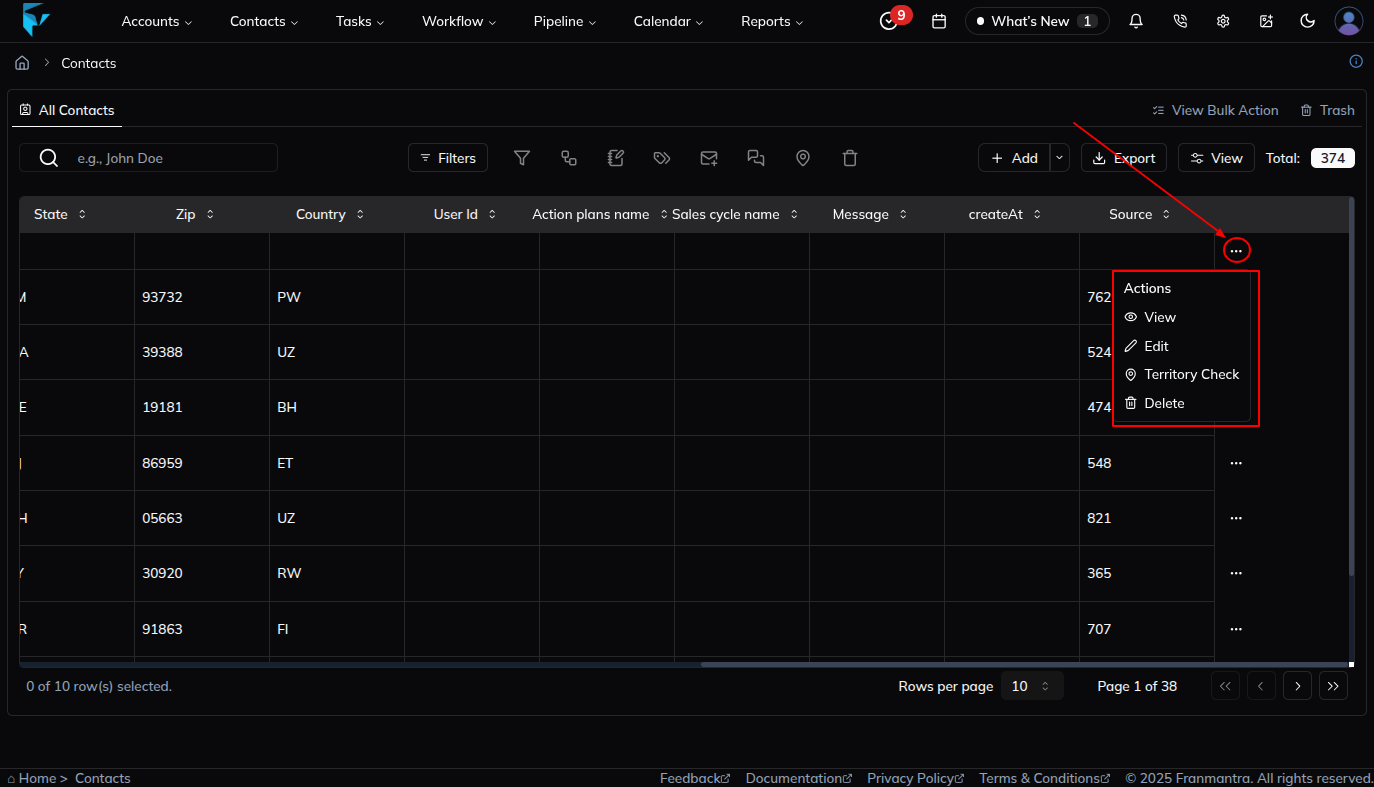
- From the Last Column Menu
- In the last column of each record, click the three-dots menu.
- A menu appears with the Edit option.
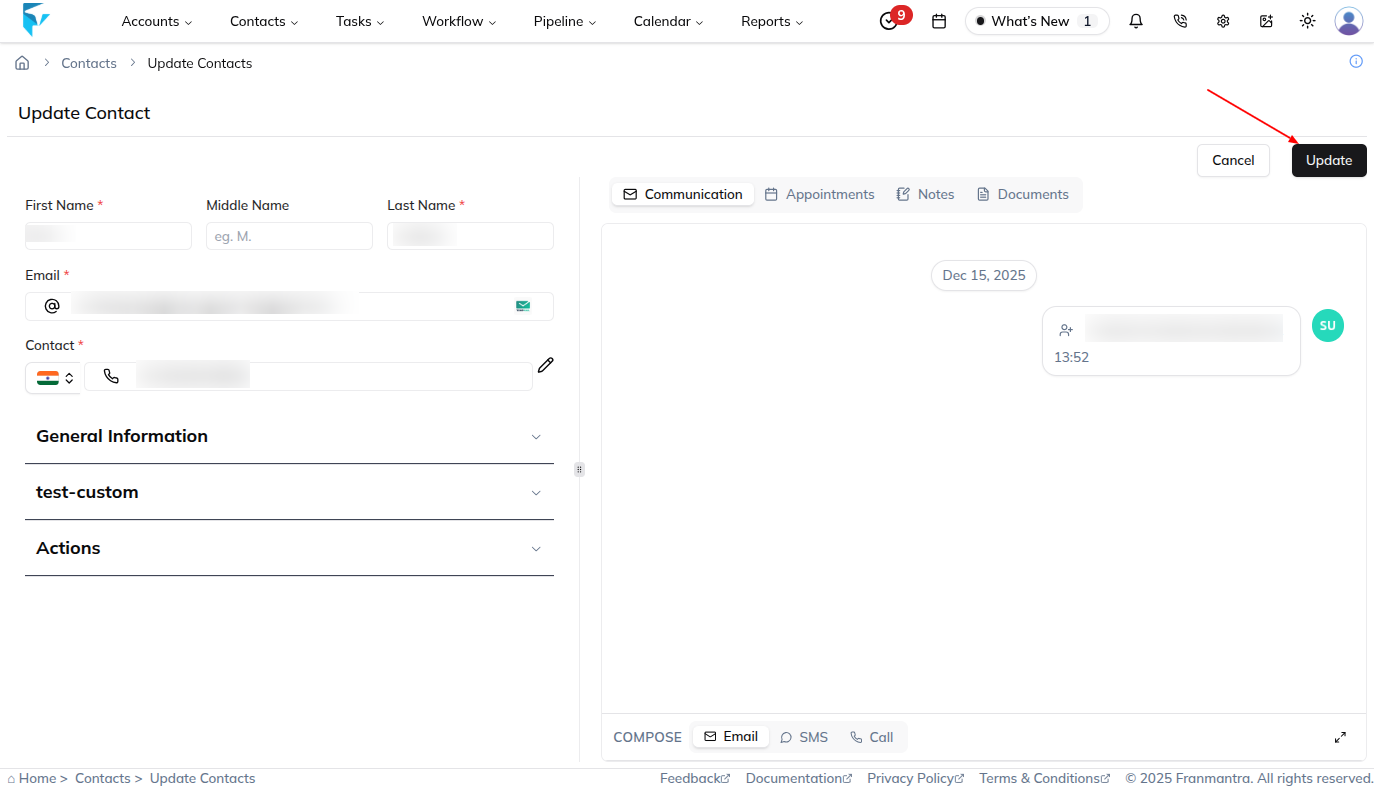
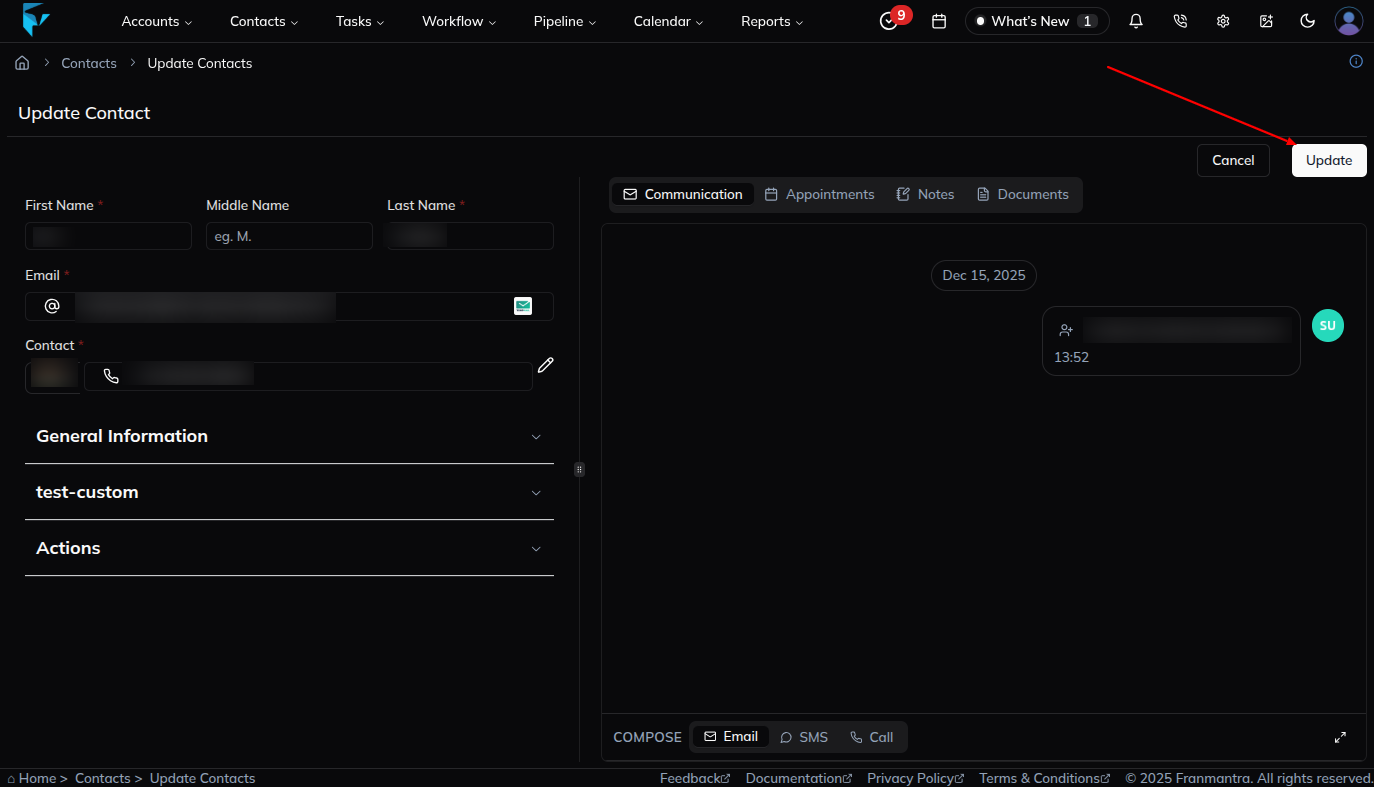
Once on the Edit Contact page, update the details as needed and click the Update button to save your changes.
Delete Contact(s)
You can delete contacts in two ways:
- Delete a single contact
- Delete multiple contacts (bulk delete)
1. Delete a Single Contact
You can delete an individual contact using the Delete option available in two places:
A. From the First Column Menu
- In the first column of a record, click the three-dots menu next to the checkbox.
- A dropdown menu will appear with the Delete option.
B. From the Last Column Menu
- In the last column of the record, click the three-dots menu.
- Select the Delete option from the dropdown.
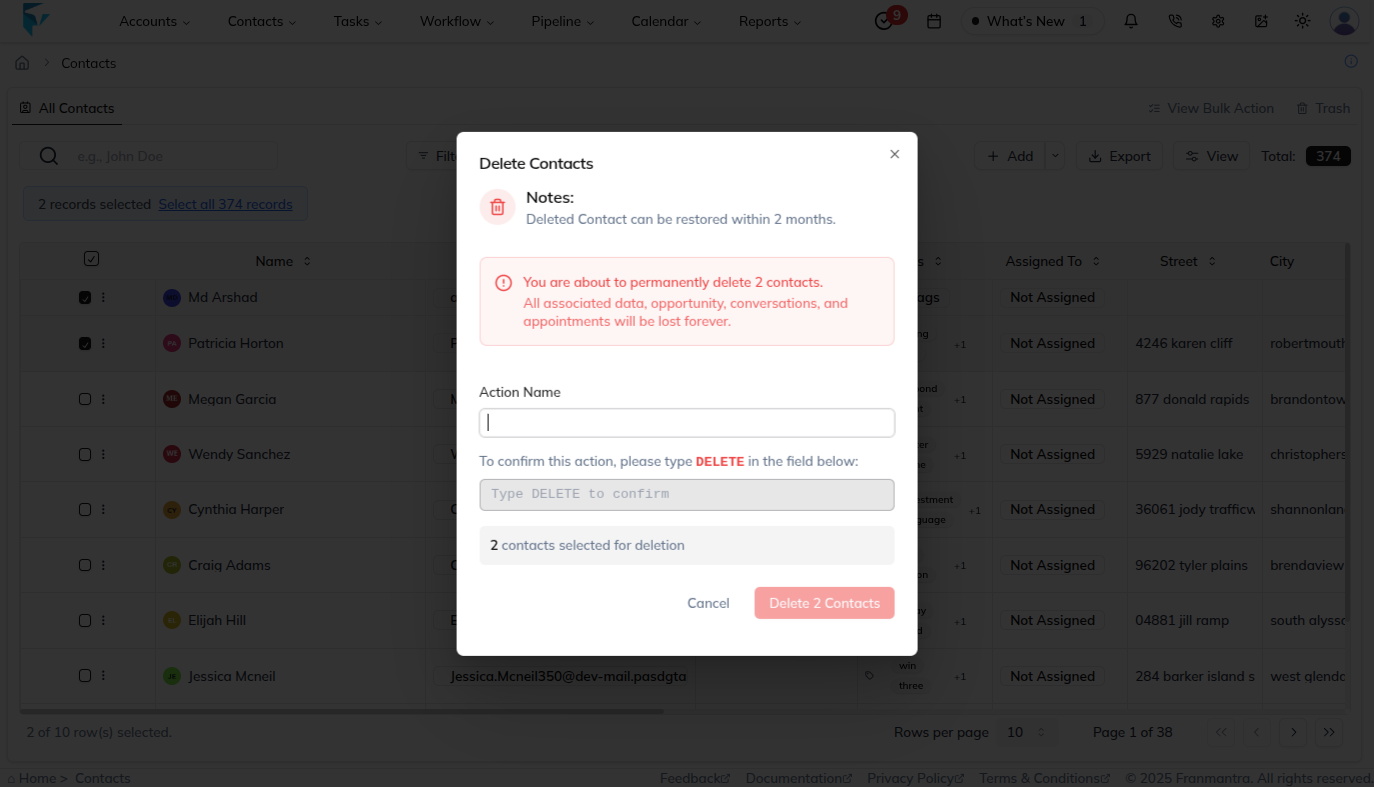
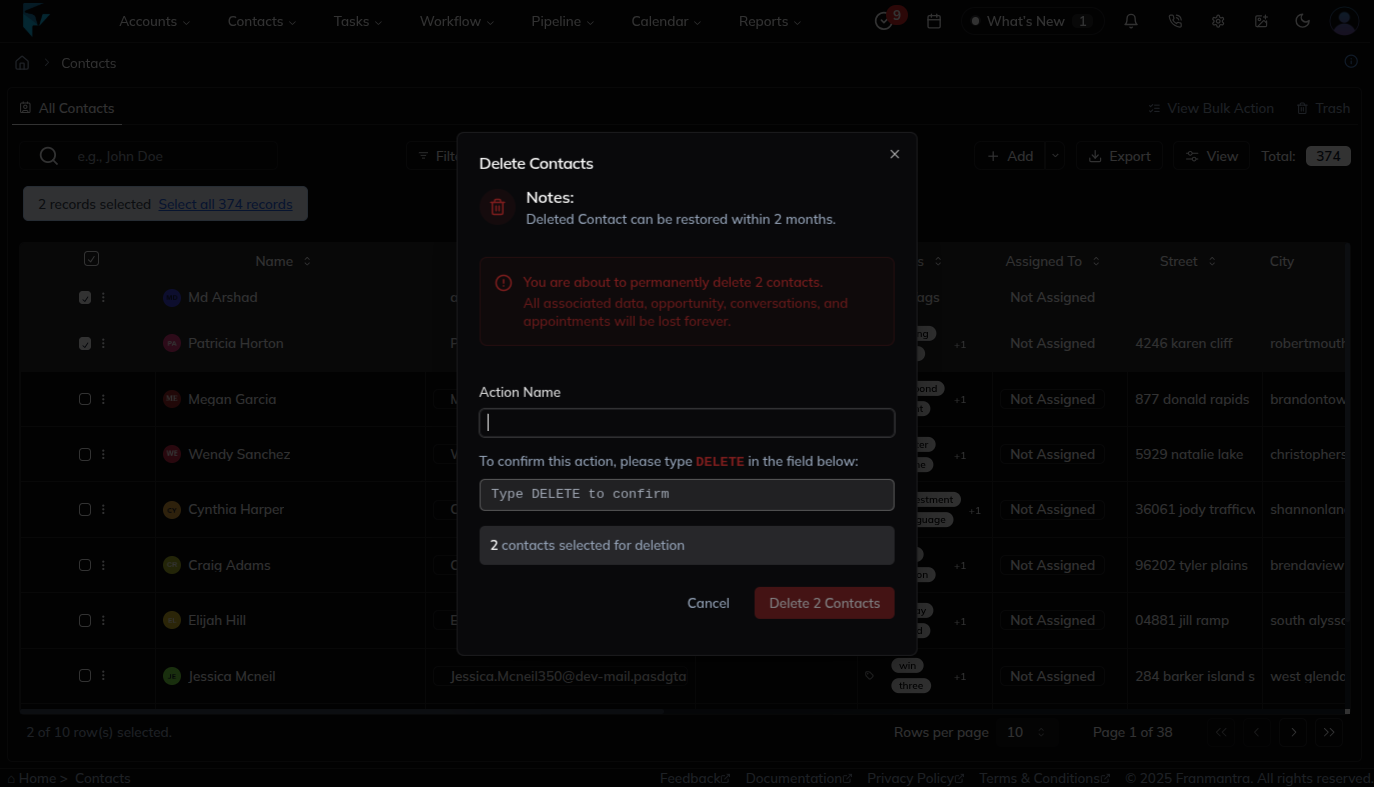
After clicking Delete, a confirmation pop-up will appear.
- Review the action carefully.
- Enter the word DELETE in the input field and click Delete to confirm.
Once confirmed, the selected contact will be moved to Trash and can be restored later if needed.
2. Delete Multiple Contacts (Bulk Delete)
You can delete multiple contacts at once using the bulk delete feature.
Steps:
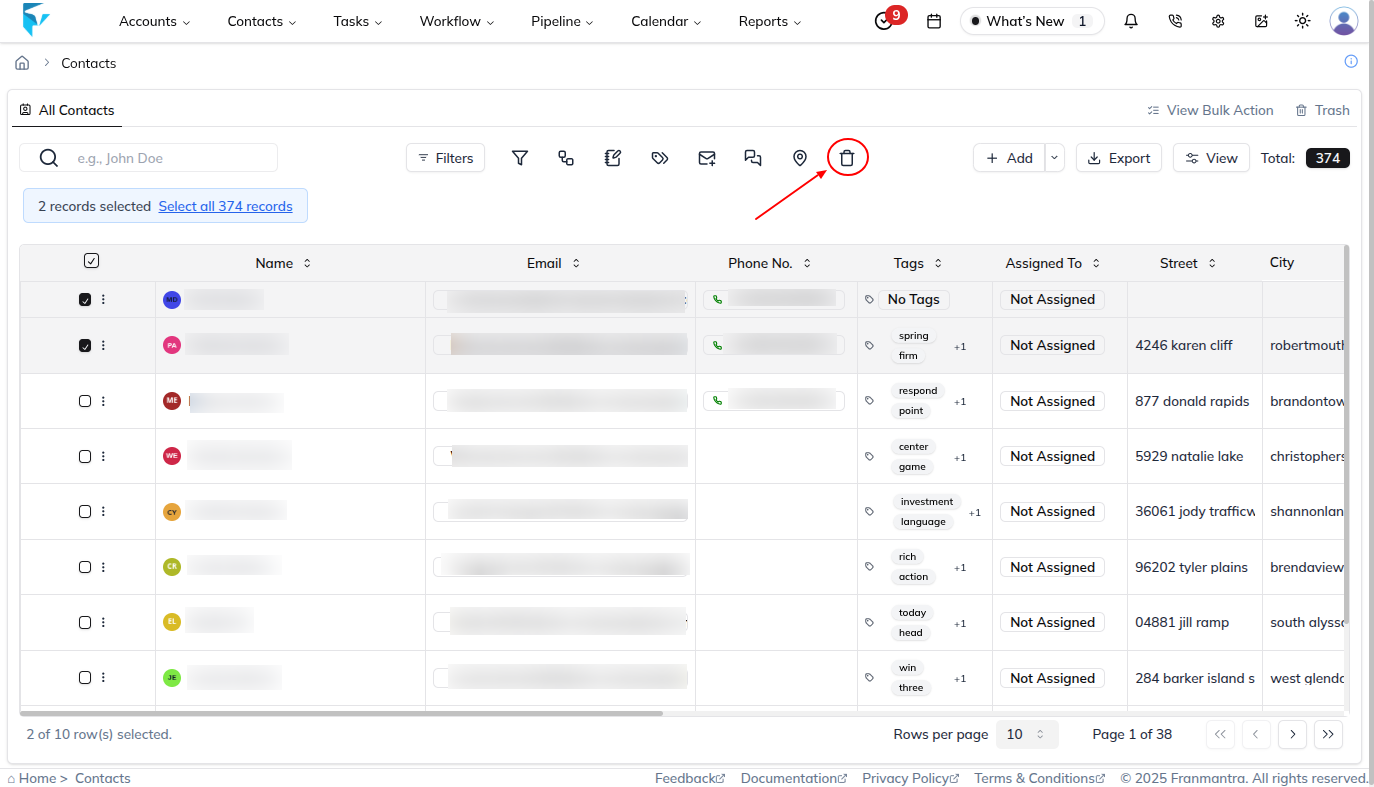
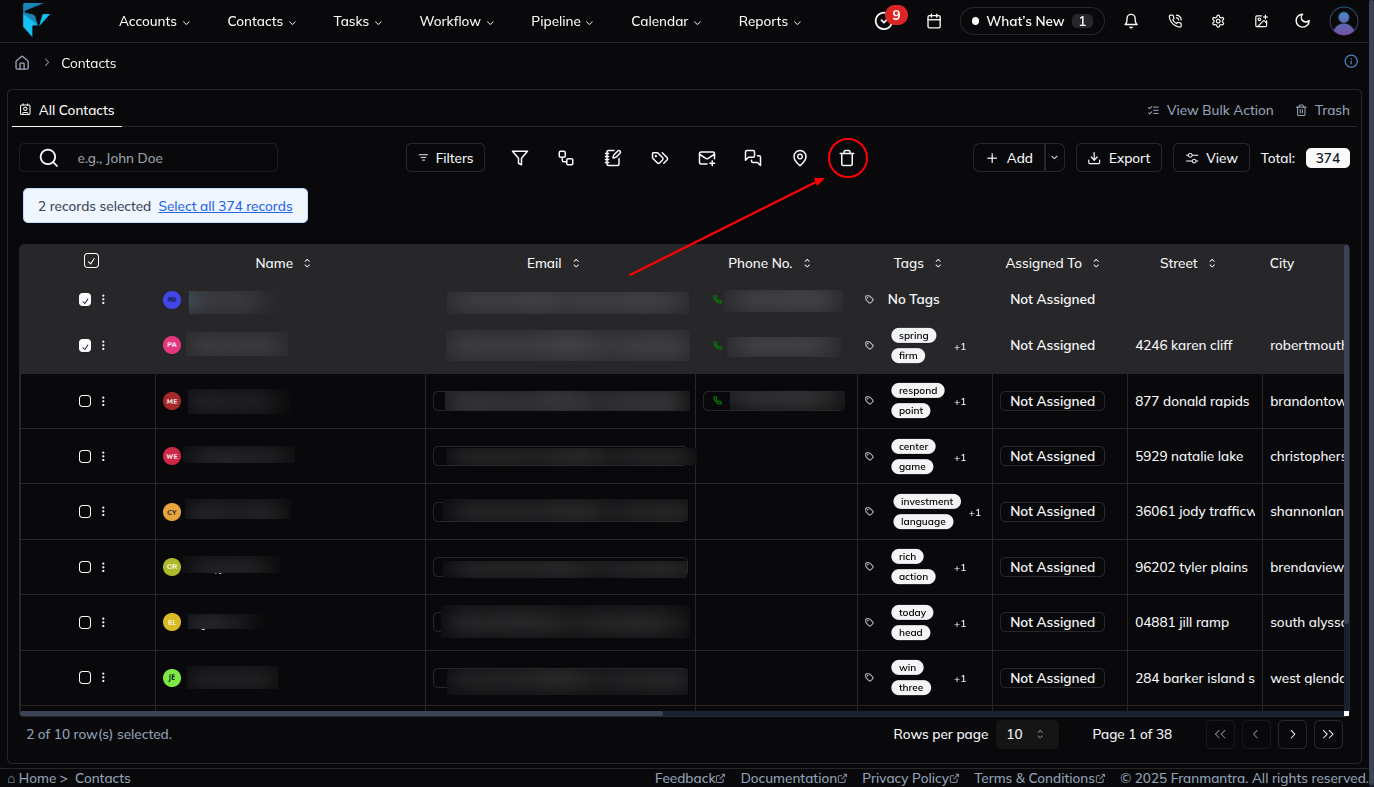
- Select multiple contacts using the checkboxes in the first column.
- Once at least one contact is selected, the table header action bar will be enabled.
- Click the Delete (Bulk Delete) option in the header.
- A confirmation pop-up will appear.
- Confirm the action by clicking Delete Contact(s).
Once confirmed, the selected contacts will be moved to Trash and can be restored later if needed.
Result
The change is saved in Franmantra CRM and is available to users with the right permissions.
Troubleshooting
- If you cannot see the option, check your role permissions or ask an admin to update your access.
- If the update does not appear immediately, refresh the page and confirm you are in the correct Sub-account.