Create a Report
What this does
This guide explains how to create a report in Franmantra CRM.
Create a report so you can see important CRM data in one place.
Before you start
- Make sure you have permission to create reports.
- Decide what information the report should show.
Steps
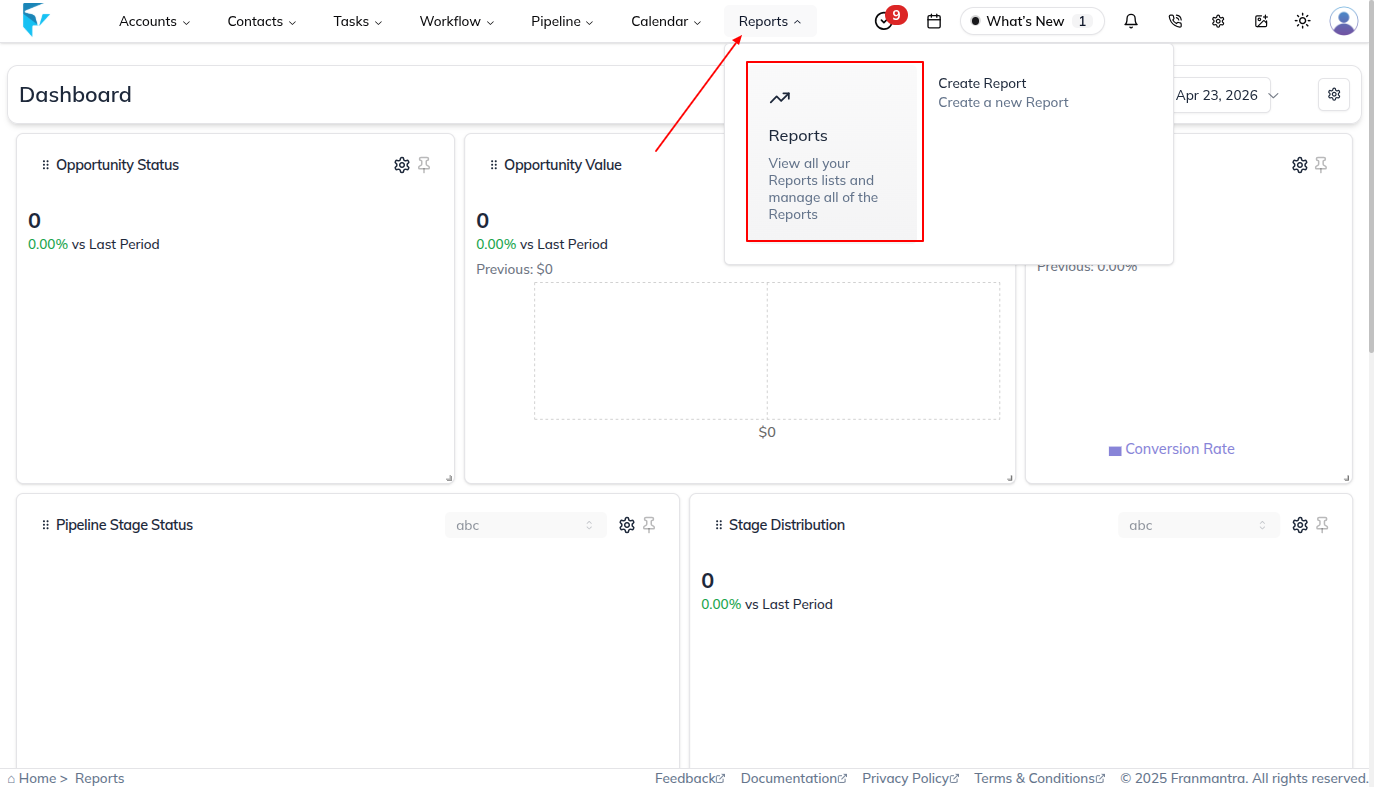
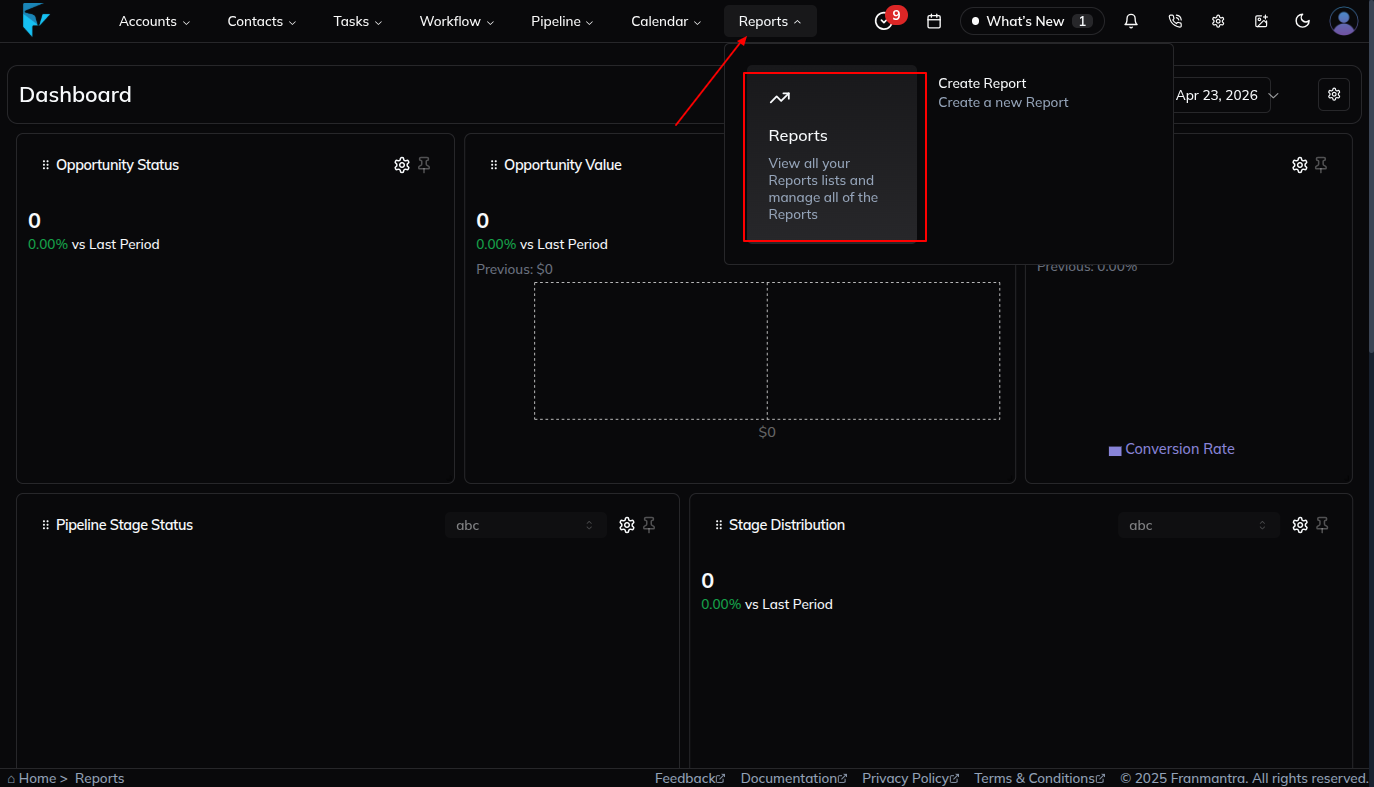
- In the header, hover over the Reports option. When the dropdown menu opens, click Report to land on the Reports page.
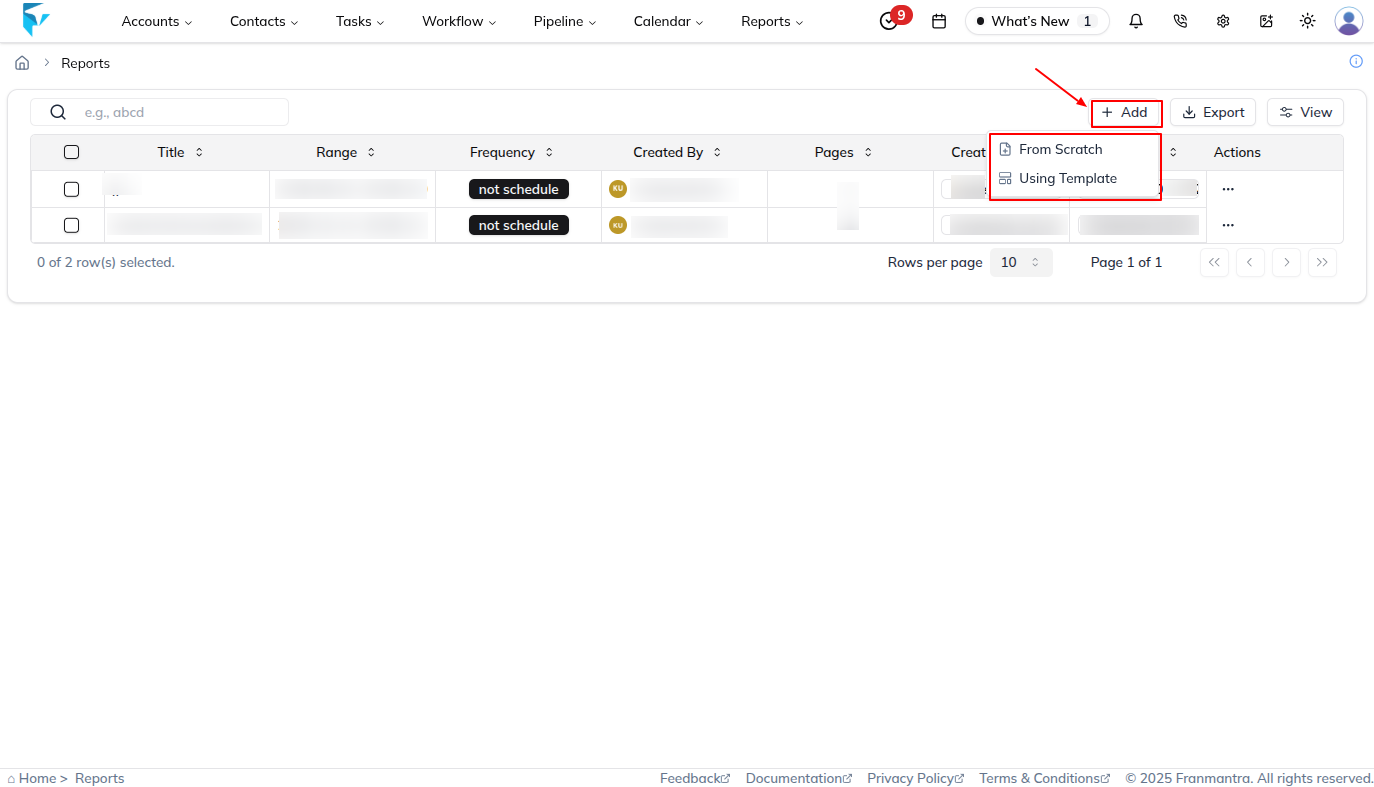
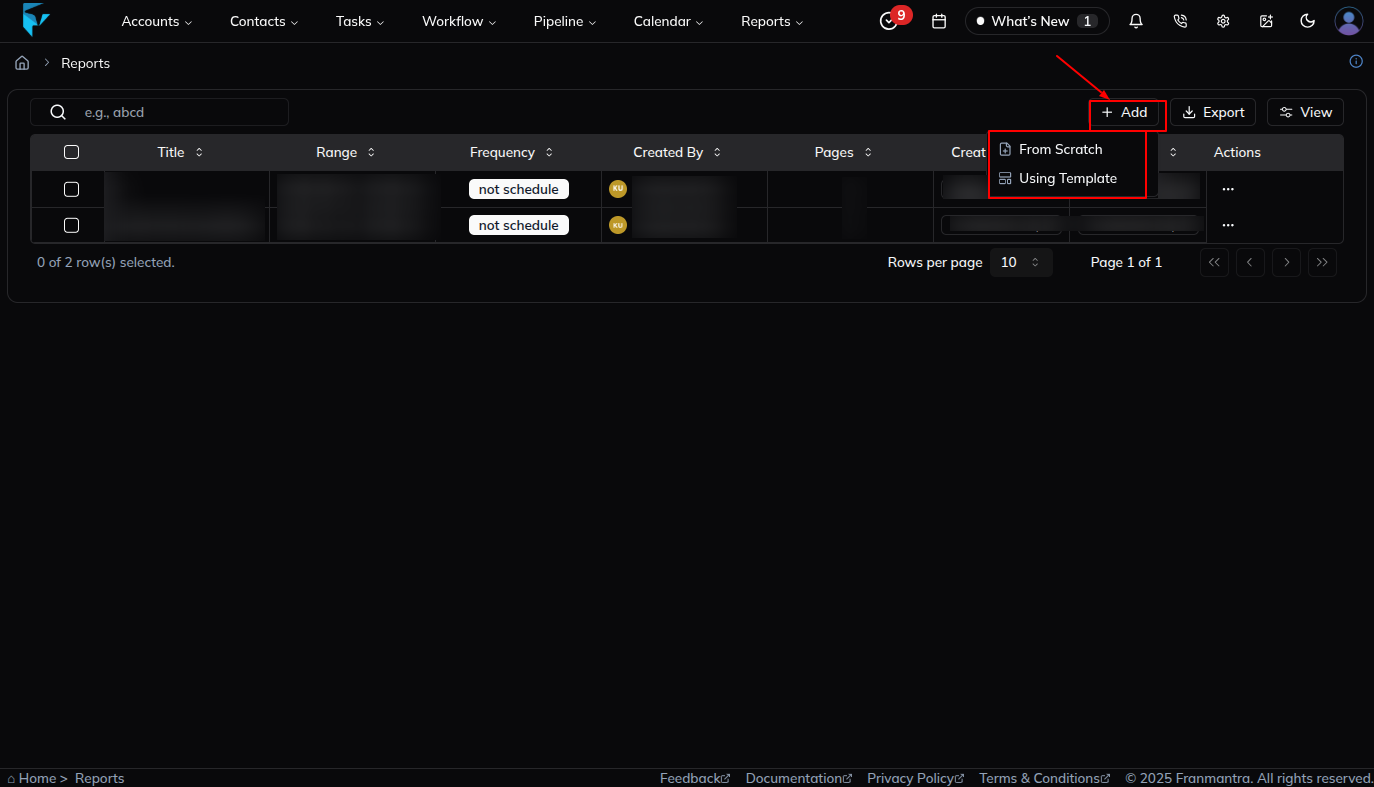
- On the Reports page, review the table where reports are listed. Click the Add button to start creating a new report.
- When the create options open, choose From Scratch or Using Template if that option is available.
- Enter a clear report title in the form so the report is easy to identify later.
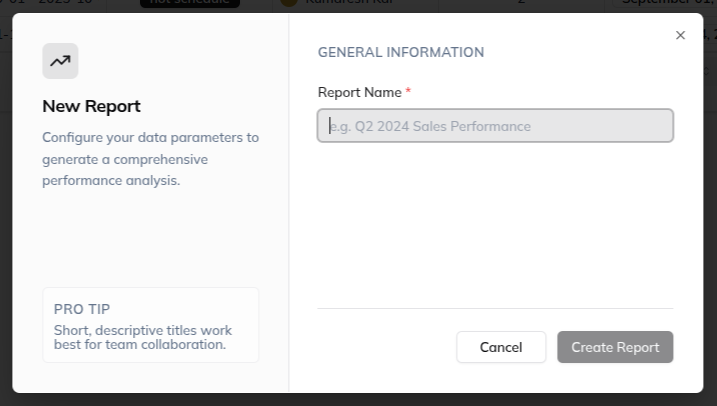
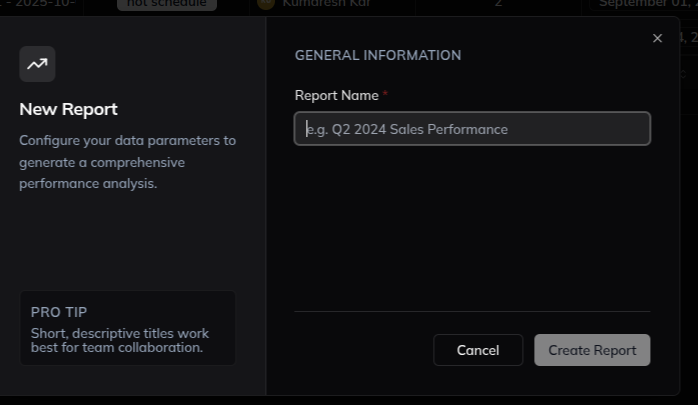
- Fill in the form and create the report. The report is created as an empty report that does not have data yet.
- Open the report editor page in one of these ways:
- Click the name of the created report. The report detail page opens. Click Edit to open the report editor page.
- In the report list, find the action column for the report. Click the three-dots (...) menu, then choose Edit from the action menu. The action menu also includes View and Delete.
- On the report editor page, click Add Widget/Element to choose from the available widgets or elements and add them to the report.
- Update the report name if you need to change it.
What happens next
The report is saved and can be opened later to review or export data.
Notes
- Use clear report names.
- Add filters to keep the report focused.
Result
The change is saved in Franmantra CRM and is available to users with the right permissions.
Troubleshooting
- If you cannot see the option, check your role permissions or ask an admin to update your access.
- If the update does not appear immediately, refresh the page and confirm you are in the correct Sub-account.