Delete Multiple Contacts
What this does
This guide explains how to delete multiple contacts in Franmantra CRM.
Before you start
- Sign in to Franmantra with a role that has permission to use this area.
- Confirm you are working in the correct Sub-account before making changes.
Steps
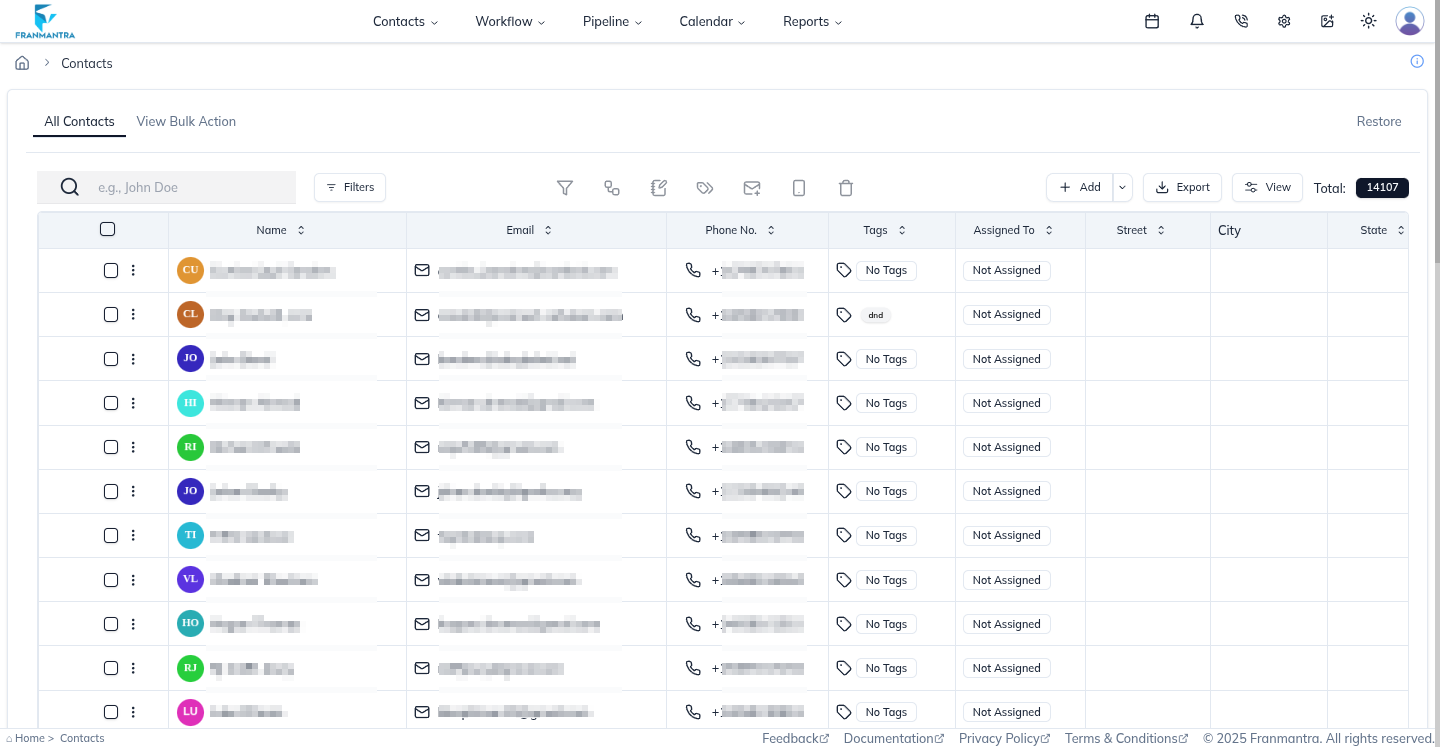
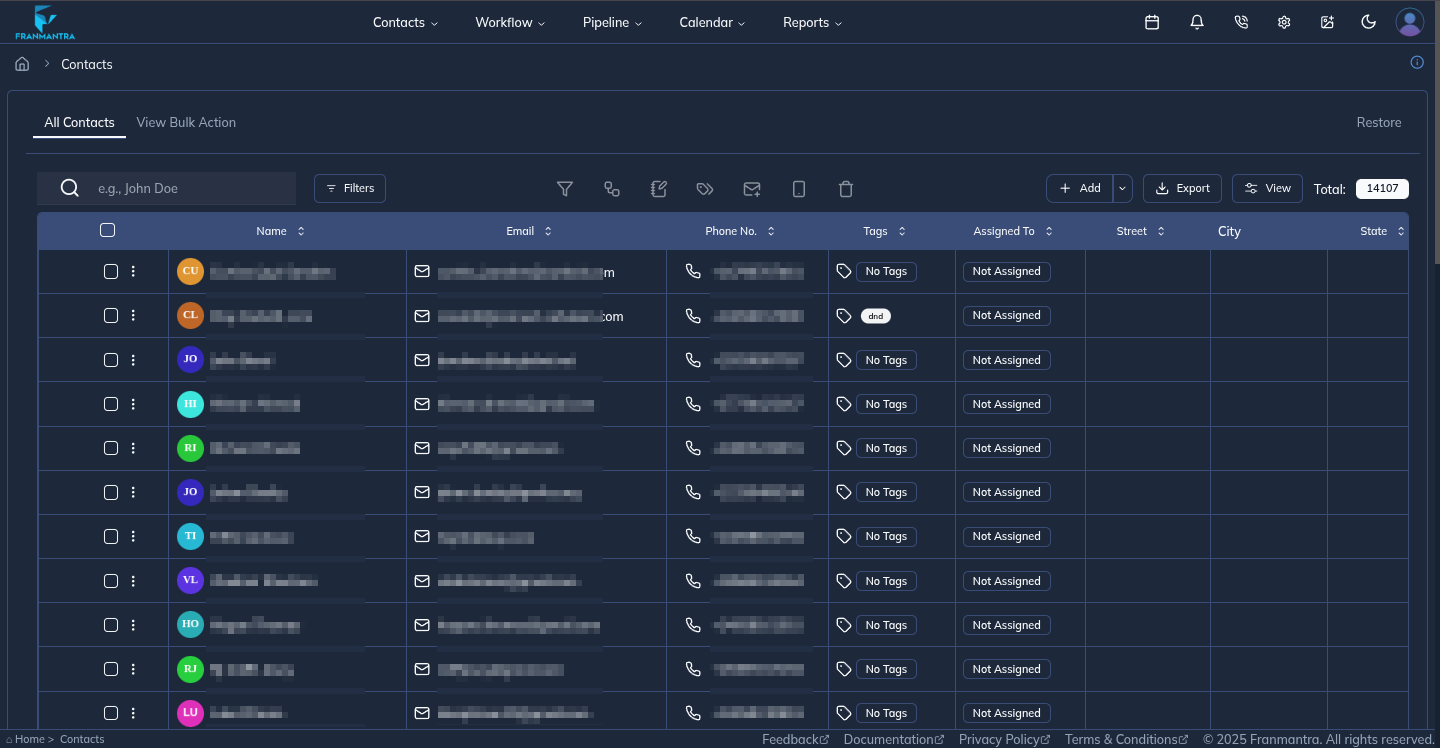
- Access the Contacts module from the top navigation bar.
- This will display a list of all your contacts in the CRM.
- You can now proceed to select and manage your contacts as needed.
2. Select an Individual Contact
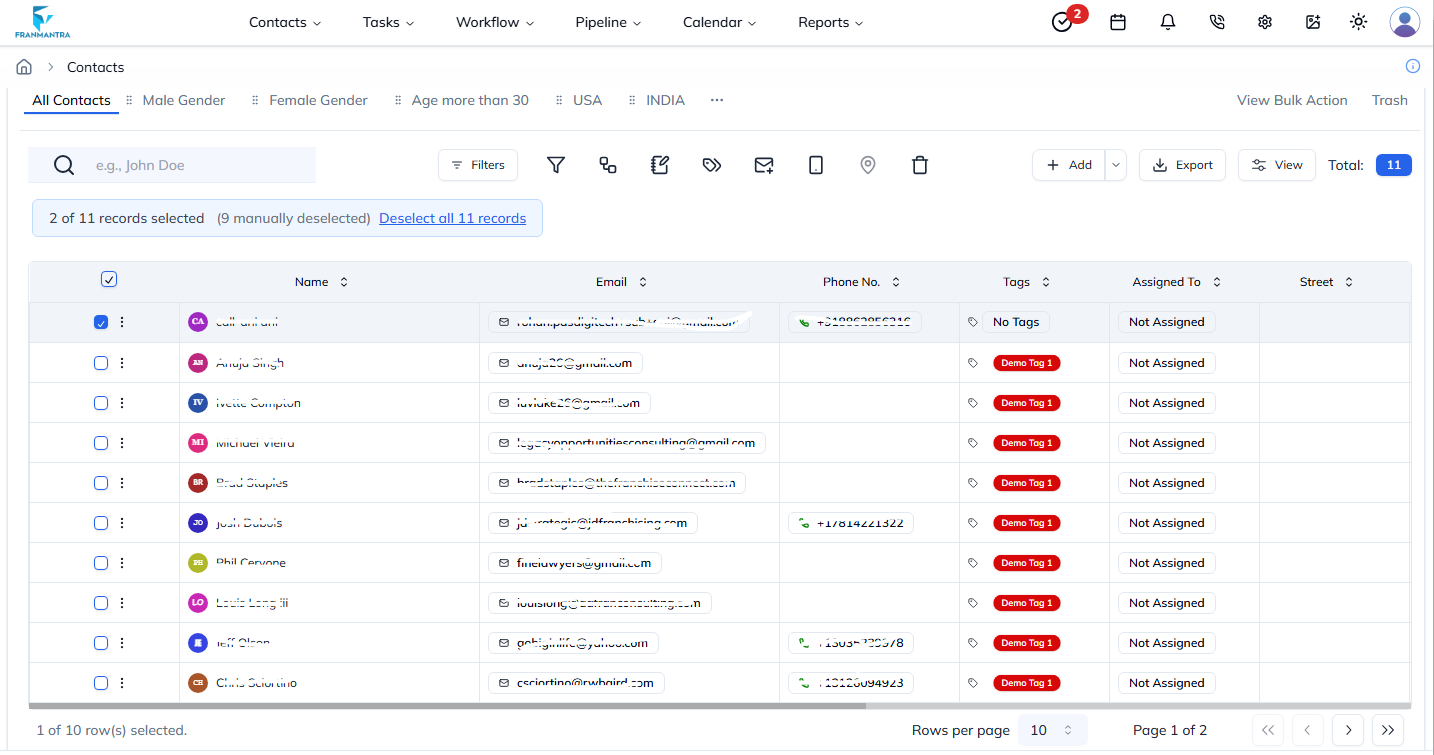
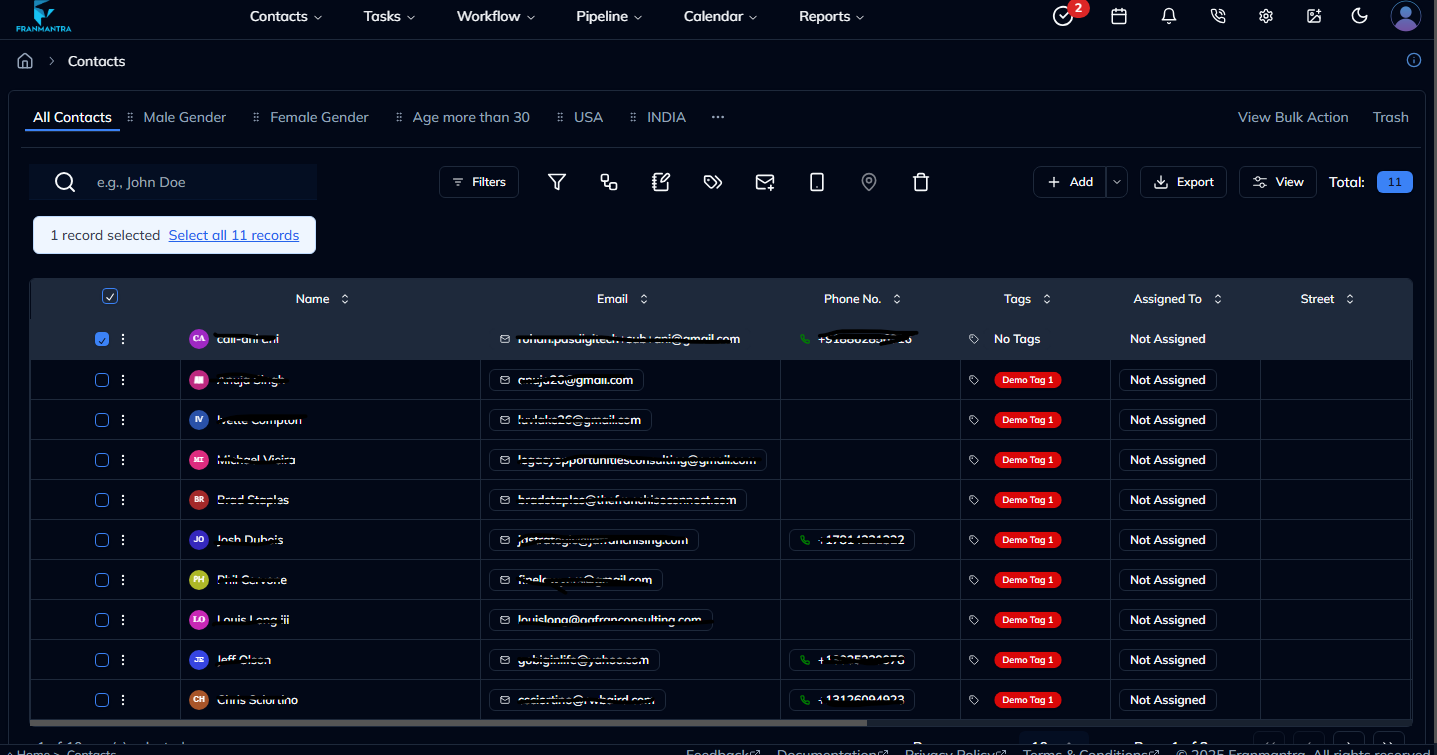
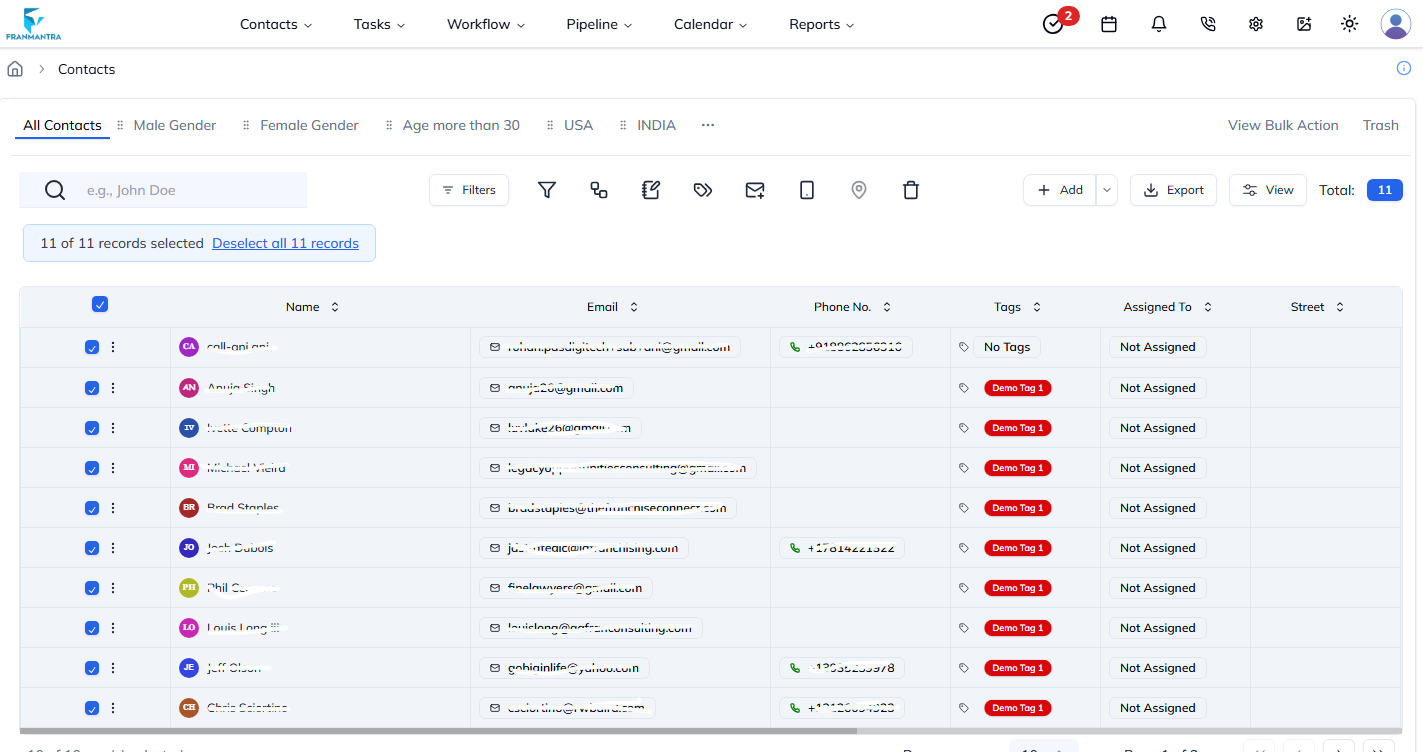
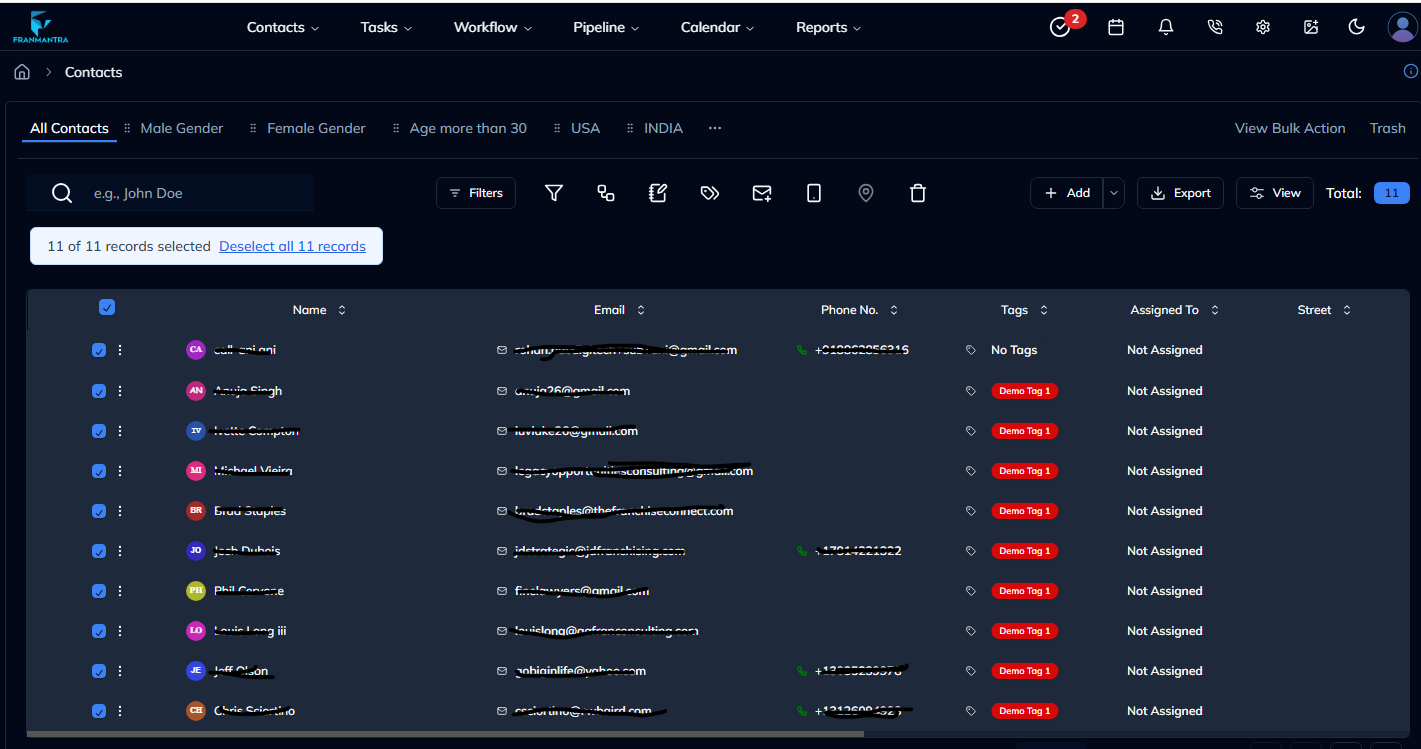
- Tick the checkbox that appears to the left of any contact name. This causes the bulk-action toolbar to appear.
3. Select All Contacts
- In the bulk-action toolbar, click Select all contacts. Every visible contact row will become highlighted.
4. Trigger the Delete Action
- Click the Delete (🗑) icon on the toolbar.
5. Confirm Deletion
- A confirmation modal appears.
- Type
DELETE(all caps) in the text box. - Press Confirm to proceed.
- Type
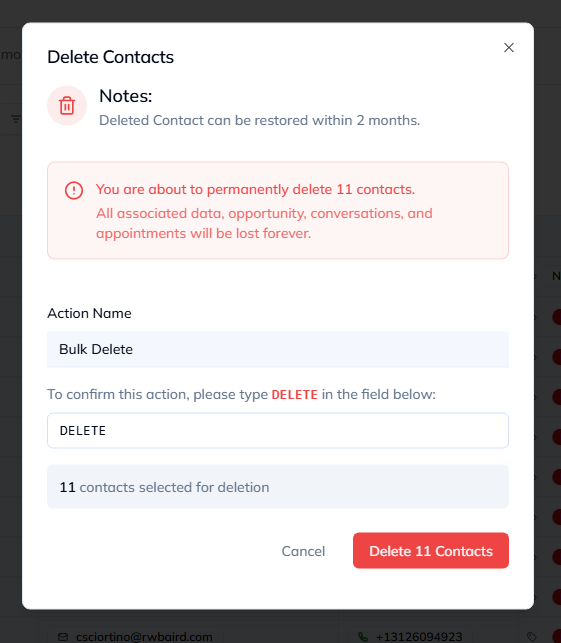
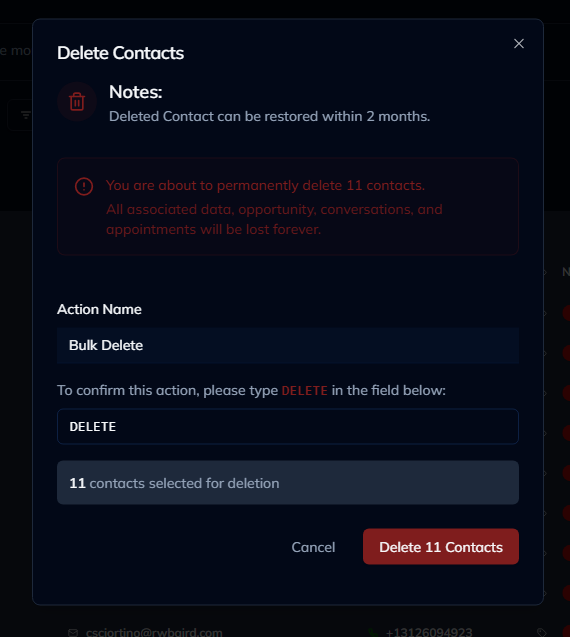
All selected contacts are moved to Trash. A success toast will be displayed in the upper-right corner.
Troubleshooting
| Issue | Resolution |
|---|---|
| Bulk-action toolbar not showing | Make sure at least one contact checkbox is ticked. |
| Delete button disabled | Verify you have deletion permission or that at least one contact is selected. |
| Modal says count doesn’t match | Reload the page to sync the contact list before selecting all. |
Result
The change is saved in Franmantra CRM and is available to users with the right permissions.
Additional Troubleshooting
- If you cannot see the option, check your role permissions or ask an admin to update your access.
- If the update does not appear immediately, refresh the page and confirm you are in the correct Sub-account.